
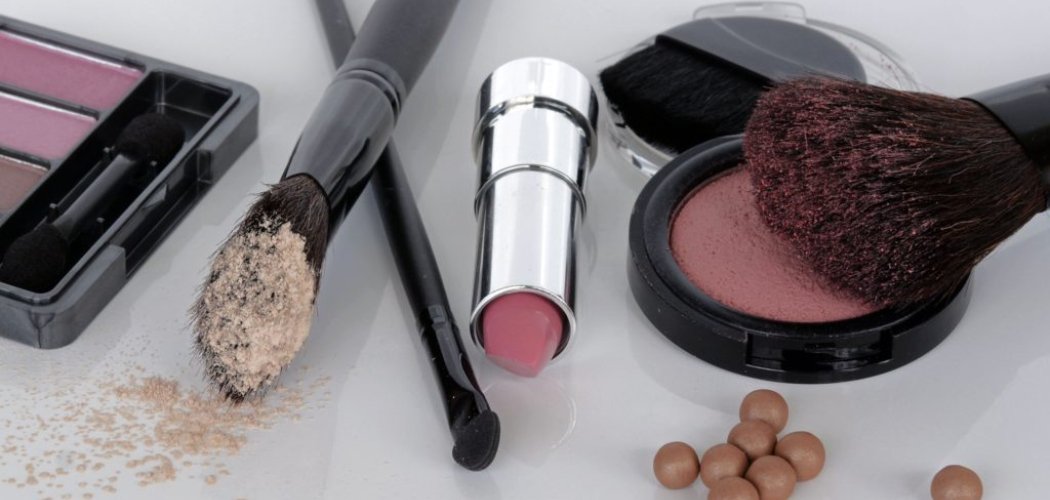
To make liquid blush at home, mix a small amount of pigment (like a bit of eyeshadow, mica powder, or a natural colorant such as beetroot powder) with a hydrating base like aloe vera gel, glycerin, or a lightweight facial oil. Stir until smooth, pour into a small dropper bottle, and shake before each use. That’s really it — a fresh, dewy cheek tint in about five minutes.
Making your own liquid blush is one of the easiest DIY beauty projects out there. You get to control exactly what goes on your skin, pick your perfect shade, and save quite a bit of cash compared to buying from the makeup aisle. Let’s walk through the whole process together.
Why Make Your Own Liquid Blush?
Store-bought liquid blush can be pricey, and the good ones often cost more than you’d like to spend. Making your own lets you whip up a whole batch for the price of a few pantry ingredients.
You also get full control over the ingredients. If you prefer skipping synthetic dyes, fragrances, or preservatives, a homemade version lets you keep things simple and gentle.
Best of all, it’s completely customizable. You can tweak the color, the finish, and even the ingredients to suit your skin type. Dry skin? Add more oil. Oily skin? Lean on a gel base. It’s your call.
Ingredients You’ll Need
The beauty of DIY liquid blush is how few things it takes. Here’s your basic shopping list, along with easy swaps.
- A base — aloe vera gel, vegetable glycerin, or a lightweight oil like jojoba or fractionated coconut oil. Aloe gives a lightweight, gel finish. Oil gives a dewy, glowy finish.
- A pigment or colorant — this is where your shade comes from. Good options include:
- Loose mica powder in a pink, coral, or berry tone
- A crushed-up eyeshadow or blush you already own
- Beetroot powder for a natural, rosy stain
- A tiny bit of red or pink lip tint
- A drop of glycerin (optional) — adds slip and a slight glow if your base feels too thick.
- Distilled water (optional) — only if you want to thin things out. Use distilled, not tap, to reduce the chance of bacteria.
Substitution Notes
Don’t have everything on hand? No problem.
- No aloe gel? Use plain, unscented moisturizer or a hydrating serum as your base.
- No mica powder? A finely crushed mineral eyeshadow works just as well.
- Want a natural colorant? Beetroot powder and hibiscus powder both give a lovely pink-red flush.
- Prefer a matte look? Skip the oil and stick with a gel or water-based blend.
A quick word on pigments: only use colorants that are made for skin. Craft-grade mica and food dyes aren’t always safe for your face, so choose cosmetic-grade or skin-safe options.
Tools and Containers
You don’t need fancy equipment. Chances are you already own most of this.
- A small mixing bowl or dish — glass or ceramic is easiest to clean.
- A small spoon or spatula — for stirring and mashing pigment.
- A dropper bottle or small squeeze tube — a 15ml to 30ml size is perfect. This is what you’ll store the blush in.
- A tiny funnel — optional, but it makes pouring much less messy.
- A toothpick or coffee grinder — handy for crushing eyeshadow into fine powder.
Make sure everything is clean and dry before you start. Any leftover residue or water can shorten how long your blush lasts.
How to Make Liquid Blush: 8 Step-by-Step
Follow these steps in order. The whole thing takes just a few minutes, so don’t rush the mixing — smooth blending is the secret to a streak-free tint.
Step 1: Sanitize Your Tools
Wash your bowl, spoon, and container with hot, soapy water, then let them dry completely. You can also wipe them with rubbing alcohol for extra peace of mind.
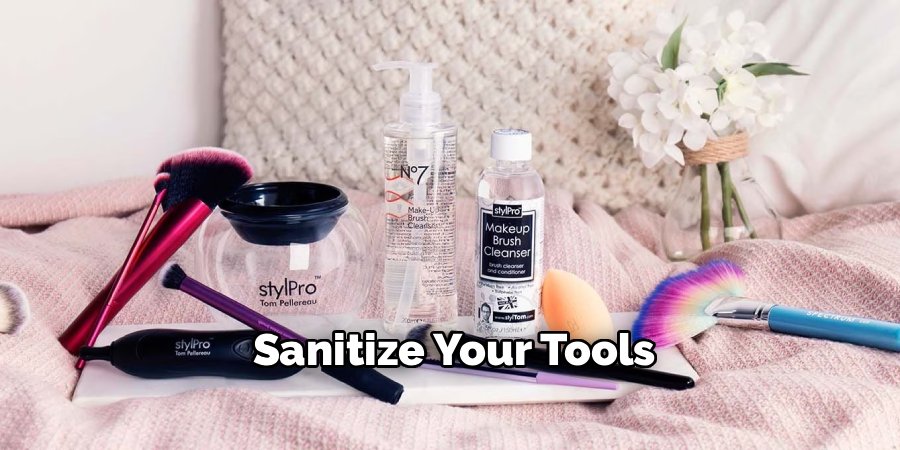
Clean tools keep bacteria out of your blush, which helps it last longer and stay safe on your skin.
Step 2: Crush Your Pigment
If you’re using an eyeshadow or pressed blush, scrape a small amount into your bowl and crush it into a fine powder. Use the back of your spoon or a clean toothpick.
The finer the powder, the smoother your blush will blend. Lumpy pigment leads to a streaky finish, so take your time here.
If you’re using loose mica or beetroot powder, you can skip the crushing.
Step 3: Measure Your Base
Add about one teaspoon of your chosen base to the bowl. Aloe gel and glycerin give a lightweight, gel-like blush, while oil creates a richer, dewy glow.
Start small. You can always add more base if the color turns out too strong.
Step 4: Add the Pigment Slowly
Sprinkle a tiny pinch of pigment into your base and stir. Add more gradually until you reach a shade you like.
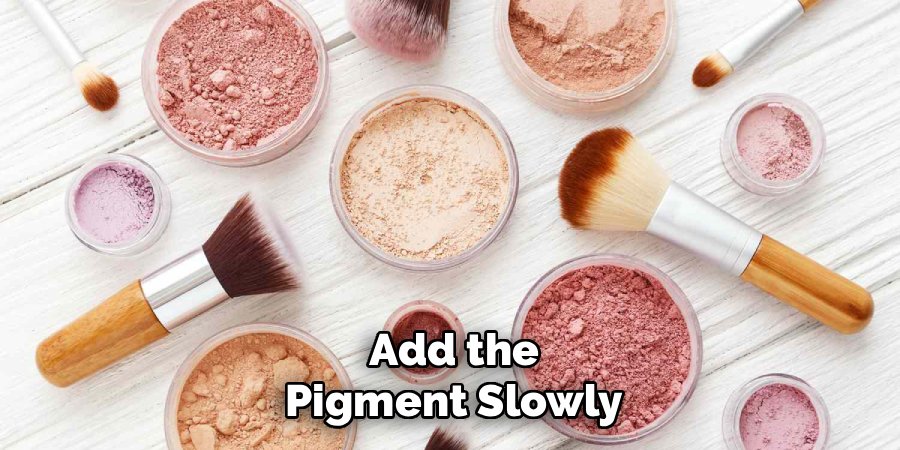
Remember, the color always looks darker in the bowl than it does on your cheeks. A little pigment goes a long way, so build up slowly.
Step 5: Mix Until Smooth
Stir thoroughly until the pigment is fully blended and there are no visible specks or clumps. This is the most important step for a natural finish.
If the mixture feels too thick, add a drop of glycerin or distilled water. If it feels too runny, mix in a touch more pigment or base.
Step 6: Test the Color
Dab a small amount onto the back of your hand and blend it out with your finger. Check the shade in natural light near a window.
Too light? Add more pigment. Too dark or intense? Add a bit more base to sheer it out. Adjust until it’s just right.
Step 7: Transfer to Your Container
Using your funnel, carefully pour or spoon the blush into your dropper bottle or squeeze tube. Wipe away any spills around the opening so the lid seals tightly.
Seal it up and give it a good shake to make sure everything is well combined.
Step 8: Label and Date It
Pop a small label on your bottle with the date you made it. Since homemade blush has no strong preservatives, tracking the date helps you know when it’s time to toss it.
Safety note: Before using your new blush on your face, do a patch test. Dab a small amount on your inner forearm and wait 24 hours to check for any redness, itching, or irritation. This is especially important with natural colorants and new ingredients. This is general beauty guidance only — if you notice irritation that doesn’t calm down, stop using the product and check with a professional.
Customization Ideas
Here’s where the fun really begins. Once you’ve nailed the basic recipe, you can tweak it endlessly.
Adjust for Your Skin Type
- Dry skin: Use an oil-based blend or add an extra drop of jojoba oil for a hydrating, glowy finish.
- Oily skin: Stick with an aloe or water-based recipe to keep things lightweight and avoid extra shine.
- Sensitive skin: Keep the ingredient list short and simple. Aloe gel with a gentle mineral pigment is a safe bet.
Play With the Finish
- Dewy glow: Add a pinch of skin-safe mica in a subtle shimmer shade for a lit-from-within look.
- Soft matte: Use a gel base with no oil and a matte pigment.
- Juicy tint: Add a little more base for a sheer, watercolor-style wash of color.
Mix Up Your Shades
- Soft pink: Great for fair skin and an everyday natural flush.
- Warm coral or peach: Beautiful on medium skin tones and perfect for a sun-kissed look.
- Deep berry or brick red: Stunning and vibrant on deeper skin tones.
Try blending two pigments together to create your own custom color. A pinch of coral mixed with a touch of berry can give you a gorgeous, one-of-a-kind shade.
Storage and Shelf Life
Homemade beauty products don’t have the heavy preservatives that store-bought ones do, so storage matters. Treat your DIY blush like a fresh product.
How to Store It
- Keep your blush in a sealed dropper bottle or squeeze tube, away from direct sunlight.
- Store it in a cool, dry spot. A bathroom cabinet away from the shower steam works, or even the fridge for extra freshness.
- Always use clean hands or a clean applicator to avoid introducing bacteria.
How Long It Lasts
- Water- or aloe-based blush: Use within 1 to 2 weeks. Anything with water spoils faster.
- Oil-based blush: Lasts a bit longer, usually up to 4 weeks, since oil resists bacteria better than water.
- Natural colorants like beetroot can shift color or smell over time, so keep a close eye on these.
Signs It’s Time to Toss It
Trust your senses. Throw out your blush right away if you notice any of these:
- A funky or sour smell
- Any visible mold, fuzz, or specks
- A change in color or texture
- Separation that won’t mix back together with a shake
Since making a fresh batch takes only minutes, there’s no reason to hang on to a product that seems off. When in doubt, make a new one.
Frequently Asked Questions
What household ingredients can I use to make liquid blush?
You likely have several options in your kitchen and bathroom right now. Aloe vera gel or a plain moisturizer makes a great base, and beetroot powder or a crushed-up old eyeshadow can add color. A drop of glycerin adds a nice glow, and distilled water can thin things out. Just make sure any colorant you use is safe for skin, and always do a patch test with new ingredients first.
Is homemade liquid blush safe to use on your face?
Homemade blush can be safe when you use clean tools, skin-safe pigments, and fresh ingredients. The key is to avoid craft-grade mica or non-cosmetic dyes, since those aren’t made for your skin. Always patch test a new recipe on your inner arm and wait 24 hours before applying it to your face. Because DIY products lack strong preservatives, use them up quickly and toss anything that smells off or changes texture.
How do you make liquid blush without mica powder?
You have plenty of pigment options beyond mica. A finely crushed mineral eyeshadow or an old pressed blush works beautifully as a colorant. For a natural route, beetroot powder or hibiscus powder gives a pretty rosy stain. Just crush any pressed product into a fine powder first, then blend it slowly into your base until you reach a shade you love.
How long does DIY liquid blush last?
It depends on your base. Water- and aloe-based blushes last about 1 to 2 weeks since water encourages bacteria to grow. Oil-based versions can last up to 4 weeks because oil holds up a little better. Store your blush in a sealed container away from heat and sunlight, and always check for any change in smell, color, or texture before using it.
Ready to create your perfect flush? Gather a few simple ingredients and mix up a batch — your custom liquid blush is just five minutes away.
