
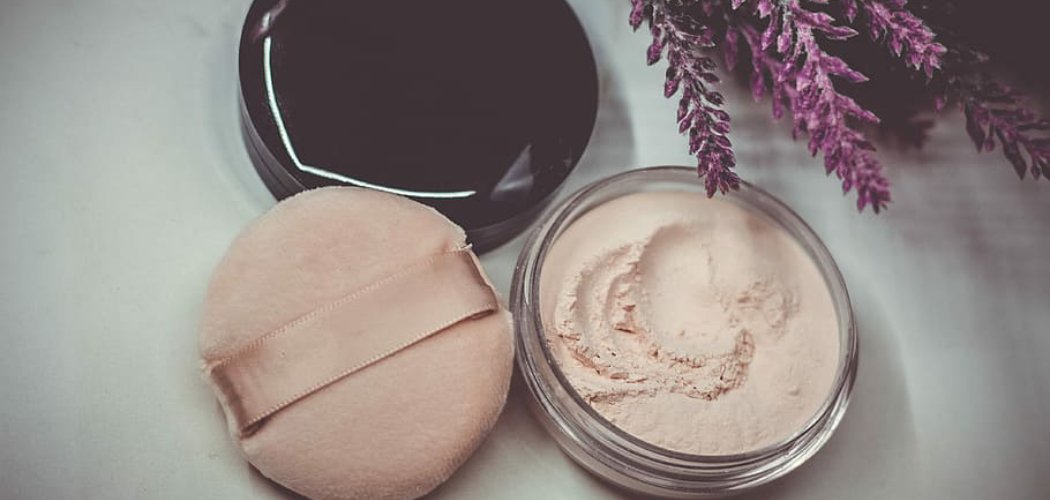
How To apply pressed powder, swipe a fluffy powder brush across the compact, tap off the excess, then press and roll it onto your face where you get the most shine—usually your forehead, nose, and chin. Work in light layers, blend outward, and you’ll get a smooth, matte finish without any cakey buildup. It’s one of the quickest ways to set your makeup or refresh your look on the go.
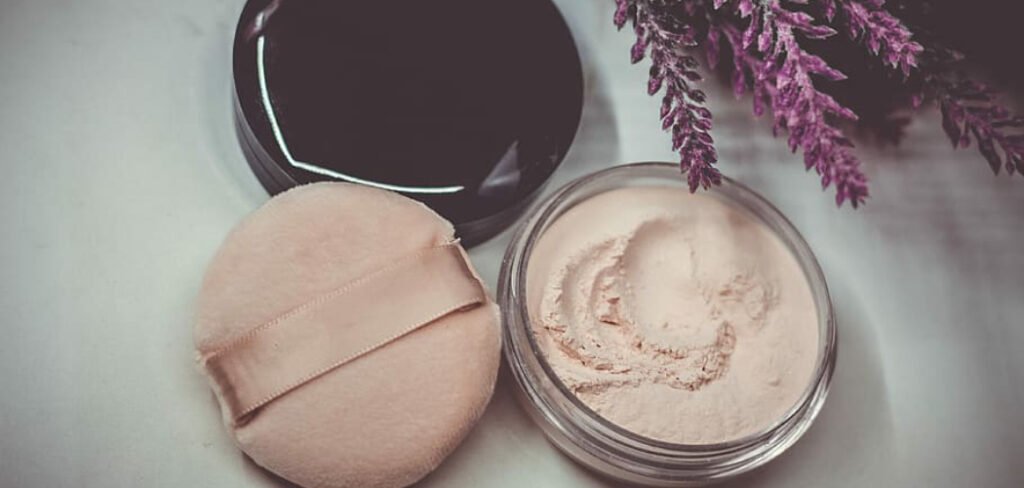
Pressed powder is a little compact of magic. It smooths out shine, sets your foundation so it lasts longer, and slips easily into your bag for midday touch-ups. Whether you want a full setting routine at home or a fast fix at your desk, this guide walks you through every step.
What You’ll Need
Gather your tools before you start. Having everything within reach makes the whole process faster and cleaner.
- Pressed Powder Compact — pick a shade that matches your skin, or go translucent (a colorless powder that works on any tone)
- Powder Brush — a soft, fluffy brush for light, natural coverage
- Kabuki Brush — a dense, packed brush for fuller coverage and stronger shine control
- Makeup Sponge — for pressing powder into specific areas like under the eyes
- Powder Puff — the little pad often tucked inside the compact, great for a heavier set
- Primer — smooths your skin and helps everything grip and last
- Setting Spray — a fine mist that melts powder into the skin so it doesn’t look dry
A quick note on shade: if you’re unsure, a translucent pressed powder is the safest bet. It sets your makeup without adding color, so there’s no risk of it looking too light or too dark.
Step-by-Step: How to Apply Pressed Powder
Follow these steps in order for a fresh, long-lasting finish.
Step 1: Start With Prepped Skin
If you’re wearing foundation or concealer, make sure it’s already applied and blended. Pressed powder works best layered on top of a base, not on bare, unprepped skin.
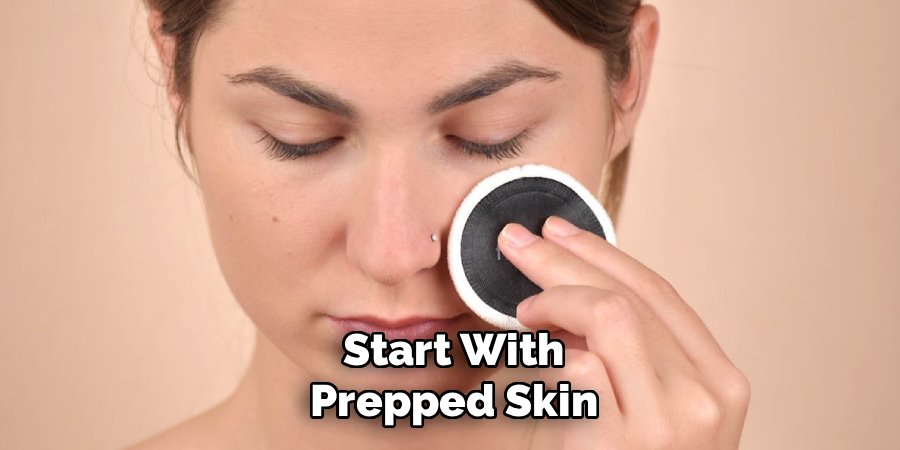
If you’re going bare-faced, dab on a little moisturizer first and let it sink in. Powder clings to dry patches, so hydrated skin always looks smoother.
Step 2: Apply Primer (Optional but Worth It)
Smooth a thin layer of primer over your T-zone—that’s your forehead, nose, and chin, the areas that tend to get oily first. Primer fills in pores and creates a flat surface for your powder to sit on.
Let it set for about a minute. This small step helps your powder stay put for hours instead of sliding off by lunch.
Step 3: Load Your Brush
Swirl your powder brush gently across the surface of the compact. Tap the handle against your hand or the edge of the table to knock off any excess.
You want a light, even amount of product on the bristles—not a heavy clump. Too much powder at once is the fastest way to end up looking cakey.
Step 4: Press, Don’t Sweep
Here’s the trick most people miss. Instead of dragging the brush across your face, press it gently onto the skin and roll it slightly.
Pressing lays the powder down evenly and stops it from disturbing the makeup underneath. Sweeping can move your foundation around and leave streaks.
Step 5: Focus on Your Shine Zones
Start where you get shiniest, usually the center of your face. Press the powder onto your forehead, down the bridge of your nose, and across your chin.
These oily areas need the most coverage to stay matte. Concentrating your product here keeps the rest of your face looking natural and skin-like.
Step 6: Blend Outward Lightly
Take whatever powder is left on your brush and lightly buff it toward your cheeks, jaw, and hairline. Use a feather-light touch here.
The outer edges of your face usually stay less oily, so they need only a whisper of powder. This gradual fade keeps everything looking seamless.
Step 7: Set Under the Eyes (Optional)
If you wear concealer under your eyes, this area often creases. Press a tiny bit of powder there using a small makeup sponge or the powder puff.
Pat gently rather than wiping. This locks your concealer in place so it doesn’t settle into fine lines throughout the day.
Step 8: Finish With Setting Spray
Hold your setting spray about eight inches from your face and mist in an X shape, then a T shape. This step melts the powdery texture into your skin so it looks fresh instead of dusty.
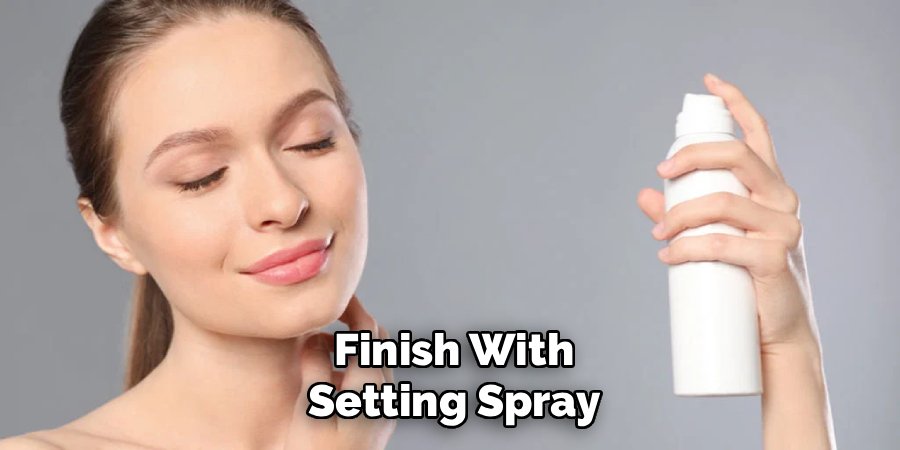
Let it air dry—don’t touch your face while it sets. Once it’s dry, you’re good to go.
Pro Tips
These small adjustments make a real difference in how natural and long-lasting your powder looks.
- Choose your brush by the finish you want. A fluffy powder brush gives sheer, natural coverage, while a dense kabuki brush packs on more and controls shine harder.
- Blot before you powder if you’re oily. Press a blotting sheet or clean tissue over your T-zone first. Powder over oil turns cakey fast, so removing the shine first keeps things smooth.
- Keep the compact in your bag for touch-ups. A quick press on your nose and chin midday refreshes your look without piling on more product.
- Warm cream products, then powder. If you use cream blush or bronzer, apply those first, then set with pressed powder so your makeup doesn’t slide.
- Go easy near your hairline and brows. Powder loves to collect there. A light touch keeps it from looking dusty or flaky.
Common Mistakes to Avoid
Pressed powder is beginner-friendly, but a few easy slip-ups can throw off your finish. Here’s what to watch for.
Using too much at once. Overloading your brush leads to a heavy, powdery look. Tap off the excess and build slowly if you need more.
Sweeping instead of pressing. Dragging the brush moves your foundation and creates streaks. A gentle press-and-roll motion always looks cleaner.
Skipping the blot on oily skin. Applying powder straight over shine makes it clump. Blot away the oil first for a smoother result.
Powdering your whole face evenly. Your outer face usually doesn’t need much. Piling powder everywhere flattens your features and looks mask-like—focus on shine zones instead.
Ignoring your skin’s dryness. If your skin is dry or flaky, powder will cling to those spots. Moisturize first and use a lighter hand.
Forgetting to set with spray. Powder alone can look dry or dusty. A quick mist of setting spray melts it into the skin for a natural glow.
Frequently Asked Questions
What is the difference between pressed powder and loose powder?
Pressed powder is compacted into a solid cake inside a compact, which makes it travel-friendly and easy to control. Loose powder is a free, unbound powder that gives a lighter, more airbrushed finish but can be messier to use. For everyday setting and quick touch-ups, pressed powder is usually the more convenient choice.
Do you apply pressed powder before or after foundation?
Apply pressed powder after your foundation and concealer. Powder is meant to set your base makeup, so it goes on last to lock everything in place and reduce shine. If you’re not wearing foundation, you can still use pressed powder alone on moisturized skin for a light, matte finish.
Can you use pressed powder without foundation?
Yes, you can absolutely wear pressed powder on its own. Just start with moisturized skin, then press a light layer over your shine zones for a quick, natural finish. This is a great low-effort option when you want a bit of smoothing and shine control without a full face of makeup.
How do you keep pressed powder from looking cakey?
The secret is using less product and pressing rather than sweeping. Tap off the excess before you touch your face, focus the powder only where you get oily, and finish with a setting spray to melt everything together. Starting with hydrated skin also keeps the powder from clinging to dry patches.
Ready to try it? Grab your favorite pressed powder compact and a soft brush, and you’ll have a smooth, shine-free finish mastered in minutes.
