
Ran out of remover mid-manicure? Learning how to make nail polish remover at home means you can lift off old color anytime using simple ingredients you probably already have in your kitchen or bathroom. It’s cheaper than store-bought bottles, lets you skip harsh chemicals, and you get to tweak it for your own nails and skin.
I’ll walk you through a couple of easy recipes, like a friend sharing the tricks that actually work. No fancy tools, no chemistry degree, just a few household staples and a little patience.
Why Make Your Own Nail Polish Remover
Store shelves are full of remover bottles, so why bother mixing your own? A few good reasons.
- It saves money. Most of the ingredients cost pennies per use and last through dozens of manicures.
- You control what goes on your skin. Commercial removers can feel drying, and DIY versions let you add nourishing oils to soften the blow.
- You can customize it. Want a lighter scent or a gentler formula for brittle nails? You decide.
- It’s handy in a pinch. When you’re out of remover and the shops are closed, a homemade fix saves the day.
A quick honesty note: homemade removers work best on regular polish. Gel and dip powder need proper soaking or a salon, so keep your expectations realistic.
Ingredients You’ll Need
Here’s what goes into the two most reliable recipes. You don’t need everything, just the pieces for whichever method you pick.
- Rubbing Alcohol (Isopropyl Alcohol) — the workhorse ingredient; 70% or higher works best for breaking down polish. Substitute: high-proof clear spirits like vodka in a real pinch, though it’s weaker.
- White Vinegar — a mild acid that helps loosen polish; pairs well with alcohol. Substitute: lemon juice, which is also acidic.
- Fresh Lemon Juice — adds acidity and a fresh scent. Substitute: bottled lemon juice, though fresh smells nicer.
- Hand Sanitizer — a fast alternative since it’s mostly alcohol. Substitute: any alcohol-based gel you have around.
- A Carrier Oil — think jojoba oil, sweet almond oil, or plain olive oil to counter dryness. Substitute: coconut oil, warmed until liquid.
- Warm Water — helps thin the mix and softens polish when you soak.
- Essential Oil (optional) — a drop of lavender or peppermint oil for scent. Substitute: skip it entirely if your skin is sensitive.
A quick word on terms: a “carrier oil” is just a gentle base oil that dilutes stronger ingredients and moisturizes at the same time. It’s what keeps your fingers from feeling stripped after removal.
Tools and Containers
Gather these before you start so you’re not scrambling mid-mix.
- A Small Glass Bowl or Jar — glass holds up to alcohol and vinegar better than most plastics.
- A Measuring Spoon — for keeping your ratios consistent.
- Cotton Balls or Cotton Pads — for pressing the remover onto each nail.
- A Small Glass Spray Bottle — optional, handy if you like to spritz rather than dab.
- Aluminum Foil or a Shallow Dish — for the soaking method.
- A Clean Spoon or Stirrer — to blend everything evenly.
- A Label and Marker — to date your batch so you remember when you made it.
Glass really is the safest choice here. Alcohol and citrus can slowly break down cheaper plastics, so a small jam jar or repurposed glass container is your friend.
8 Step-by-Step Guide on How to Make Nail Polish Remover
Follow these in order. I’ve laid out the main alcohol-based recipe first, since it’s the most effective.
1. Do a Quick Patch Test First
Before you slather anything on, dab a little of your finished mix on the inside of your wrist and wait a few minutes.
If you notice stinging, redness, or itching, rinse it off and adjust the recipe with less alcohol and more oil. This is general beauty caution, not medical advice, but it’s an easy step that saves you discomfort.
Skip this only if you already know your skin handles these ingredients fine.
2. Measure Your Base Ingredients
Pour 2 tablespoons of rubbing alcohol into your glass bowl. This is the main polish-dissolving agent.
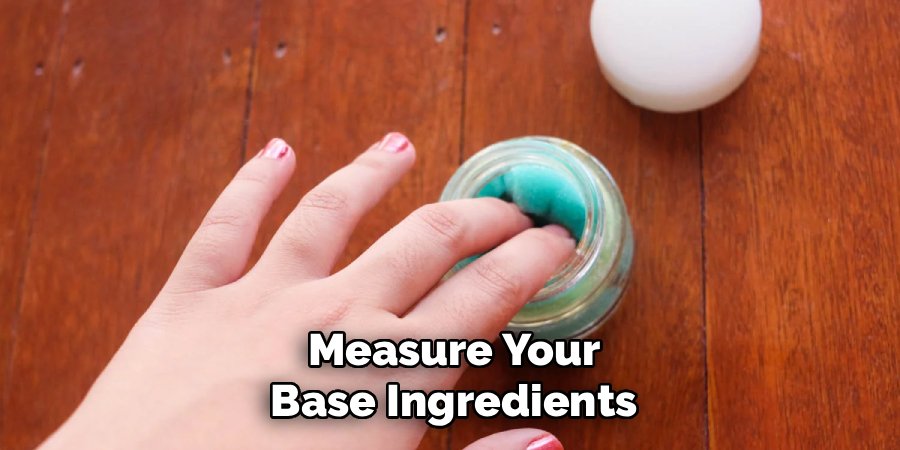
Add 1 tablespoon of white vinegar or fresh lemon juice. The mild acid helps break the polish’s grip on your nail.
Keeping to these measurements gives you a balanced mix that isn’t too harsh or too weak.
3. Add a Nourishing Oil
Stir in half a teaspoon of a carrier oil like jojoba or almond oil.
Alcohol is drying by nature, so this little bit of oil keeps your nails and cuticles from feeling parched afterward. The cuticle is that thin strip of skin at the base of each nail, and it dries out fast.
Don’t overdo the oil, or the remover gets greasy and works slower.
4. Blend Until Combined
Give everything a gentle stir with your clean spoon for about 20 seconds.
The oil won’t fully dissolve into the alcohol and vinegar, and that’s normal. Just mix it enough so it’s evenly cloudy, then stir again right before each use.
Your remover is now ready to go.
5. Soak a Cotton Pad and Press
Dip a cotton ball or pad into the mix until it’s damp but not dripping.
Press it flat against your nail and hold for 10 to 15 seconds. This pause lets the remover soften the polish instead of you scrubbing right away.
Patience here means far less rubbing later.
6. Wipe Away the Polish
Now drag the cotton pad from the base of your nail to the tip in one firm swipe.
For stubborn spots, especially darker or glittery shades, re-soak the pad and repeat. Glitter polish is clingy, so it always takes a few more passes.
Use a fresh section of cotton as it picks up color so you’re not smearing polish back on.
7. Try the Soaking Method for Tough Polish
If wiping isn’t cutting it, pour your mix into a shallow dish and soak your fingertips for 3 to 5 minutes.
Warm the mix slightly first (a bowl set in warm water works) since gentle heat speeds things up. Then wipe each nail clean.
Never microwave alcohol-based mixes or heat them near an open flame, as alcohol is flammable.
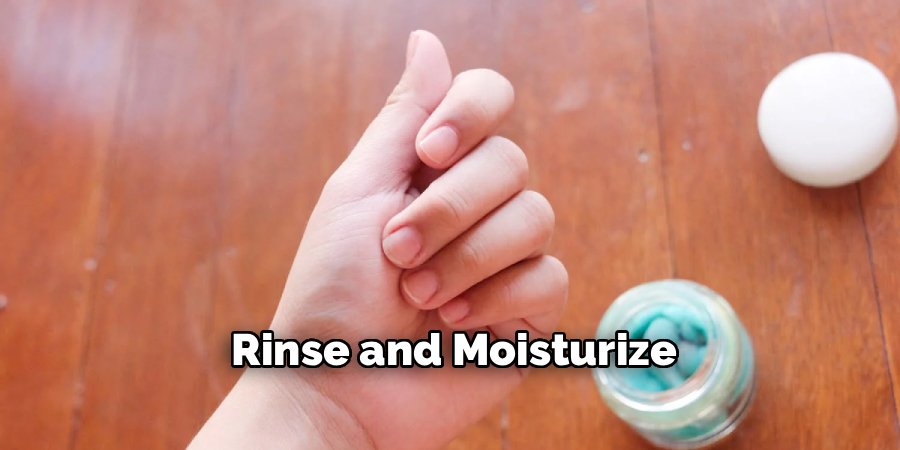
8. Rinse and Moisturize
Once all the polish is gone, wash your hands with warm water and mild soap to clear away any leftover residue.
Follow up with hand cream or a dab of the same carrier oil. This replaces the moisture the alcohol pulled out and keeps your nails flexible rather than brittle.
Your nails are now clean, prepped, and ready for a fresh coat whenever you like.
A Gentler Vinegar-and-Lemon Method
If your skin can’t tolerate much alcohol, here’s a milder route. It’s slower but kinder.
- Mix equal parts warm white vinegar and fresh lemon juice in a bowl.
- Soak your fingertips for 10 to 15 minutes to let the acids loosen the polish.
- Wipe each nail with a cotton pad, pressing firmly.
- Repeat the soak if color remains, then rinse and moisturize.
This version won’t tackle heavy glitter or dark shades as easily, so save it for sheer or light polishes.
Customization Ideas
Once you’ve nailed the basic recipe, tweak it to suit you. Here are some easy variations.
- For dry or sensitive skin: Bump up the carrier oil to a full teaspoon and drop the vinegar. The extra oil buffers the alcohol so your hands feel softer.
- For a fresher scent: Add one drop of lavender or peppermint essential oil. Keep it to a single drop, since these oils are strong and too much can irritate skin.
- For faster removal on dark polish: Lean on the alcohol-heavy recipe and use the warm-soak method. The extra soak time does the heavy lifting.
- For a travel-friendly version: Load the mix into a small glass spray bottle. Spritz onto a cotton pad wherever you are, no bowl needed.
- For brittle nails: Add a few drops of vitamin E oil alongside your carrier oil for extra conditioning as you remove.
Play around in small batches until you find the blend that feels right for your nails.
Storage and Shelf Life
Homemade removers don’t have the preservatives that store-bought ones do, so treat them a little carefully.
- Store in a sealed glass container away from heat and direct sunlight. A cool cupboard is ideal.
- Keep it tightly capped. Alcohol evaporates fast when left open, which weakens the mix over time.
- Label it with the date so you know how old each batch is.
- Use alcohol-based mixes within about a month. They hold up fairly well thanks to the alcohol, but potency fades.
- Use vinegar-and-lemon mixes within a week, and keep them in the fridge. Fresh citrus and water can grow mold or turn cloudy and off-smelling.
If your remover ever smells strange, changes color, or grows anything fuzzy, toss it and mix a fresh batch. When in doubt, throw it out.
Frequently Asked Questions
Can you make nail polish remover without acetone?
Yes, and every recipe here is acetone-free. Acetone is the strong solvent in most commercial removers, and while it works fast, it’s very drying. Rubbing alcohol, vinegar, and lemon juice all break down polish more gently, though they take a bit longer and a little more elbow grease.
Does homemade nail polish remover actually work?
It does on regular polish, especially the alcohol-based version. Lighter shades come off easily, while dark or glittery colors need extra soaking and a few more passes. Just know that gel, dip powder, and shellac won’t budge with these home methods, since those need dedicated removers or a salon soak.
What household items can remove nail polish?
The most effective ones are rubbing alcohol, hand sanitizer (which is mostly alcohol), white vinegar, and lemon juice. Hairspray and deodorant sometimes work too because they contain alcohol, though they can leave sticky residue. A combo of alcohol plus an acid like vinegar gives you the best results.
Is homemade nail polish remover safe for your nails?
Used occasionally and followed by moisturizer, these mixes are gentle on most nails. The alcohol can dry out your nails and cuticles with heavy use, so always finish with a carrier oil or hand cream. Do a quick patch test first, and skip the recipe if your skin reacts. This is general beauty guidance, not medical advice.
Give Your DIY Remover a Try
There you have it: two simple recipes, a handful of kitchen ingredients, and clean nails without a trip to the store. Mix up a small batch tonight and see how easy going homemade really is.
