
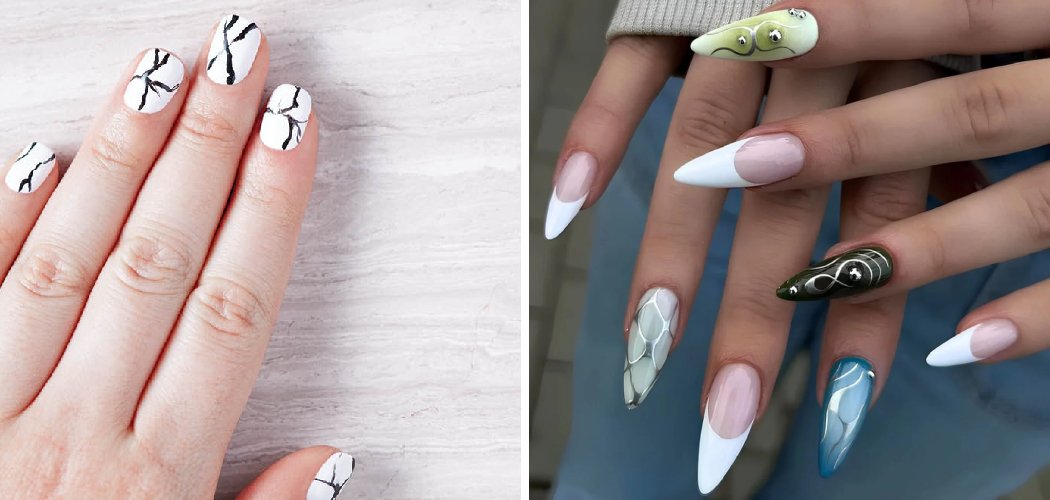
How to make nail art designs, start with clean, prepped nails and a smooth base coat, then use tools like dotting pens, thin brushes, or striping tape to build simple patterns before sealing everything with a top coat. Beginners get the best results with easy designs like polka dots, stripes, or a single accent nail. With a little patience and the right supplies, you can create salon-worthy nail art at home for a fraction of the cost.
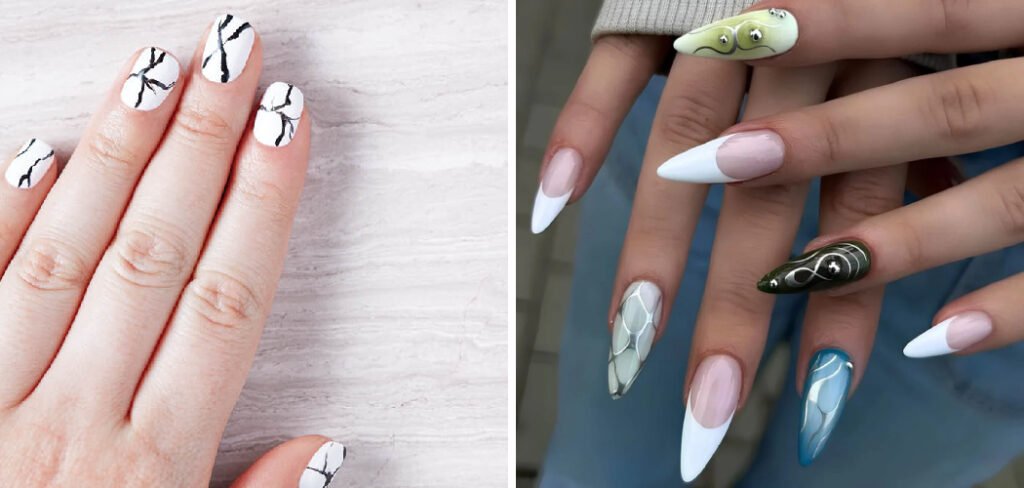
Nail art might look intimidating, but most designs come down to a handful of basic techniques. Below, I’ll walk you through everything from prep to finish, plus the tools that make each look easier. Whether you want dainty dots or bold geometric lines, you’ll find a beginner-friendly method here.
What You’ll Need
Gather your supplies before you begin, so you’re not scrambling mid-design with wet polish. Here’s everything that makes nail art simpler and cleaner.
- Nail File and Buffer — for shaping the free edge (the white part that grows past your fingertip) and smoothing ridges.
- Cuticle Pusher — to gently push back the thin strip of skin at the base of your nail.
- Base Coat — a clear layer that protects your natural nail and helps polish grip.
- Colored Nail Polish — pick two or three shades to start; a light background color works best for showing off designs.
- Nail Art Pens — polish in a fine-tip pen form, perfect for drawing lines and small details freehand.
- Dotting Tools — double-ended metal wands with tiny balls on each end for making even dots.
- Thin Detail Brush — a slim striping brush for painting crisp lines and swirls.
- Striping Tape — thin adhesive tape that creates sharp, straight lines and geometric shapes.
- Nail Stamping Kit — an image plate and stamper that transfers detailed patterns in seconds.
- Rhinestones or Nail Studs — small gems for adding sparkle and dimension.
- Top Coat — a clear sealing layer that locks in your design and adds shine.
- Acetone and Cotton Swabs — for cleaning up mistakes and stray polish around the edges.
- Clear Storage Containers — for keeping tiny embellishments like rhinestones, studs, and charms sorted and easy to find.
A quick tip: keep those small charms and gems in clear, lidded containers so you can spot each color at a glance. Nothing slows you down like hunting for one lost rhinestone.
10 Step-by-Step: How to Create Nail Art at Home
Take these steps one at a time and don’t rush. Nail art is a lot like painting, so letting each layer dry properly makes the whole thing look cleaner.
1. Prep Your Nails
Start with a clean, dry surface. Remove any old polish, then wash and dry your hands.
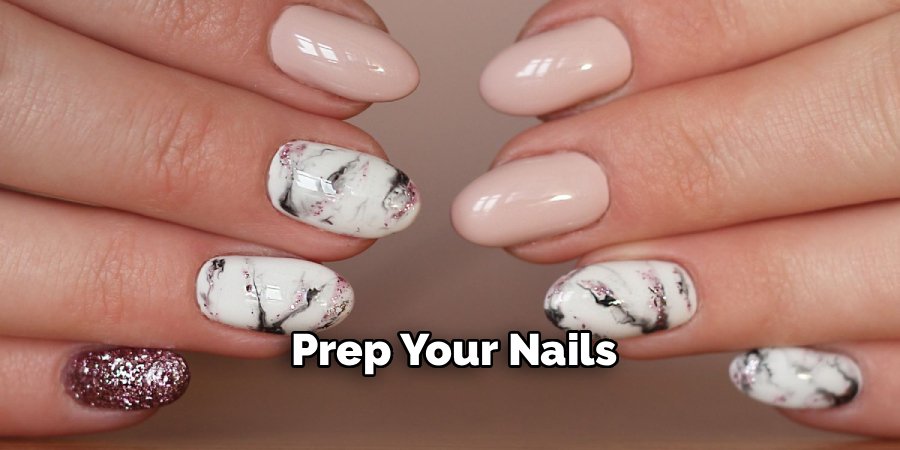
Shape each nail with a file, working in one direction rather than sawing back and forth, which can cause splits. Gently push back your cuticles and buff away any shine so the polish sticks better.
A smooth canvas is the secret to designs that look neat instead of bumpy.
2. Apply a Base Coat
Brush on a thin layer of clear base coat and let it dry fully.
This step protects your natural nail from staining, especially with darker or bright polishes. It also helps your color coat go on evenly and last longer.
Don’t skip this one, even when you’re in a hurry.
3. Paint Your Background Color
Apply your chosen base color in two thin coats rather than one thick one.
Thin coats dry faster and won’t get gloopy or streaky. Let the first coat dry before adding the second, and give it a few minutes to set before moving on.
A light, solid background makes most designs pop. If you’re brand new to this, a neutral or pastel shade is very forgiving.
4. Choose and Plan Your Design
Decide what look you want before you touch polish to nail. Popular beginner-friendly options include:
- Polka dots — made with a dotting tool for even circles.
- Stripes or lines — created with striping tape or a thin brush.
- French tips — a colored line painted along the free edge.
- Accent nail — one decorated nail while the rest stay a solid color.
- Marble or swirl effect — dragging two wet colors together with a fine brush.
Starting with a single accent nail is a low-pressure way to practice without committing all ten fingers.
5. Create Dots With a Dotting Tool
Dip the ball end of your dotting tool into a small drop of polish, then press it straight down onto the nail.
For different sizes, use the smaller or larger end. Re-dip between each dot for consistent, round shapes.
You can line dots up in a row, scatter them, or cluster them into a flower shape. Practice on a piece of paper first if you want to get a feel for the pressure.
6. Make Clean Lines With Striping Tape or a Brush
For sharp geometric looks, wait until your base color is completely dry, then lay strips of striping tape across the nail.
Paint over the exposed sections with a contrasting color. Peel the tape off gently while the polish is still slightly wet to reveal crisp lines.
Prefer freehand? Load a thin detail brush with polish and drag it slowly across the nail in one smooth motion. Steady, slow strokes beat fast, shaky ones every time.
7. Add Details With Nail Art Pens or Stamping
Use a nail art pen to draw tiny details like hearts, stars, or thin outlines. The fine tip gives you more control than a regular polish brush.
For intricate patterns without the freehand skill, try a stamping kit. Paint polish onto the engraved image plate, scrape off the excess, press the stamper over the design to pick it up, then roll it onto your nail.
Stamping feels tricky at first, so give yourself a couple of practice runs.
8. Place Embellishments
While your design is still a little tacky, add rhinestones or studs with the tip of a dotting tool or a dampened toothpick.
Press each gem down gently so it sticks. Keep it minimal, since a few well-placed sparkles look more polished than a nail covered edge to edge.
9. Seal With a Top Coat
Once everything is dry, brush a generous layer of clear top coat over the entire nail.
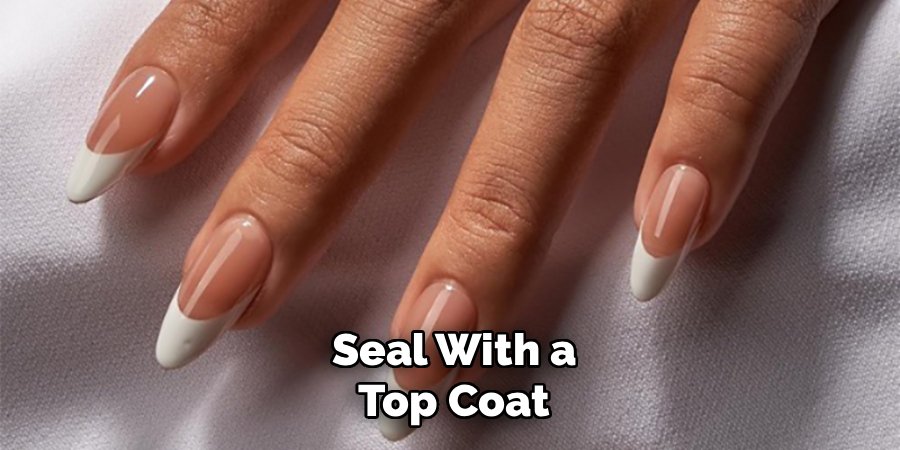
Cap the free edge by swiping the brush along the tip, which helps prevent chipping. The top coat smooths out any texture from layered polish and locks your art in place.
Let it cure for at least 10 minutes before doing anything with your hands.
10. Clean Up the Edges
Dip a cotton swab in acetone and carefully trace around your cuticles and skin to remove any stray polish.
This final touch instantly makes your manicure look professional. It’s the difference between “did it myself” and “who did your nails?”
Pro Tips
A few small habits make a big difference in how your nail art turns out. Keep these in mind as you practice.
- Work thin, not thick. Thin layers of polish dry faster and stay smooth. Thick blobs stay wet underneath, smudge easily, and take forever to set.
- Let each layer dry before adding the next. Rushing is the number one reason designs smear. Give yourself a few minutes between steps.
- Practice designs on paper or a nail wheel first. A nail wheel is a fan of fake nail tips you can experiment on. It saves you from redoing your real nails over and over.
- Keep a bottle of quick-dry drops handy. A drop on each nail speeds up drying and helps you avoid dents from impatience.
- Store tiny supplies in labeled containers. Sorting rhinestones, studs, and charms by color or type keeps your setup tidy and your projects faster.
Common Mistakes to Avoid
Even simple designs can go sideways if you fall into these traps. Here’s what to watch for.
- Skipping the base coat. Without it, bright polishes can stain your nails and your color won’t last as long.
- Applying polish too thickly. This leads to streaks, bubbles, and a design that never fully dries.
- Not letting layers dry. Adding art over wet polish drags the colors together and ruins the pattern.
- Overloading the nail with decorations. Too many gems, colors, and lines look cluttered. When in doubt, keep it simple.
- Forgetting the top coat. Your art will chip within a day without that protective seal.
- Ignoring skin sensitivity. Nail products contain chemicals that can irritate some people. If you notice redness, itching, or stinging around your nails, stop and give your skin a break. This is general beauty caution, not medical advice, so check with a professional if irritation continues.
A quick note on safety: always work in a well-ventilated room, since polish and acetone give off strong fumes. If you’ve never used a certain product before, a small patch test on one nail is a smart move.
Frequently Asked Questions
How can beginners start doing nail art at home?
Beginners should start with the simplest designs, like polka dots or a single accent nail, using just a dotting tool and two polish colors. Master the basics of prep, thin coats, and drying time before moving on to freehand lines or stamping. Practicing on a nail wheel or paper first builds confidence without wasting polish on your actual nails.
What tools do you need for nail art designs?
The core tools are a base coat, colored polish, a top coat, and a dotting tool for making even circles. As you improve, add striping tape for clean lines, a thin detail brush for freehand work, nail art pens for small details, and a stamping kit for intricate patterns. Rhinestones and studs are optional extras for adding sparkle.
How do you make nail art last longer without chipping?
The key is prep and sealing. Buff your nails, apply a base coat, use thin layers of polish, and always finish with a top coat that caps the free edge of the nail. Reapplying a fresh layer of top coat every couple of days also refreshes the shine and adds another barrier against chips.
Can you do nail art without special tools?
Yes, you can improvise with household items. A toothpick or bobby pin works as a dotting tool, tape from your desk can stand in for striping tape, and a very fine paintbrush can replace a detail brush. The results may take more practice, but they prove you don’t need a big kit to get started.
Ready to give it a go? Grab your polishes, pick one simple design, and start creating nail art you’ll be proud to show off.
