
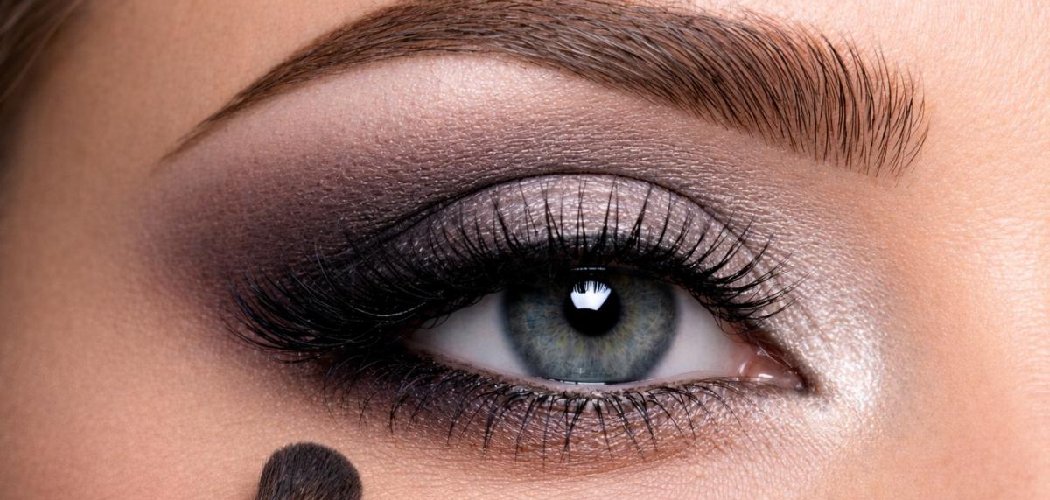
Want to know how to make your eyeshadow pop? The secret is layering a sticky base, packing color on with a flat brush instead of swiping it, and adding a shimmer topper to catch the light. Do those three things and even a drugstore palette will look brighter, bolder, and way more pigmented.
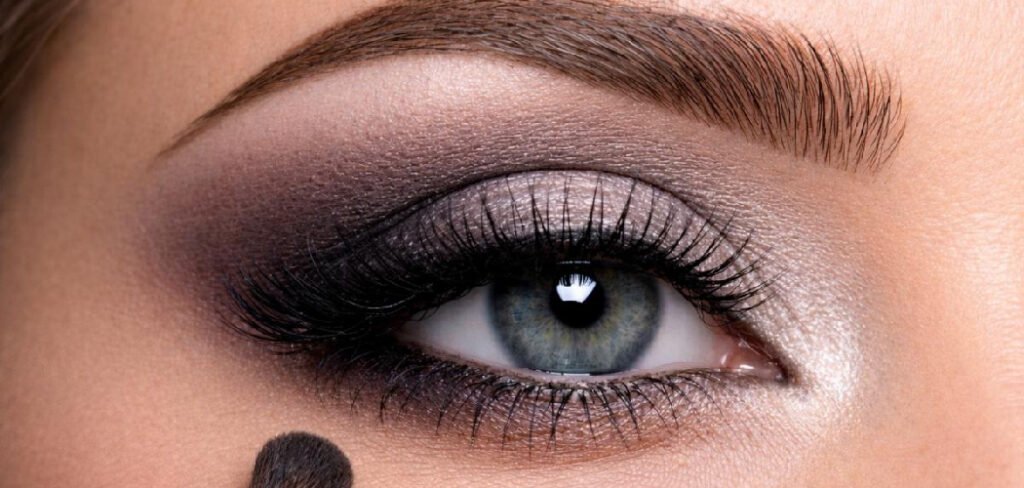
Below, I’ll walk you through every step like a friend doing your makeup before a night out. No confusing pro jargon, no 40-brush setups. Just the moves that actually make your eye color come alive.
Why Your Eyeshadow Looks Dull (And How to Fix It)
If your shadow keeps looking patchy or faded, you’re probably missing a base layer or blending too much before the color sets. Bare eyelids are oily, and that oil eats pigment for breakfast.
The fix comes down to prep, product placement, and building intensity in thin layers. Let’s get into what you’ll need first.
What You’ll Need
Grab these before you start. You don’t need every single item, but the primer and a good shimmer are non-negotiable if you want that punchy, high-impact look.
- Eyeshadow Primer — a base that grips pigment and stops creasing (fading into your crease lines)
- A Flat Shader Brush — dense, paddle-shaped, for packing color onto the lid
- A Fluffy Blending Brush — soft and rounded, for diffusing edges
- A Pigmented Eyeshadow Palette — look for both matte (no shimmer) and shimmer shades
- A Loose Shimmer or Metallic Topper — the real “pop” maker
- A Setting Spray — locks everything in place at the end
- A White or Nude Eyeliner Pencil — optional, but brightens shimmer shades dramatically
- A Small Concealer + Brush — for cleaning up fallout and sharpening edges
- A Spoolie or Damp Cotton Swab — for fixing mistakes
Keep a tissue nearby too. Trust me, you’ll want it.
10 Step-by-Step Guide on How to Make Your Eyeshadow Pop
Follow these in order. Each step builds on the last, so don’t skip ahead even if you’re tempted.
1. Prime the Lid
Start with a clean, moisturized eyelid. Dab a small amount of eyeshadow primer across the whole lid, from lash line up to the brow bone.
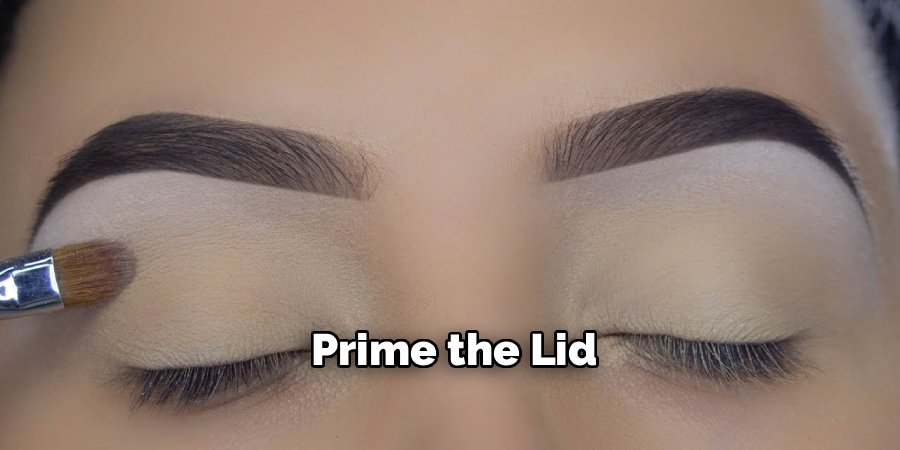
Use your fingertip and let it dry for about 30 seconds until it feels tacky. This sticky surface is what grabs your pigment and keeps colors vivid all day.
No primer on hand? A thin layer of concealer set with a dusting of powder works in a pinch.
2. Lay Down a Light Base Shade
Take your fluffy blending brush and sweep a neutral matte shade across the entire lid and into the crease (the fold above your eyeball).
This gives your brighter colors something to blend into later. Think of it as the primer for your primer, evening out your skin tone so the fun colors read true.
Keep this layer light. You’re just creating a canvas.
3. Build Your Transition Color
Pick a medium tone a shade or two deeper than your skin. Load your blending brush, tap off the excess, and work it into the crease using small windshield-wiper motions.
This “transition shade” softens the jump between your lid color and your skin. Without it, bold shadow can look like a harsh stripe.
Build slowly. It’s easier to add more than to remove too much.
4. Pack On Your Main Color
Here’s where the magic happens. Switch to your flat shader brush and press — don’t swipe — your main shade directly onto the center of your lid.
Packing motion deposits way more pigment than dragging the brush. Pat it on in short, firm taps and watch the color intensify.
Safety note: Keep your eyes closed and relaxed while working near the lash line. Never poke the brush toward your eye, and stop right away if any product stings or your eyes water. Sharp tools and pigment don’t belong on the waterline unless the product is labeled eye-safe.
5. Wet Your Brush for Extra Pop
Want even more intensity? Lightly mist your flat brush with setting spray or water, then pick up your shimmer shade.
A damp brush turns shimmer and metallic shades into a foil-like, reflective finish. The color goes on richer and more concentrated.
Just don’t soak the brush. A single spritz is plenty, or you’ll get a muddy mess.
6. Apply Your Shimmer Topper
Now grab your loose shimmer or metallic topper. With a damp fingertip or the flat brush, press it onto the center of the lid, right on top of your main color.
Focus the sparkle in the middle of your eye. This catches the light and makes your whole eye look rounder and brighter.
Layering shimmer over a matching matte base is the single biggest trick for making shadow pop. The matte gives depth; the shimmer gives shine.
7. Deepen the Outer Corner
For dimension, take a darker shade on your blending brush and concentrate it on the outer third of your eye and the outer crease.
Blend it inward slightly so it fades into your transition shade. This “outer V” shape adds contrast, and contrast is what makes the bright center really stand out.
Buff any hard lines with a clean fluffy brush until everything melts together.
8. Brighten the Inner Corner and Brow Bone
Dab your shimmer topper into the inner corner of your eye, right where it meets your nose. Add a touch under the arch of your brow too.
These highlights open up your eyes and make them look wider and more awake. It’s a tiny step with a huge payoff.
9. Line the Waterline (Optional)
Your waterline is the inner rim of your lower eyelid, right against your eyeball. Lining it with a white or nude eyeliner pencil instantly brightens your whole eye and makes shimmer shades look more electric.
Only use a pencil that’s specifically labeled safe for the waterline. Skin here is delicate, so go gently and never share this pencil with anyone.
10. Set It All In Place
Finish by holding your setting spray about eight inches from your face and misting once or twice.

This locks your look so it won’t fade or crease through a long day. Let it dry naturally rather than fanning it, which can move your shadow.
Do a quick cleanup with concealer under the eye to sharpen your edges, and you’re done.
Pro Tips for Maximum Impact
Small tweaks make a big difference. Keep these in your back pocket.
- Match your shimmer to your eye color for a boost. Warm coppers and golds make blue and green eyes pop. Purples and bronzes flatter brown eyes beautifully.
- Try “baking” for a super-clean, bright finish. Baking means pressing loose setting powder under your eye, letting it sit for a few minutes while your face heat sets the concealer, then dusting it off. It catches fallout and leaves a crisp edge.
- Use a white eyeshadow base under bright colors. A layer of white or cream shadow under bold shades makes them look twice as vivid, almost like paint on a white wall versus a gray one.
- Cut the crease for extra drama. A cut crease is when you carve out a sharp line above your crease using concealer, then place shimmer below it so the lid color really jumps forward. Save this one for when you have time to blend carefully.
- Tap, don’t drag, every time you add shimmer. Dragging shimmer scatters the sparkle. Pressing keeps it dense and reflective right where you want it.
Common Mistakes to Avoid
Even great products fall flat if you make these slip-ups. Here’s what to watch for.
- Skipping primer. This is the number one reason shadow looks dull and creases within hours. Never skip it.
- Applying color to a bare, oily lid. Oil dilutes pigment and causes fading. Always start with a base.
- Over-blending your main color. Blend the edges, not the center. If you buff everything, you’ll blur away the intensity you worked to build.
- Using a cheap, sparse brush. A flimsy brush can’t pack pigment properly. A dense flat brush does most of the heavy lifting here.
- Applying too much product at once. Big chunks of shadow blend patchy and fall onto your cheeks. Build in thin layers instead.
- Forgetting to tap off excess. Loose powder on the brush leads to fallout everywhere. Always tap before you apply.
- Ignoring the inner corner. That little highlight does a lot of work. Don’t leave it out.
Frequently Asked Questions
How do I make my eyeshadow more vibrant without buying new products?
Prep is everything. Use a primer or a dab of concealer as a base, then pack your existing shadow on with a flat brush instead of swiping. Lightly dampening your brush before picking up shimmer shades will also make your current palette look far more pigmented, no shopping required.
Why does my eyeshadow look dull and patchy?
Usually it’s an oily lid, a missing base layer, or a swiping motion that only deposits a thin film of color. Start with primer, pack the shadow on by pressing, and build in thin layers. Patchiness almost always disappears once you add a proper base and stop dragging the brush.
What eyeshadow colors make brown eyes pop the most?
Warm tones like bronze, copper, gold, and rich purples make brown eyes stand out beautifully. Deep plums and warm shimmers create instant contrast against brown, while a touch of gold in the inner corner adds brightness. Brown eyes are versatile, so don’t be afraid to experiment.
Should I apply eyeshadow before or after foundation?
Many people do eyes first so any fallout can be wiped away before applying face makeup. If you prefer foundation first, just set the eye area with a little powder and keep concealer nearby for cleanup. Either order works, so pick whatever feels easiest for you.
Ready to Make Your Eyes Shine
That’s the whole formula: prime, pack, layer shimmer, and set. Grab your palette, try it tonight, and watch your eyeshadow finally pop the way it does in the pan.
