
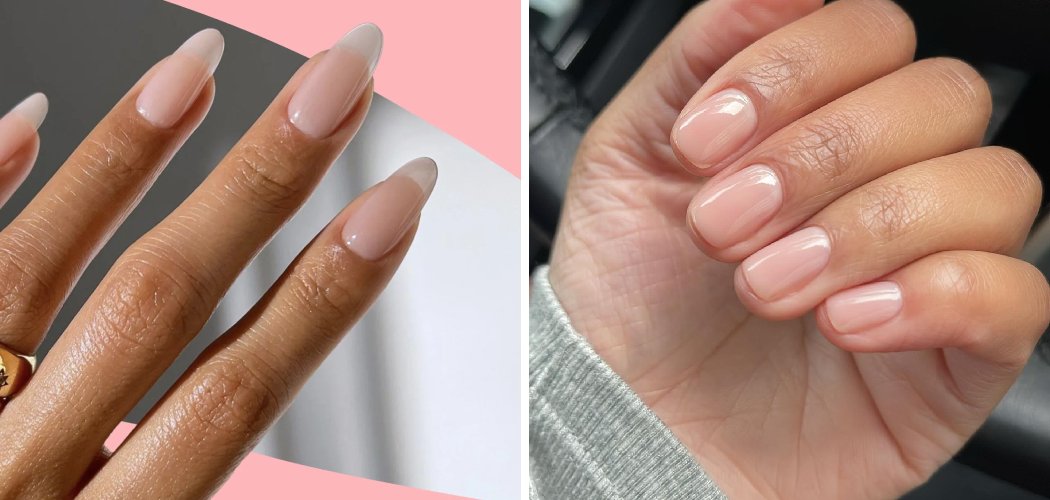
To use nail strengthener, start with clean, dry nails, then apply one thin coat over the entire nail surface and let it dry fully before adding anything else. Most people use nail strengthener as a base layer under polish or on bare nails a few times a week. It’s a simple habit that helps weak, peeling nails grow tougher over time.
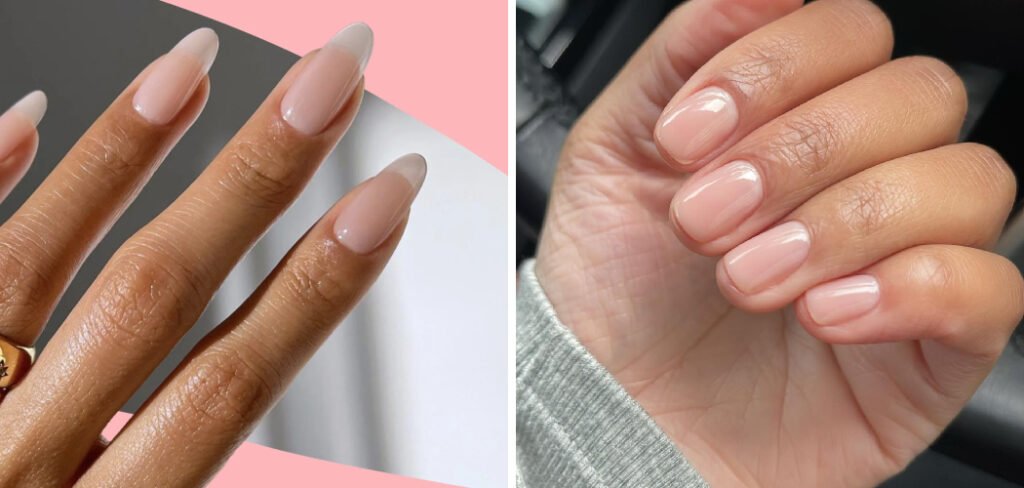
If your nails snap, bend, or flake before they reach any real length, a good strengthening treatment can make a noticeable difference. Below, I’ll walk you through exactly How to Use Nail Strengthener, when to use it, and the little mistakes that quietly cancel out your progress.
What Is Nail Strengthener and Why Use It
A nail strengthener (sometimes called a nail hardener or nail fortifier) is a clear liquid treatment that coats your nails to make them harder and more resistant to breaking. Think of it as a protective shield that also helps your natural nails hold up to daily wear.
There are two main kinds worth knowing:
- Hardeners — these contain ingredients that toughen the nail quickly. Great for very soft, bendy nails.
- Nourishing strengtheners — these focus on hydration and flexibility, often with vitamins, keratin, or oils. Better for dry, peeling nails.
Using one regularly can help your nails grow longer without splitting at the tips. It’s one of the easiest upgrades you can make to a nail routine, and it costs less than a single salon visit.
What You’ll Need
Gather these before you start so you’re not hunting for supplies mid-application. Most of these are cheap and last for months.
- A Nail Strengthener or Nail Hardener — the star of the show; pick a hardener for soft nails or a nourishing formula for peeling nails.
- A Base Coat — a clear polish layer that goes on first to protect the nail and help color stick (some strengtheners double as a base coat, so check the label).
- A Nail File — for smoothing and shaping the free edge, which is the white part of the nail that grows past your fingertip.
- A Buffer Block — a soft, spongy file that lightly smooths the nail surface.
- Cuticle Oil — to nourish the cuticle, the thin strip of skin at the base of each nail.
- A Cuticle Pusher — a small tool to gently push back that skin for a cleaner application.
- Nail Polish Remover — to wipe nails clean of oils and old polish before you start.
- Cotton Pads — for prepping and cleaning your nails.
- A Nourishing Hand Cream — for aftercare once your treatment dries.
Glass or crystal nail files are gentler on weak nails than cheap metal ones, so they’re worth the small splurge.
9 Step-by-Step Guidelines How to Use Nail Strengthener
Follow these in order for the best results. The whole process takes about 15 minutes, plus drying time.
1. Do a Quick Patch Test First
Before you coat all ten nails, dab a little strengthener on one nail or a small patch of skin near your wrist and wait a few minutes.
If you notice redness, itching, or any stinging around the skin, skip that product and try a gentler formula. This is general beauty caution, not medical advice, but it saves you from an uncomfortable reaction across every finger.
Do this especially with formaldehyde-based hardeners, which can irritate sensitive skin.
2. Remove Old Polish and Clean Your Nails
Wipe each nail with a cotton pad soaked in nail polish remover, even if you’re not wearing color.
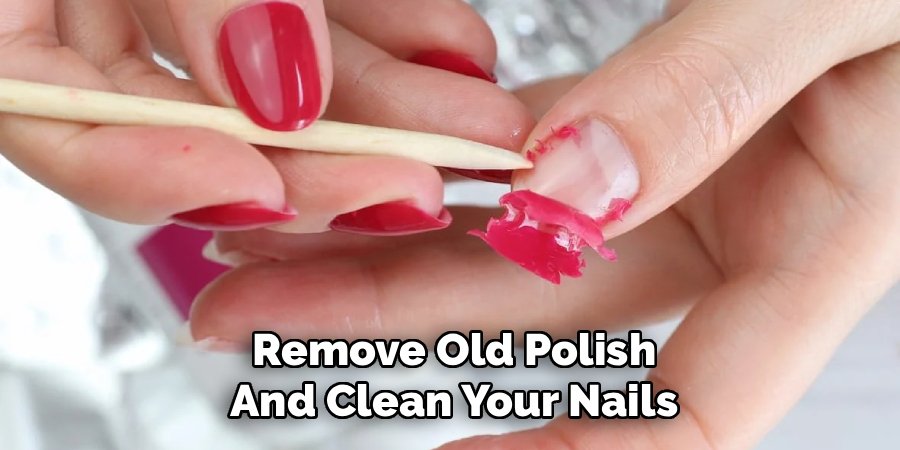
This clears away leftover polish, oils, and lotion. Strengthener needs a clean, oil-free surface to grip properly, so don’t skip this step.
Let your nails air-dry for a minute afterward.
3. Shape the Free Edge
Use your nail file to smooth and shape the free edge, the part of the nail that extends past your fingertip.
File in one direction rather than sawing back and forth. Back-and-forth filing creates tiny tears that lead to peeling, which is the opposite of what you want here.
Aim for a gentle, rounded or squared shape that matches your natural nail.
4. Gently Push Back Your Cuticles
Take your cuticle pusher and lightly ease back the cuticle at the base of each nail.
This gives you a clean canvas so the treatment coats the whole nail plate, not the skin. Be gentle, since pushing too hard can damage the nail as it grows.
Never cut your cuticles for this step. Pushing is enough.
5. Lightly Buff the Surface (Optional)
Give the top of each nail a quick, soft pass with your buffer block.
This knocks down any shine and helps the strengthener adhere. Keep it light, especially on thin nails, because over-buffing thins them further.
Once a week is plenty for this step. Skip it if your nails already feel fragile.
6. Apply One Thin Coat of Strengthener
Now for the main event. Brush on a single, thin layer of your nail fortifier, starting from the base and sweeping toward the tip.
Use three strokes per nail: one down the center, then one on each side. A thin coat dries faster and lasts longer than a thick, gloopy one.
Try to swipe the brush along the free edge too, sealing the very tip where breaks usually start.
7. Let It Dry Completely
Give each coat a few minutes to dry fully before you touch anything.
Rushing this is the top reason treatments smudge or peel early. If your formula allows a second coat, wait until the first is dry, then repeat.
You’ll know it’s dry when the surface no longer feels tacky.
8. Add Polish or Finish Bare
At this point you can leave your nails as they are for a subtle, glossy protective layer.
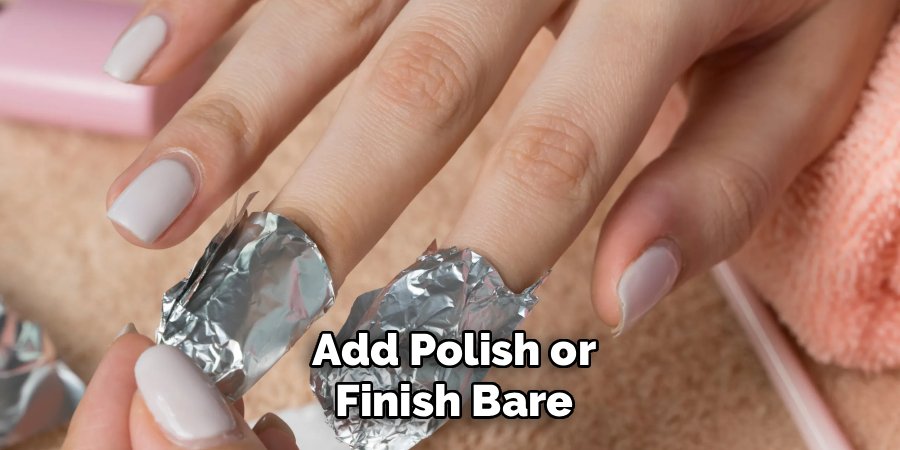
If you want color, your strengthener now acts as a base coat, so apply your polish right on top once it’s dry. Some people use strengthener alone on bare nails for a week, then switch to polish, and that’s totally fine.
9. Seal With Cuticle Oil and Hand Cream
Once everything is dry, massage a drop of cuticle oil into the skin around each nail.
Follow with a nourishing hand cream. Strengthener works on the nail, but hydrated cuticles and skin support healthier growth from the base.
This little finish makes your hands feel cared-for and keeps nails flexible rather than brittle.
Pro Tips for Stronger Nails
Small tweaks make a big difference with any strengthening treatment. Keep these in mind.
- Apply thin coats, always. Thick layers stay soft underneath, peel off in sheets, and waste product. Two thin coats beat one heavy one every time.
- Don’t use a hardener forever. Strong hardeners can make nails too rigid over months, which leads to brittleness and snapping. Use them for a set stretch, then switch to a nourishing formula.
- Reapply on a schedule. Most formulas suggest a fresh coat every two to three days, adding to what’s already there. Follow the label, since over-applying can build up too much.
- Match the formula to your problem. Bendy, soft nails want a hardener. Dry, flaky, peeling nails want hydration and keratin. Using the wrong type slows your results.
- Keep the brush off your skin. Strengthener is made for the nail, not the surrounding skin, and repeated contact can dry out or irritate your cuticles.
Common Mistakes to Avoid
Even a great product won’t help if these habits creep in. Watch out for the following.
- Applying over dirty or oily nails. Any leftover oil or lotion stops the treatment from bonding, so it flakes off within a day. Always prep first.
- Using it on nails that are already thick and healthy. Piling a hardener onto strong nails can over-harden them until they crack. If your nails feel fine, you may not need one at all.
- Filing back and forth. This saws tiny splits into the free edge and causes the very peeling you’re trying to fix. File in one direction.
- Skipping the drying time. Touching wet coats leaves dents and shortens how long the treatment lasts. Patience pays off here.
- Ignoring the ingredient list. If a formaldehyde-based hardener irritates your skin, switch to a gentler, formaldehyde-free option. Your nails shouldn’t hurt.
- Expecting overnight results. Nails grow slowly, so give any treatment four to six weeks before you judge it. Consistency matters more than any single coat.
Frequently Asked Questions
How often should you apply nail strengthener?
Most nail strengtheners work best applied every two to three days, layering a fresh coat over the last one. After about a week, gently remove the buildup with polish remover and start a new cycle. Always check your specific product’s label, since some formulas are meant for daily use and others only a couple of times a week.
Can you put nail polish over nail strengthener?
Yes, and it’s a common way to use it. Once the strengthening layer dries completely, it acts as your base coat, so you can apply colored polish right on top. This gives you the protective benefits underneath while still letting you wear whatever shade you like.
How long does nail strengthener take to work?
Give it four to six weeks of consistent use before judging the results. Nails grow slowly, and you’ll first notice fewer splits and peels at the tips, followed by longer nails that don’t break as easily. If you see no change after two months, the formula may not suit your nail type, so try a different one.
Is nail strengthener bad for your nails?
Used correctly, it’s helpful rather than harmful. The main risk comes from overusing strong hardeners, which can make nails too rigid and prone to snapping over time. To stay safe, follow the recommended schedule, take breaks between cycles, and switch to a nourishing formula if your nails start feeling overly stiff. This is general beauty guidance, not medical advice.
Give Your Nails a Stronger Start
Grab a treatment that suits your nail type, prep properly, and keep those coats thin and consistent, and you’ll see the payoff in a few weeks of sturdier, longer nails.
