
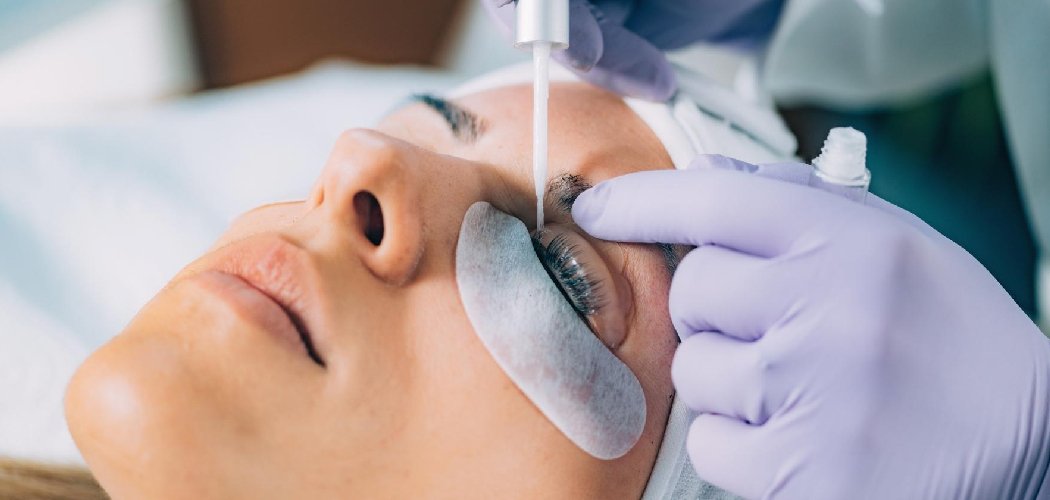
Making your own lash serum is easier and cheaper than you might think. You just blend a few nourishing oils in a small bottle, then brush the mix onto clean lashes each night. A homemade version costs a fraction of store-bought serums, and you control exactly what goes in it. That means no mystery fillers, no harsh additives, and a formula you can tweak to fit your own lashes.
The best part? Once you learn how to make lash serum, you can customize it endlessly. Want a lighter feel or a soothing scent? It’s all up to you.
Why Make Your Own Lash Serum?
Store-bought lash treatments can cost a small fortune, and many rely on ingredients you can’t even pronounce. When you mix your own, you know every drop that touches your lashes.
Here’s what makes the DIY route so appealing:
- Budget-friendly. A single batch of oils can last months and costs far less than a name-brand serum.
- Ingredient control. You choose gentle, natural oils and skip anything that irritates your skin.
- Fully customizable. Adjust the blend for thickness, scent, or your skin type whenever you like.
A quick, honest note: these homemade blends are conditioning oils that keep lashes soft and healthy-looking. They aren’t medical growth treatments, so think of them as nourishing care rather than a magic fix.
Ingredients You’ll Need
Gather these oils before you start. Each one brings something useful to the blend, and most are easy to find online or at a health store.
- Castor oil — the star ingredient; thick and conditioning, it coats lashes and keeps them looking full. This is the base of your serum.
- Fractionated coconut oil — a light, non-greasy oil that thins the blend so it glides on smoothly. Substitute with sweet almond oil if you prefer.
- Vitamin E oil — a nourishing antioxidant that also helps your serum last longer. You can snip open a vitamin E capsule if you don’t have the bottled kind.
- Rosehip oil — a lightweight oil rich in nutrients that softens the delicate lash line. Argan oil works as a swap.
- Lavender essential oil — just a drop or two for a light, calming scent. This is optional, and you can leave it out entirely or swap in a single drop of chamomile essential oil.
A word on essential oils: they’re strong, so use them sparingly and never near the actual eye. One or two drops in the whole batch is plenty.
Tools and Containers
You only need a few simple items to put your serum together. Clean everything well before you begin so no bacteria sneak into your blend.
- 5ml dropper bottle — the perfect size for a lash serum, and the dropper makes filling easy
- Small funnel — helps pour oils into the narrow bottle without spills
- A clean mascara wand or disposable spoolie for applying the serum
- A small bowl for mixing, if you’d rather blend before bottling
- Rubbing alcohol for sanitizing your bottle and tools
Sterilizing matters more than people expect. Since this blend sits near your eyes, a clean bottle keeps the whole thing safe to use.
How to Make Lash Serum: 9 Step by Step
Follow these steps in order for a smooth, well-mixed serum. The process takes just a few minutes once your supplies are ready.
Step 1: Sanitize Everything
Wipe down your dropper bottle, funnel, and any mixing tools with rubbing alcohol. Let them air dry fully before you add any oils.
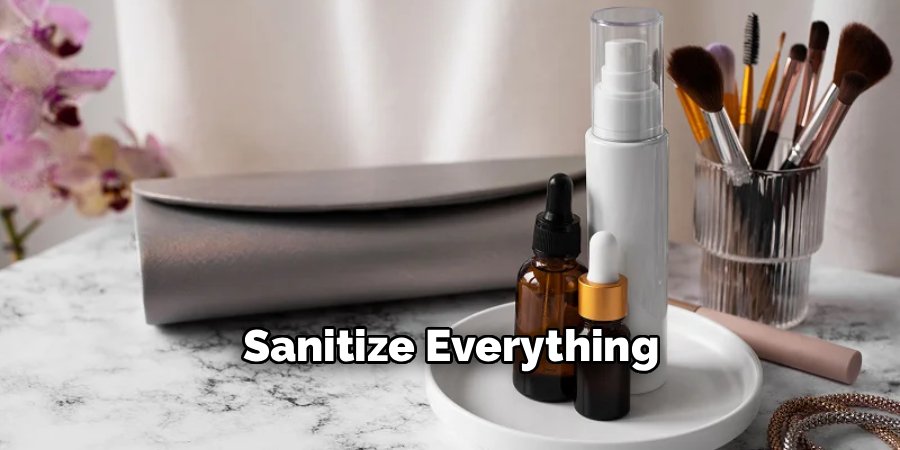
Even a small amount of moisture or grime can spoil your serum faster. Starting clean is the single best thing you can do.
Step 2: Add the Castor Oil
Using your small funnel, pour castor oil into the 5ml dropper bottle until it’s about half full. This thick oil forms the conditioning base of your blend.
Take your time here, since castor oil pours slowly. The funnel keeps everything neat.
Step 3: Pour in the Fractionated Coconut Oil
Add fractionated coconut oil until the bottle is roughly three-quarters full. This lighter oil loosens the thick castor oil so the serum spreads easily on lashes.
If the blend still feels heavy later, you can add a touch more of this oil. It’s the easiest way to control the texture.
Step 4: Drop in the Rosehip Oil
Add about five to seven drops of rosehip oil. This nutrient-rich oil softens the skin along your lash line and adds a nourishing boost.
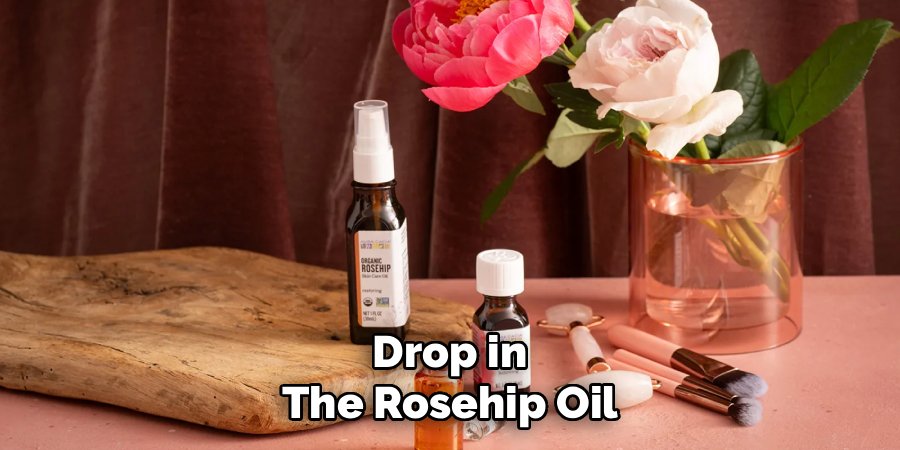
A little goes a long way, so don’t overdo it. You want a balanced blend, not an oil slick.
Step 5: Add the Vitamin E Oil
Squeeze in three or four drops of vitamin E oil. Besides nourishing your lashes, it acts as a natural preservative that helps your serum stay fresh longer.
This step is small but mighty. Vitamin E stretches the shelf life of your whole batch.
Step 6: Add Lavender Essential Oil (Optional)
If you’d like a gentle scent, add just one or two drops of lavender essential oil. Skip this step if you have sensitive skin or prefer no fragrance.
Remember, essential oils are potent. One drop is often enough for a bottle this size.
Step 7: Cap and Shake
Screw the dropper lid on tightly and give the bottle a good shake for about 20 seconds. This blends all the oils into one smooth serum.
Shake again before each use, since natural oils can separate over time. That’s completely normal.
Step 8: Label Your Bottle
Write the date you made it on a small label or piece of tape. This helps you track freshness so you know when it’s time to make a new batch.
Trust me, you’ll forget the date otherwise. A quick label saves guesswork later.
Step 9: Patch Test Before Full Use
Before brushing the serum near your eyes, dab a tiny bit on your inner arm and wait 24 hours. Check for any redness, itching, or irritation.
This step is essential because the eye area is so delicate. If your skin reacts anywhere, don’t use the blend near your lashes. If serum ever gets into your eye and stings, rinse right away with cool water.
How to Use Your Lash Serum
Once your patch test comes back clear, applying the serum is simple. Do this at night after washing off any makeup.
- Dip a clean spoolie lightly into the bottle, then wipe off any excess.
- Brush a thin layer along your upper lash line, the way you’d apply mascara.
- Use the smallest amount possible so nothing drips into your eyes.
- Leave it on overnight and rinse your face as usual in the morning.
Less is always more here. A light coat works better than a heavy, drippy one.
Customization Ideas
One of the joys of a DIY serum is making it truly yours. Here are a few easy ways to adjust the recipe.
For dry or sensitive skin: Add an extra drop or two of rosehip oil for more softening power, and skip the essential oil completely. A fragrance-free blend is gentler on reactive skin.
For a lighter feel: Increase the fractionated coconut oil and use a little less castor oil. This makes a thinner serum that absorbs quickly and never feels sticky.
For scent lovers: Swap the lavender for a single drop of chamomile or a whisper of vanilla oil. Keep it faint, since strong scents don’t belong near your eyes.
For extra nourishment: Toss in a drop of argan oil, known for its softening vitamins. It pairs nicely with the other oils without weighing them down.
Play around in small batches until you land on the mix you love. That way you’re never stuck with a big bottle you don’t enjoy.
Storage and Shelf Life
Because your serum uses natural oils and no strong preservatives, proper storage keeps it safe and effective. A little care goes a long way.
- Store it in a cool, dark spot. Heat and sunlight break down oils faster, so a bathroom drawer or cabinet works well.
- Keep the lid tight. Sealing the bottle blocks out air and bacteria that speed up spoilage.
- Use it within three months. Homemade oil blends don’t last forever, and a fresh batch is always safest.
- Never share your bottle or wand. Sharing near the eye area invites bacteria and possible irritation.
Watch for warning signs that your serum has gone off. If it smells rancid or sour, looks cloudy, or changes color, toss it out and make a new batch. When in doubt, throw it out.
Keeping your applicator clean matters too. Wash your spoolie regularly, or use a fresh disposable one, so you’re not dipping bacteria back into the bottle.
Frequently Asked Questions
How long does it take to see results from a DIY lash serum?
A homemade lash serum conditions and softens lashes, so you may notice they look shinier and feel healthier within a couple of weeks. Keep in mind this is a nourishing oil blend, not a medical growth product, so it won’t dramatically change your lashes overnight. Consistency is key. Applying a thin layer each night gives the oils time to keep your lashes soft and well-conditioned. If you ever notice irritation, stop using it and check with a professional.
Is castor oil safe to use on eyelashes?
Castor oil is a popular choice for lash care because it’s thick, conditioning, and coats lashes nicely. Most people tolerate it well when they apply a small amount carefully along the lash line. That said, everyone’s skin is different, which is why a 24-hour patch test is so important before you use it near your eyes. Always apply sparingly to avoid getting oil into your eye, and rinse with cool water right away if any gets in.
Can I make lash serum without castor oil?
Yes, you can swap castor oil for another conditioning oil if you’d prefer. Sweet almond oil or argan oil both work as gentler, lighter bases. Your serum will feel thinner without the castor oil, since castor is the thickest ingredient, but it will still nourish your lashes. Just keep the rest of the recipe the same and adjust the amounts until you get a texture you like. Remember to patch test any new blend before using it.
What oils are best for a homemade lash serum?
The best oils for a DIY lash serum are gentle, nourishing, and safe for the delicate eye area. Castor oil is the classic base thanks to its thick, conditioning feel, while fractionated coconut oil lightens the blend. Rosehip and argan oils add softening nutrients, and a drop of vitamin E oil helps everything last longer. Stick to lightweight, skin-friendly oils and use essential oils very sparingly, if at all, since the eye area is so sensitive.
Ready to give it a try? Gather your oils, sanitize your bottle, and mix up a fresh batch of lash serum tonight. Your lashes will love the extra care.
