
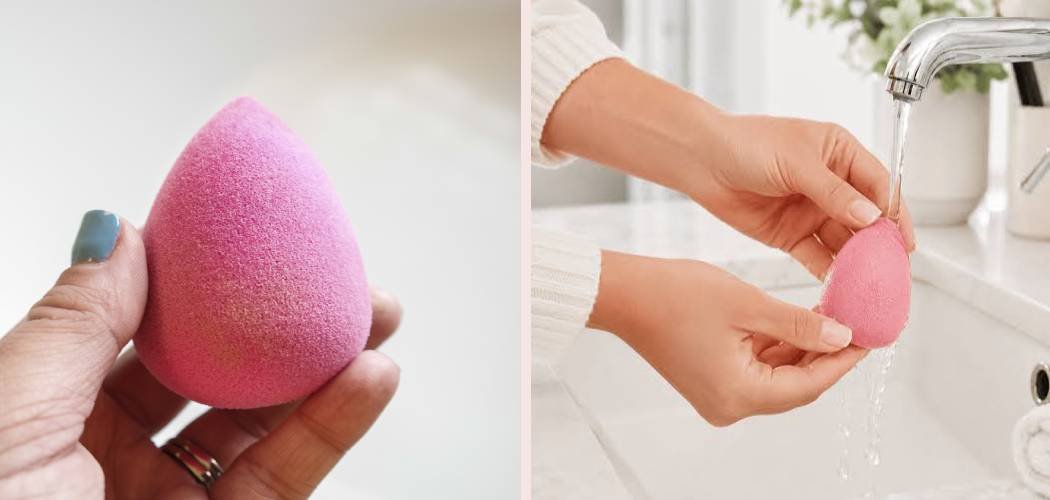
To wash a makeup sponge, wet it under warm water, work in a gentle cleanser or bar soap, and squeeze until the water runs clear. For a deep clean, you should wash your makeup sponge after every use, but at the very least aim for once or twice a week. The fastest method takes about two minutes and only needs your sponge, some soap, and running water.
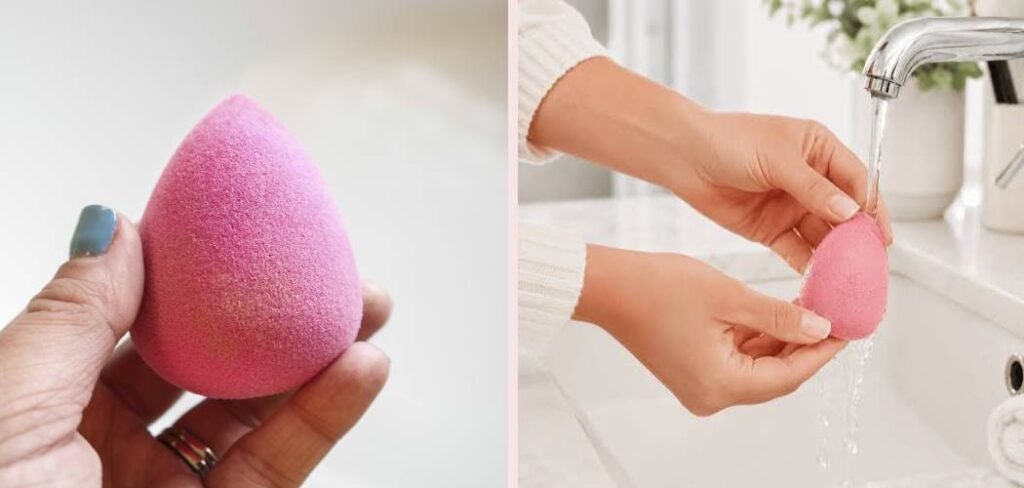
A dirty beauty sponge isn’t just gross to look at. It holds old makeup, oil, and bacteria that can lead to breakouts and patchy application. Learning how to wash makeup sponge properly keeps your skin happier and makes your sponge last longer, too. Let’s walk through it together.
What You’ll Need
You probably have most of this already. A few of these items make the job faster and more thorough.
- Makeup Sponge Cleanser — a soap made specifically for beauty tools that cuts through product buildup
- Gentle Bar Soap — a mild, fragrance-free bar works beautifully and is budget-friendly
- Solid Cleansing Soap Bar for Sponges — many brands sell a firm bar you can swirl the sponge against
- Silicone Cleaning Mat — a textured pad or glove that helps scrub out deep-set stains
- Olive Oil or Baby Oil — great for breaking down stubborn foundation before washing
- Clean Towel — for pressing out water and helping it dry faster
- Warm Water — the real workhorse of the whole process
If you’re just starting out, a bar of gentle soap and warm water will do the trick. The specialty products simply speed things up and handle heavy staining better.
How to Wash a Makeup Sponge: Step-by-Step Guide
Follow these steps for a fresh, clean sponge every time. The whole thing takes just a few minutes.
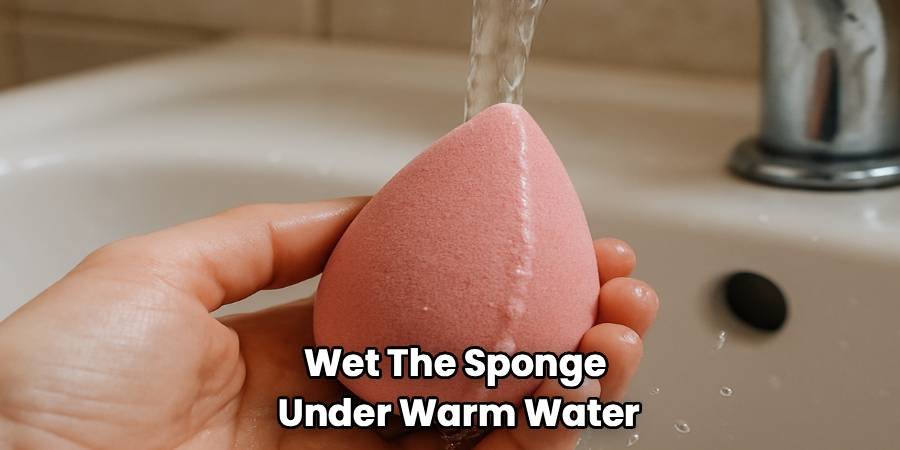
Step 1: Wet Your Sponge
Hold your makeup sponge under warm running water until it’s fully soaked. It will swell up and get bigger—that’s normal and exactly what you want.
Give it a gentle squeeze once it’s saturated. This helps the water reach deep into the sponge where old makeup likes to hide.
Step 2: Add Your Cleanser
Apply a small amount of your chosen soap directly onto the wet sponge, or rub the sponge against a solid cleansing bar. You only need a little—a pea-sized drop of liquid cleanser is plenty.
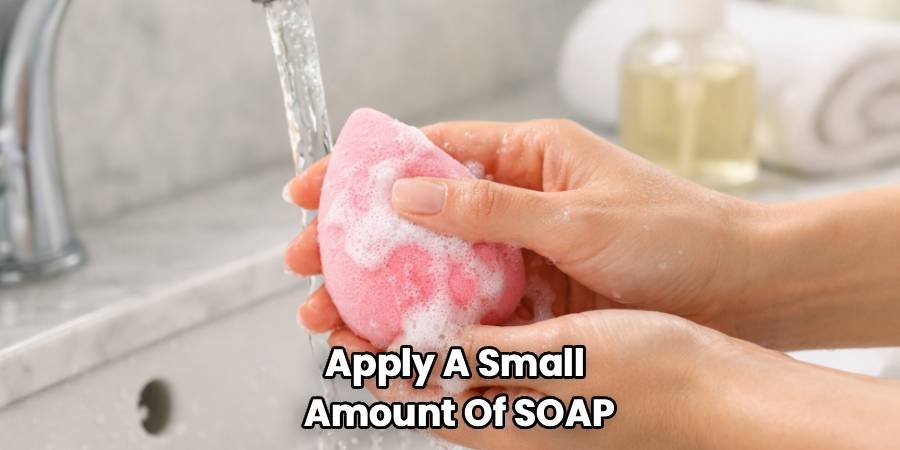
If you’re using a bar, swirl the sponge against it in circles until you see suds forming. The goal is a good lather, not a mountain of foam.
Step 3: Massage and Lather
Gently squeeze and roll the sponge in your palm to work the soap through. You’ll start to see the water turn cloudy or tinted with your foundation color.
Keep massaging until the suds build up. This is where the deep cleaning happens, so don’t rush it.
Step 4: Use a Cleaning Mat for Stubborn Stains
If your sponge is heavily stained, press it against a silicone cleaning mat and swirl. The little bumps and ridges dig into the sponge and lift out trapped product.
No mat? Your palm works fine—it just takes a bit more effort. Rub the sponge against the textured lines on your hand.
Step 5: Rinse Until the Water Runs Clear
Hold the sponge back under warm running water and squeeze repeatedly. Watch the water as it drains from the sponge.
Keep rinsing and squeezing until the water comes out completely clear with no soap or color left. This step matters—leftover soap can irritate your skin next time you use the sponge.
Step 6: Squeeze Out Excess Water
Press the sponge firmly between your palms to push out as much water as you can. Then wrap it in a clean towel and gently squeeze again.
Avoid wringing or twisting it hard, since that can tear the sponge. A gentle press keeps it in one piece.

Step 7: Let It Air Dry Completely
Set your sponge in an open, airy spot to dry—never sealed inside a drawer or makeup bag while damp. A windowsill or a sponge holder with airflow works great.
Make sure it’s fully dry before you store or use it again. A damp sponge is a breeding ground for bacteria and mold, which you definitely don’t want near your face.
Tackling Stubborn Foundation Stains
Sometimes soap alone won’t budge dried-in foundation. Here’s a simple trick for those deeply stained sponges.
- Pour a small amount of olive oil or baby oil onto the stained area
- Massage it in for about 30 seconds to break down the oily makeup
- Follow up with your regular soap wash to remove the oil
- Rinse thoroughly until the water runs clear
The oil dissolves the makeup, and the soap then washes the oil away. It’s an easy one-two punch for sponges that have seen better days.
How Often Should You Do This?
The honest answer: more often than most people do. Makeup artists recommend washing your sponge after every single use, especially if you use it with liquid or cream products.
Here’s a realistic breakdown based on how you use yours:
- Daily users: Rinse after each use and do a full soap wash every 2–3 days
- A few times a week: Wash thoroughly after each use
- Occasional users: Clean it before it dries out with old product, ideally within a day of using it
Why so often? Your sponge sits in a warm, damp bathroom and touches your face directly. That combination makes it a magnet for bacteria.
A quick daily rinse plus a deeper weekly clean is a good rhythm for most people. Your skin will thank you.
The Quick Method for Busy Mornings
Short on time? A fast rinse is far better than skipping it altogether. Here’s a speedy version for when you’re rushing.
- Wet the sponge under warm water
- Add a drop of gentle soap and squeeze it through a few times
- Rinse quickly until most of the color is gone
- Press it in a towel to remove water
- Set it out to air dry while you finish getting ready
This won’t get it as spotless as a full wash, but it clears away the surface makeup and germs. Just plan for a proper deep clean when you have a few extra minutes.
Another handy shortcut is a microwave method for a quick sanitize: submerge your sponge in a mug of water mixed with a bit of soap, then microwave for about one minute. Let it cool completely before touching it, since it will be very hot. This loosens buildup and freshens things up in a pinch.
Signs It’s Time to Replace vs. Keep Cleaning
Even the best-loved sponge doesn’t last forever. Washing extends its life, but at some point you’ll need a fresh one. Here’s how to tell the difference.
Keep cleaning if your sponge:
- Still bounces back to its original shape after squeezing
- Rinses clean with no lingering stains after a proper wash
- Feels soft and springy when wet
- Has no odd smell once it’s dry
Time to replace it if your sponge:
- Has tears, rips, or chunks missing
- Stays stained no matter how much you wash it
- Smells musty or sour even after cleaning (a sign of mold or trapped bacteria)
- Feels hard, crumbly, or has lost its bounce
- Has visible mold spots—toss it immediately, no exceptions
As a general rule, most beauty sponges should be replaced every 3 to 4 months, even with regular washing. If you use yours daily, you might swap it sooner. When in doubt about anything on your skin, gentle caution is always the safer route—retire a sponge you’re unsure about rather than risk irritation.
Frequently Asked Questions
How do you deep clean a makeup sponge?
To deep clean a makeup sponge, wet it with warm water and rub it against a solid cleansing bar or specialty sponge cleanser until it lathers well. Massage the suds through the sponge, use a silicone cleaning mat to work out stubborn stains, then rinse and squeeze until the water runs completely clear. For heavy foundation stains, massage in a little olive oil first to break down the makeup before washing with soap. Finish by pressing out the water and letting it air dry fully.
Can you wash a makeup sponge with just soap and water?
Yes, gentle soap and warm water are all you really need to clean a makeup sponge. A mild, fragrance-free bar soap works wonderfully and won’t cost much. Simply wet the sponge, lather the soap through it, and rinse until clear. Specialty cleansers and cleaning mats just make the job faster and handle deep staining more easily, but they aren’t essential.
How often should you wash your makeup sponge?
Ideally, you should rinse your makeup sponge after every use and do a thorough soap wash at least once or twice a week. If you use it daily with liquid or cream products, a deeper clean every 2–3 days keeps bacteria in check. Because sponges stay damp and touch your face directly, frequent cleaning is the best way to protect your skin from breakouts.
Why does my makeup sponge still smell after washing?
If your sponge smells musty or sour even after a wash, it usually means bacteria or mold has settled deep inside. This often happens when a sponge doesn’t dry fully between uses or has been stored while still damp. Try a deep clean with fresh soap and let it air dry completely in an open space. If the smell won’t go away, it’s time to replace the sponge—a lingering odor is a clear sign it’s past its prime.
Ready for flawless, streak-free makeup? Give your sponge a good wash today and feel the difference a clean tool makes.
