
Chapped, flaky lips got you down? Learning how to make a lip mask at home is easier than you’d think, and it costs a fraction of what you’d spend on fancy store-bought versions. With a few kitchen staples, you can whip up a nourishing treatment that softens, smooths, and hydrates your pout while you relax.
The best part? You control every single ingredient. No mystery additives, no synthetic fragrances you can’t pronounce, just simple nourishing goodness. Let’s get into it.
Why Make Your Own Lip Mask?
Store-bought lip masks can run you anywhere from $10 to $30 a pop. That adds up fast, especially if you use one a few times a week. A homemade version costs pennies per use.
Here’s why the DIY route wins:
- It’s budget-friendly. Most ingredients are things you already have in your pantry.
- You control what goes on your lips. No preservatives, artificial colors, or fillers unless you want them.
- It’s fully customizable. Adjust the scent, texture, and richness to suit your preferences and skin type.
- It makes a great gift. Batch a few and share them with friends.
Once you make your first one, you’ll wonder why you ever bought them.
Ingredients You’ll Need
The beauty of a DIY lip mask is flexibility. You only need a couple of base ingredients, and almost everything is swappable. Here’s your starter list:
- 1 tablespoon coconut oil — Your rich, hydrating base. Substitute: shea butter or cocoa butter for a thicker, more balm-like feel.
- 1 teaspoon honey — A natural humectant that pulls moisture into the lips. Substitute: maple syrup or agave if you’re avoiding honey.
- 1/2 teaspoon beeswax pellets — Helps the mask set and stay put. Substitute: candelilla wax for a vegan option.
- 1/2 teaspoon vitamin E oil — Soothes and helps protect delicate skin. Substitute: almond oil or jojoba oil.
- A pinch of brown sugar (optional) — For a gentle exfoliating version. Substitute: fine white sugar.
That’s it. Five ingredients max, and you can trim it down to just coconut oil and honey if that’s all you have.
Patch-test first: Before slathering anything new on your lips, dab a tiny amount on the inside of your wrist and wait 24 hours. If you notice redness, itching, or irritation, skip that ingredient. This is especially important if you have sensitive skin or known allergies to bee products or nuts.
Tools and Containers You’ll Need
You don’t need anything fancy here. Chances are your kitchen already has most of this covered:
- A small heat-safe bowl or double boiler
- A spoon or small whisk for stirring
- A microwave or stovetop for melting
- Measuring spoons
- A clean container with a tight-sealing lid for storage
For storage, an airtight container matters more than you might think, it keeps your mask fresh and blocks moisture that leads to spoilage. The Dipoo 60 Sets Deli Containers with Lids are a solid pick. They’re BPA-free, food-grade, and leak-proof, so your mask stays clean and sealed.
They also come in three sizes (8 oz, 16 oz, and 32 oz), which is handy since a little lip mask goes a long way. The smaller 8 oz size is perfect for a single batch, and the tight-snap lids keep air out. Bonus: they’re dishwasher and freezer safe, so you can reuse them for your next batch.
How to Make a Lip Mask: Step-by-Step
Ready to make your own? Follow these simple steps and you’ll have a finished lip mask in about 15 minutes.
- Set up your workspace. Gather all your ingredients and tools. Make sure your storage container is clean and completely dry, any leftover water can shorten your mask’s shelf life.
- Melt the base. Add the coconut oil and beeswax pellets to your heat-safe bowl. Microwave in 15-second bursts, stirring between each, until fully melted. If you’re using a stovetop, use a double boiler over low heat.
- Add the honey. Stir in the honey while the mixture is still warm. Keep stirring until it blends smoothly with no clumps.
- Mix in the vitamin E oil. Pour in the vitamin E oil and give it a good stir. This adds slip and helps the mask feel silky on your lips.
- Add exfoliant (optional). If you want a scrub-style mask, sprinkle in the brown sugar now. Stir until it’s evenly distributed. Skip this step if you prefer a smooth, balm-like mask.
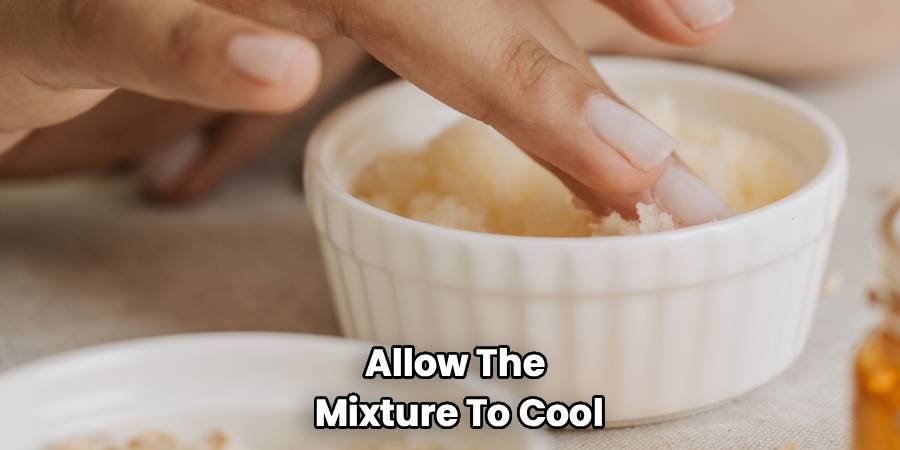
- Let it cool slightly. Allow the mixture to cool for a minute or two so it thickens a bit but is still pourable.
- Transfer to your container. Carefully spoon or pour the mask into your clean container. Wipe away any drips around the rim so the lid seals tightly.
- Let it set. Pop the container in the fridge for 20 to 30 minutes to firm up. Once solid, it’s ready to use.
To apply, swipe a thin layer over clean lips, leave it on for 10 to 15 minutes, then gently wipe away or rub in the excess. Use it a few times a week or as an overnight treatment.
Customization Ideas
This is where the fun begins. Once you’ve got the base recipe down, you can tweak it endlessly. Here are some ideas to get you started:
By scent and flavor:
- Add a drop of vanilla extract for a cozy, sweet scent.
- Stir in a tiny pinch of peppermint (use sparingly, it can tingle) for a fresh, cooling feel.
- Mix in a bit of cocoa powder for a chocolatey twist.
By finish:
- Want a glossy, balmy finish? Skip the sugar and add extra coconut oil.
- Prefer a matte, sink-in treatment? Use shea butter as your base instead of oil.
- Craving a scrub? Bump up the sugar for more exfoliating grit.
By skin type:
- Dry, cracked lips: Load up on shea butter and vitamin E for maximum richness.
- Sensitive skin: Keep it simple with just coconut oil and a touch of honey. Fewer ingredients means fewer irritation risks.
- Oily or combination skin: Go lighter with jojoba oil, which mimics your skin’s natural oils without feeling heavy.
Feel free to experiment. Just remember to patch-test any new ingredient before applying it to your lips.
Storage and Shelf Life
Since your homemade lip mask has zero preservatives, storage is a big deal. Handle it right and it’ll stay fresh and safe to use.
Here’s how to keep it in good shape:
- Store it airtight. Always use a container with a tight, sealing lid. The Dipoo 60 Sets Deli Containers work well here because their leak-proof, airtight snap lids block out air and moisture.
- Keep it cool. Store your mask in the fridge, especially in warm weather. Cooler temps slow down spoilage.
- Use clean hands or a tool. Scoop out the mask with a clean spatula or cotton swab instead of your fingers. This keeps bacteria from getting in.
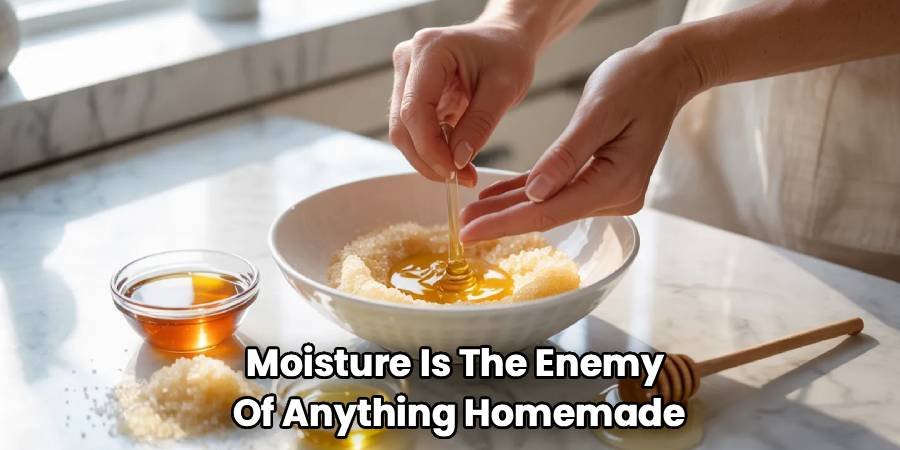
- Watch for water. Moisture is the enemy of anything homemade. If water sneaks in, mold can grow much faster.
Shelf life: A honey-and-oil-based lip mask typically lasts about 2 to 4 weeks when stored in the fridge. Recipes with water-based ingredients spoil faster, so those are best used within a week.
Safety note: Toss your lip mask immediately if you notice any change in smell, color, or texture, or if you spot any mold. When in doubt, throw it out and make a fresh batch. It only takes 15 minutes, after all.
Making small batches is smart. You get fresh product every time, and you’re not stuck tossing a big jar that went bad before you finished it.
Frequently Asked Questions
How long should I leave a homemade lip mask on?
For most masks, 10 to 15 minutes is plenty. If you’re using it as an overnight treatment, apply a thin layer before bed and let it work while you sleep. Just avoid pressing your lips against your pillow too much so you don’t wipe it all off.
Can I use a DIY lip mask every day?
Yes, a gentle oil-and-honey mask is safe for daily use. If your version includes sugar for exfoliation, stick to two or three times a week to avoid over-scrubbing your delicate lip skin. Listen to your lips, if they feel irritated, scale back.
What is the best ingredient for a hydrating lip mask?
Honey and coconut oil are the dream team for hydration. Honey acts as a humectant, drawing moisture in, while coconut oil seals it. Shea butter and vitamin E oil are also excellent for deep, long-lasting nourishment on very dry or cracked lips.
Why did my homemade lip mask go bad so quickly?
The most common culprits are moisture and contamination. If water gets into your mask, or if you keep dipping in with dirty fingers, bacteria and mold move in fast. Store it airtight in the fridge, use a clean tool to scoop, and keep every drop of water out during mixing.
Ready to Pamper Your Pout?
Now that you know how to make a lip mask at home, there’s nothing stopping you from ditching those pricey store-bought jars. Grab your ingredients, whip up a batch, and treat your lips to the soft, smooth care they deserve, all for just pennies per use. Happy mixing!
