
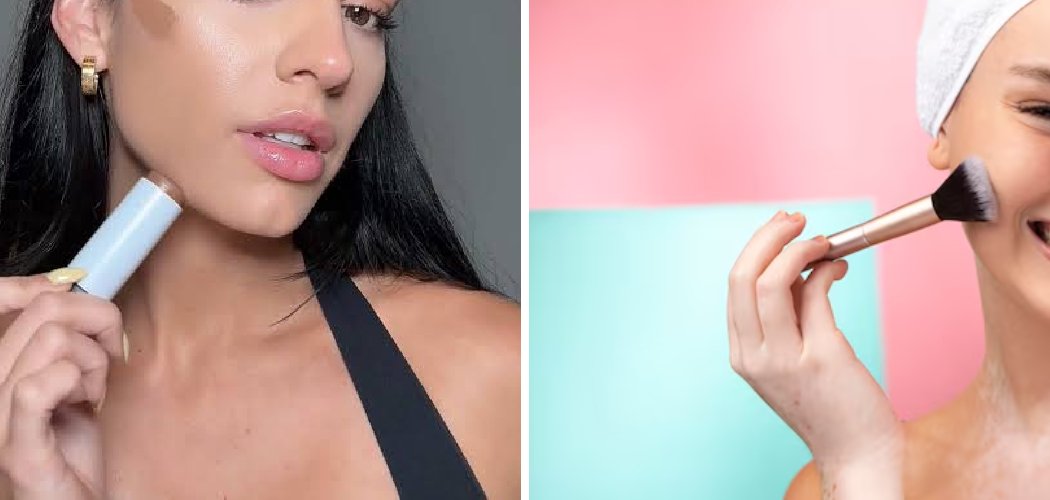
To use the Makeup by Mario contour stick, swipe a few short lines onto the hollows of your cheeks, along your hairline, and under your jaw, then blend upward with a damp sponge or brush until the color melts into your skin.
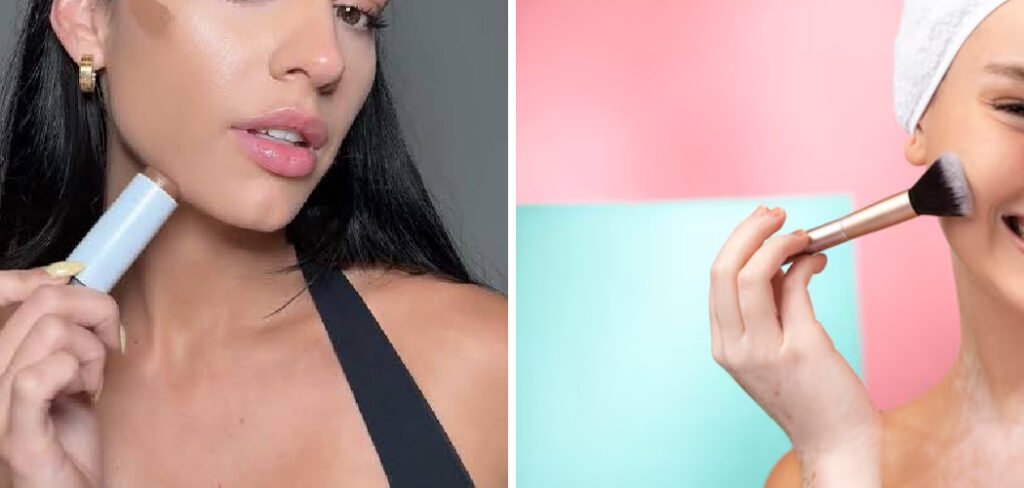
Knowing how to use Makeup by Mario contour stick means you can sculpt natural-looking shadows in seconds, giving your face definition without any muddy or streaky patches.
This creamy, blendable formula has earned a loyal following because it mimics the look of real shadow rather than heavy makeup. Whether you’re brand new to contouring or just switching from powder, the technique is simple once you know where to place the color and how to buff it out. Let’s break it down together, step by step.
What You’ll Need
You only need a few tools to sculpt a soft, believable contour. Here’s everything that helps the product glide on and blend seamlessly.
- Makeup by Mario SoftSculpt Shaping Stick — the star of the show, a creamy contour stick in a swipe-and-blend format
- Damp makeup sponge — presses the color in for the most natural, skin-like finish
- Angled contour brush — for precise placement along cheekbones and jawline
- Fluffy blending brush — softens any harsh edges after blending
- Foundation or tinted moisturizer — creates a smooth base for the cream to grab onto
- Setting powder — a light dusting locks the contour in place for longer wear
- Setting spray — a fine mist that melts everything together for a cohesive look
A quick note on shades: contour products come in cool and warm tones. Cool-toned shades mimic natural shadow best, while warmer shades lean toward a bronzed, sun-kissed effect. Pick the one that suits the look you’re after, and when in doubt, go one shade deeper than your skin tone for a soft, natural shadow.
How to Use Makeup by Mario Contour Stick: 8 Step-by-Step
Here’s the full routine broken into easy steps. Follow along and you’ll get a sculpted, natural-looking finish every time.
Step 1: Start with a smooth, even base
Apply your foundation or tinted moisturizer first, and blend it fully. A creamy contour stick grips best on a base that’s already smooth and even.
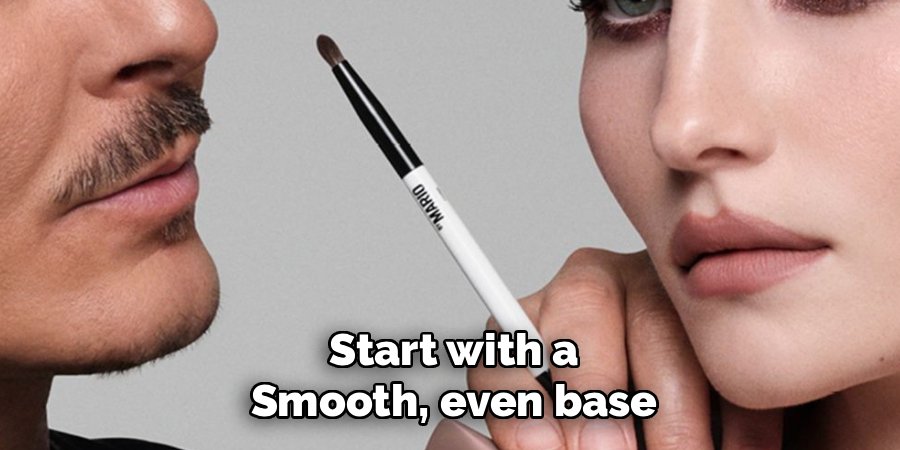
Skip heavy powder at this stage. Cream products blend into other cream or liquid formulas beautifully, so keep your canvas fresh and slightly dewy.
Step 2: Find your placement zones
Before you swipe anything, know where the color goes. The main spots are the hollows under your cheekbones, along your hairline, the sides of your nose, and under your jaw.
To find your cheek hollows, gently suck in your cheeks — that natural dip is exactly where the contour belongs. This placement creates the illusion of lifted, sculpted cheekbones.
Step 3: Swipe on a small amount of product
Draw a short, thin line of the contour stick along the hollow of each cheek, angling it up toward the top of your ear. Keep the line light — you can always add more.
Then dab a little along your hairline, down the sides of your nose if you like, and under your jaw. The formula is pigmented, meaning a little goes a long way, so resist the urge to pile it on.
Step 4: Blend the cheek contour upward
Using a damp sponge or angled brush, blend the cheek line upward and back toward your ear. Work in small bouncing motions rather than dragging across your skin.
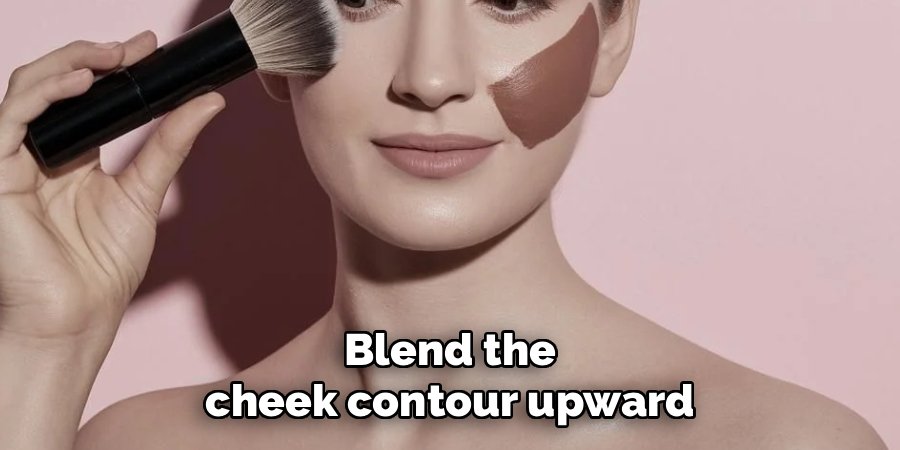
Blending upward keeps the shadow crisp and lifts the face. A damp sponge gives the softest, most airbrushed result, while a brush offers more control over the exact shape.
Step 5: Soften the hairline and jaw
Blend the color along your hairline in gentle circular motions so it fades naturally into your skin. Do the same under your jaw, sweeping the product down slightly toward your neck.
This step warms up the outer edges of your face and helps the contour look like real shadow. Blurring these areas ties the whole look together.
Step 6: Blend the nose contour (optional)
If you added lines down the sides of your nose, blend them with a small brush or your fingertip. Use tiny, controlled motions so the lines stay slim and defined.
A slimmer, well-blended nose contour looks far more natural than a wide, heavy one. Take your time here since this area shows blending mistakes easily.
Step 7: Check and build up gradually
Step back and look at your face in good lighting. If you want more depth, add another thin layer to the areas that need it and blend again.
Building slowly keeps everything natural. Two sheer layers always look better and more believable than one heavy application.
Step 8: Set your contour
Lightly dust setting powder over the contoured areas to lock the cream in place. This keeps the color from sliding or fading through the day.
For a dewier finish, skip the powder and go straight to setting spray. A few spritzes held about an arm’s length away melt everything into one smooth, cohesive look.
Safety first: Before using any new contour stick, patch-test a small dab on your inner arm or jaw and wait a day to check for redness or irritation. Avoid applying over broken or irritated skin, and keep the product away from your eyes. These are general beauty tips, not medical advice — if your skin reacts, stop using the product and give it a break.
Pro Tips
Once you’ve got the basics down, these small tweaks take your contour from good to flawless.
- Use a damp sponge for the softest finish. A slightly damp sponge presses the color into your skin instead of leaving it sitting on top, giving that seamless, second-skin look.
- Blend one area at a time. Cream contour sets as it warms on your skin, so swipe and blend each section before moving to the next. This keeps everything soft and streak-free.
- Angle the color upward, not straight across. Following the natural line from the corner of your mouth toward the top of your ear creates the most lifting, flattering effect.
- Match the shade to your skin’s undertone. Cool-toned shades read as true shadow, while warmer ones lean bronzed. Choosing the right one makes all the difference in how natural your contour looks.
- Less is more with placement. A thin, well-blended line looks far more expensive than a thick stripe. Start small and build only where you need extra depth.
Common Mistakes to Avoid
Even seasoned makeup lovers slip up with cream contour. Here are the usual culprits and how to sidestep them.
Using too much product at once. The formula is highly pigmented, so a heavy hand leads to obvious, muddy stripes. Start with a thin line and build slowly.
Placing the contour too low or too wide. Color that sits too far down on the cheek or spreads too wide can drag the face down. Keep it in the natural hollow and angle it up toward your ear.
Blending too slowly. Cream products set as they warm up, so work one section at a time while the product is still fresh and movable.
Dragging your sponge or brush. Wiping back and forth disturbs your base and creates streaks. Use gentle patting and bouncing motions instead.
Choosing a shade that’s too warm. An overly bronzed shade can look like a stripe rather than a shadow. For true sculpting, lean cooler and more neutral.
Forgetting to blend the edges. Harsh lines are the fastest way to make contour look obvious. Go over the borders with a clean, fluffy brush to blur everything out.
Frequently Asked Questions
How do you blend the Makeup by Mario contour stick so it looks natural?
The key is a damp sponge and gentle patting motions. Swipe a thin line of product onto the hollow of your cheek, then bounce the sponge over it, working upward toward your ear until there’s no visible edge.
Blend one section at a time before the cream sets, and build color in thin layers rather than all at once. If you spot any harsh lines, sweep a clean fluffy brush over the edges to soften them further.
Do you apply cream contour before or after foundation?
Apply cream contour after your foundation but before any setting powder. Foundation gives the contour a smooth surface to grip, and skipping powder first means the cream can blend properly.
If you set your face with powder first, the cream won’t glide on smoothly and may look patchy. Save the powder for the very end to lock everything in place.
What shade of contour stick should I choose for my skin tone?
Go one to two shades deeper than your natural skin tone, and lean toward a cool or neutral undertone. Cool-toned shades mimic the look of real shadow, which is exactly what makes a contour look believable.
Warmer shades work well if you want a bronzed, sun-kissed effect rather than pure sculpting. If you’re unsure, start with a cooler shade and build gradually, since it’s easier to add warmth later with bronzer.
Can you use a contour stick without setting powder?
Yes, you can skip the powder if you prefer a dewy, glowing finish. Simply blend the cream contour into your base and finish with a setting spray to help it last.
Powder is helpful if you have oily skin or want extra staying power, since it locks the cream in place. For normal to dry skin, a setting spray alone often keeps the contour looking fresh all day.
Ready to sculpt those cheekbones? Grab your Makeup by Mario contour stick, follow these steps before your next event, and enjoy a soft, natural-looking definition that lasts all day.
