
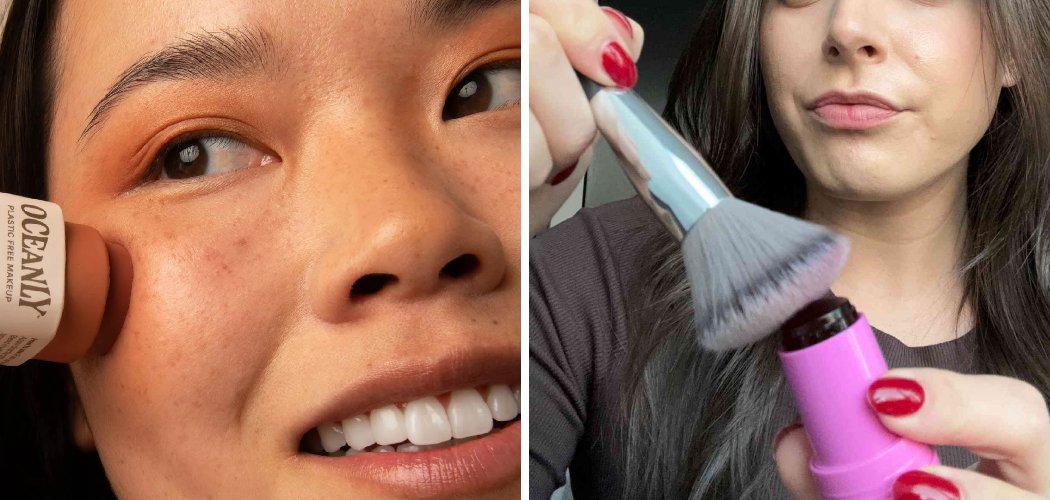
To apply milk blush, dab a small amount onto the apples of your cheeks with your fingertips or a sponge, then blend upward toward your temples until it melts into your skin. Learning how to apply milk blush gives you that soft, dewy flush that looks like it’s coming from within rather than sitting on top of your makeup.
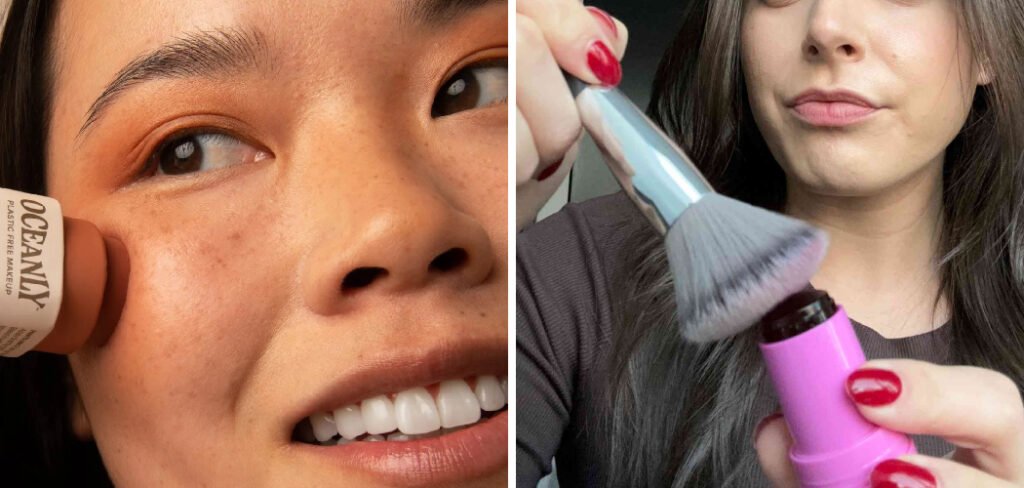
Cream and liquid blushes from Milk Makeup have a cult following for good reason. They give a fresh, glowy finish that photographs beautifully and feels weightless on the skin. If you’ve ever ended up with a patchy or streaky cheek, don’t worry — the trick is all in your tools, timing, and blending. Let’s walk through it together.
What You’ll Need
You only need a handful of items to nail this look. Here’s everything that helps the color glide on smoothly and last all day.
- Milk Makeup Cream Blush Stick — the classic swipe-and-blend format for quick, buildable color
- Milk Makeup Liquid Blush — a lightweight drop formula for a sheer, natural flush
- Damp makeup sponge — presses the color in for the most seamless, skin-like finish
- Fluffy blush brush — for buffing out edges and softening any harsh lines
- Small synthetic brush — great for precise placement if you prefer not to use fingers
- Setting spray — a fine mist that locks everything in and boosts the dewy glow
- Moisturizer or hydrating primer — a smooth, hydrated base helps cream products blend evenly
A quick note on formulas: cream blush comes in a solid stick or pot, while liquid blush is a runnier, drop-style product. Both work with the same technique, so pick whichever finish you love. Cream tends to feel slightly more velvety, while liquid melts in extra fast.
How to Apply Milk Blush: 9 Step-by-Step
Here’s the full routine broken into simple steps. Follow along and you’ll get a natural, lit-from-within flush every time.
Step 1: Prep your skin with moisturizer
Start with clean, moisturized skin so the blush has a smooth, hydrated surface to grip. Cream and liquid formulas cling to dry patches, so this step really matters.

Let your moisturizer or primer sink in for a minute before you move on. A well-prepped base is the secret to seamless, even color.
Step 2: Apply over foundation, or skip it for a natural look
If you’re wearing foundation, blend it fully before adding blush. Milk blush layers beautifully over liquid or cream base products.
Prefer a bare-skin vibe? You can apply it straight onto moisturized skin for a fresh, no-makeup-makeup flush. Both approaches work — it just depends on the look you’re after.
Step 3: Start with a tiny amount of product
Swipe the stick once on the back of your hand, or squeeze out a single drop of liquid blush. Milk formulas are pigmented, meaning a little goes a long way.
Starting small is key. You can always build up more color, but removing excess without ruining your base is a hassle.
Step 4: Dot the color onto the apples of your cheeks
Smile so the round, fleshy part of your cheeks pops up — these are your “apples.” Dab three or four small dots of blush right onto that area.

Keep the dots light and spaced out. This gives you an even canvas to blend from, rather than one concentrated blob that’s hard to soften.
Step 5: Blend upward toward your temples
Using your fingertip, a damp sponge, or a synthetic brush, gently pat and blend the color up and out toward your temples. Work in small bouncing motions rather than dragging.
Blending upward lifts the face and mimics a natural flush. A damp sponge gives the most airbrushed, skin-like finish, while fingers add warmth that helps the cream melt in.
Step 6: Work fast and blend while it’s fresh
Cream and liquid blushes set quickly, so blend each cheek as soon as you apply it. Don’t dot both cheeks and then walk away.
Once these formulas dry down, they grip the skin and become tricky to move. Applying and blending one cheek at a time keeps everything smooth and streak-free.
Step 7: Build up color gradually
Check the mirror and add a second thin layer if you want more intensity. Repeat the dot-and-blend method rather than piling product on all at once.
Layering slowly keeps the finish natural and prevents patchiness. Two sheer layers always look better than one heavy one.
Step 8: Soften edges with a fluffy brush
If you spot any harsh lines, sweep a clean, dry fluffy brush over the edges to diffuse them. This blurs the border between blush and bare skin.
A light hand is all you need here. You’re just softening, not wiping the color away.
Step 9: Lock it in with setting spray
Finish with a few spritzes of setting spray held about an arm’s length from your face. This step seals the color and keeps that glow going for hours.
Let the mist dry fully before touching your cheeks. Setting spray also helps blend everything into one smooth, cohesive finish.
Safety first: Before using any new blush, patch-test a small dab on your inner arm or jaw and wait a day to check for redness or irritation. Keep cream and liquid products away from your eyes, and avoid applying over broken or irritated skin. These are general beauty tips, not medical advice — if your skin reacts, stop using the product and give it a break.
Pro Tips
Once you’ve got the basics down, these small tweaks take your flush from good to glowing.
- Use a damp sponge for the most natural finish. A slightly damp sponge presses the color into your skin instead of sitting on top, giving that seamless, second-skin look.
- Warm cream blush between your fingers first. A quick rub softens the product so it glides on evenly and blends faster, especially in cooler weather.
- Layer blush before powder for longer wear. Cream and liquid formulas grip best on bare or freshly foundationed skin. If you use setting powder, apply your blush first, then lightly powder over it.
- Tap, don’t drag. Bouncing motions blend cream products without lifting your base underneath. Dragging can leave streaks and disturb your foundation.
- Match placement to your face shape. Higher on the cheekbones lifts the face, while color closer to the apples reads youthful and fresh. Play around to find your favorite.
Common Mistakes to Avoid
Even makeup lovers slip up with cream and liquid blush. Here are the usual culprits and how to sidestep them.
Using too much product at once. These formulas are highly pigmented, so a heavy hand leads to clown-cheek territory. Start with one dot or drop and build slowly.
Blending too slowly. Cream and liquid blushes set fast and become hard to move once dry. Apply and blend one cheek at a time while the product is still fresh.
Applying to dry, flaky skin. Cream products cling to dry patches and look uneven. Always moisturize first for a smooth base.
Dragging your brush or sponge. Wiping back and forth disturbs your foundation and creates streaks. Use gentle patting motions instead.
Powdering before blush. Setting powder creates a matte, dry surface that cream blush can’t grip well. Apply blush first, then powder lightly if needed.
Skipping the edges. Leaving harsh lines around the color makes blush look obvious. A quick buff with a clean brush blurs everything for a natural finish.
Frequently Asked Questions
How do you apply Milk blush without it looking patchy?
Patchiness usually comes down to two things: dry skin and slow blending. Moisturize first so the product has a smooth surface, then blend each cheek quickly before the formula sets.
Use a damp sponge or your fingertips with light patting motions, and build color in thin layers rather than one heavy application. If you still see patches, a spritz of setting spray followed by gentle re-blending often smooths things out.
Do you apply cream blush before or after foundation?
Apply cream or liquid blush after your foundation but before any setting powder. Foundation gives the blush a smooth base to melt into, and skipping powder first means the cream can grip properly.
If you go for a bare-skin look, you can apply blush directly onto moisturized skin with no foundation at all. Just avoid layering cream blush over powder, since it won’t blend smoothly on a matte surface.
Is it better to apply Milk blush with fingers, a brush, or a sponge?
All three work, and it comes down to the finish you want. Fingers add warmth that helps cream melt in fast, a damp sponge gives the most airbrushed and skin-like result, and a brush offers the most precise placement.
Many people use a combination — dotting with fingers, then buffing edges with a brush or sponge. Try each method to see which feels easiest and gives your favorite look.
How do you make cream blush last all day?
Start with a hydrated, well-prepped base and apply your blush over foundation for extra grip. Build the color in thin layers so it bonds with your skin rather than sitting on top.
Finish with a setting spray to lock everything in, and keep a blush stick handy for quick midday touch-ups. Layering thin coats and sealing with mist gives you the longest-lasting flush.
Ready for a fresh, dewy glow? Grab your favorite Milk blush, follow these steps before your next outing, and enjoy a natural flush that lasts all day.
