
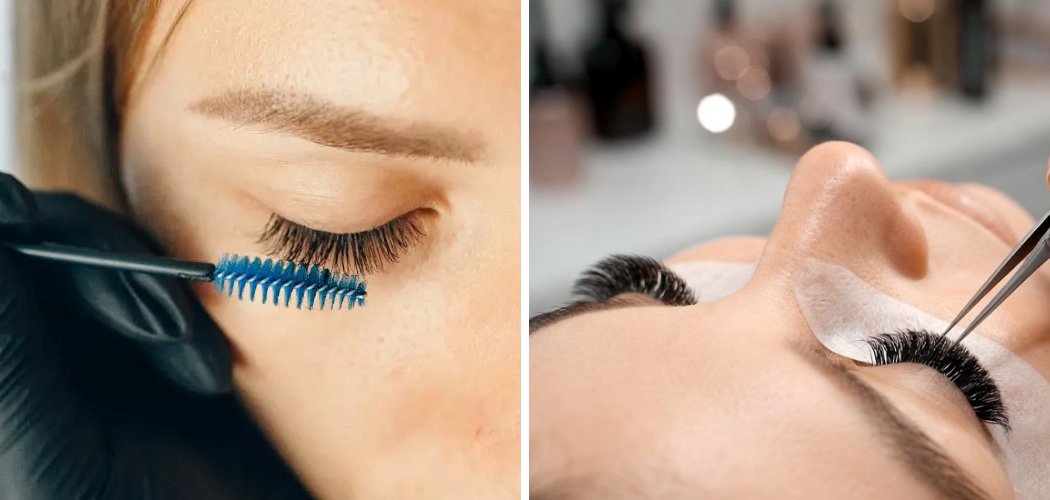
Want to know how to make eyelash glue at home? You can whip up a simple DIY version using just a few gentle ingredients like sugar, water, and a touch of honey. Homemade lash adhesive costs pennies compared to store-bought tubes, and you control exactly what goes near your eyes.
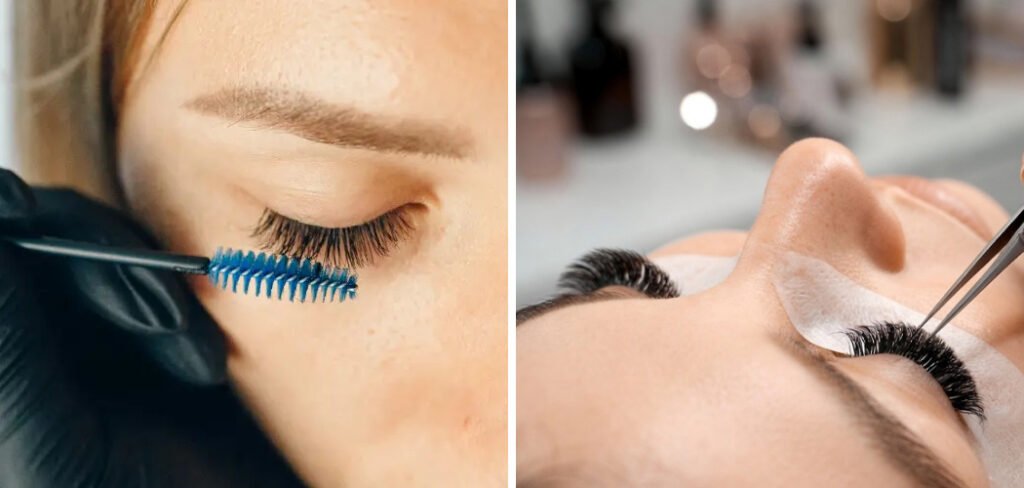
Making your own falsie glue isn’t just about saving money, though that’s a nice perk. When you mix it yourself, you skip the mystery chemicals and harsh additives found in many commercial formulas. You can also tweak the recipe to suit your skin, adjust the hold strength, and even add skin-friendly extras.
Below, you’ll find a beginner-friendly recipe, plus ways to customize it and keep it fresh. Let’s get mixing.
Important safety note: The skin and lashes around your eyes are delicate, and this area sits close to your eyeball. Homemade lash glue is not as tested or reliable as commercial eye-safe adhesive, so use it with care. Always do a patch test first (more on that below), keep the mixture out of your actual eye, and stop right away if you feel any stinging, itching, or irritation. This is general beauty guidance, not medical advice.
Why Make Your Own Lash Adhesive?
Store-bought lash glue works well, but DIY has real perks worth considering.
- Cost savings. A tiny tube of lash glue can cost more than a whole bag of the pantry staples you’ll use here. Homemade versions cost almost nothing per batch.
- Ingredient control. You know exactly what’s in your mixture. No latex, no formaldehyde-based preservatives, no long list of names you can’t pronounce.
- Customization. You can adjust the stickiness, thickness, and even add nourishing extras based on your own preferences and skin type.
Keep in mind that DIY glue is gentler and less long-lasting than professional adhesive. It’s great for short wear times and occasional use, not marathon 12-hour days.
Ingredients You’ll Need
This recipe uses a sugar-and-honey base, which turns nicely sticky as it thickens. Everything here is likely already in your kitchen.
- Granulated sugar — 2 teaspoons. This is your main sticky agent. Substitution: honey alone can work, but sugar gives a firmer hold.
- Raw honey — 1 teaspoon. Adds tackiness and has natural soothing properties. Substitution: maple syrup works in a pinch, though the hold is slightly weaker.
- Distilled water — 2 tablespoons. Use distilled rather than tap to keep things cleaner and reduce contamination risk. Substitution: cooled boiled water if you don’t have distilled.
- Non-toxic PVA glue — a few drops (optional). This is the white school glue often labeled safe and washable. Substitution: skip it entirely for a fully food-based version, but the hold will be softer.
- Micellar water — a few drops (optional). A gentle, water-based cleanser that helps the mixture spread smoothly.
A quick word on that white glue: choose one clearly marked non-toxic and washable, and use only a tiny amount. Many people prefer to leave it out and stick to the food-based recipe for extra peace of mind near the eyes.
Tools and Containers
Having the right supplies ready makes the whole process smoother and more hygienic.
- A small saucepan — for gently heating and dissolving the sugar
- A heat-safe mixing bowl — to combine everything
- A measuring spoon set — for accuracy, since ratios matter here
- A small whisk or spoon — to stir out lumps
- A clean, airtight container — a tiny jar or an empty lash glue tube works well
- A fine mesh strainer — optional, to catch any undissolved bits
- A thin applicator brush or toothpick — for applying the finished glue
Make sure every tool and container is clean and dry before you start. Any leftover residue or moisture can invite bacteria, and that’s the last thing you want near your eyes.
How to Make Eyelash Glue: 7 Step-by-Step
Follow these steps in order for a smooth, tacky adhesive. The whole process takes about 15 minutes, plus cooling time.
Step 1: Dissolve the Sugar
Pour the distilled water into your saucepan and add the granulated sugar. Warm it over low heat, stirring constantly until the sugar fully dissolves.
Keep the heat gentle. You want the sugar to melt into the water, not caramelize or bubble aggressively.
Step 2: Add the Honey
Once the sugar has dissolved, stir in the raw honey. Keep stirring until the mixture looks glossy and slightly thicker.
Let it simmer on low for another minute or two. This helps the liquid reduce a little, which builds that sticky texture you need.
Step 3: Cool It Down
Remove the pan from the heat and pour the mixture into your heat-safe bowl. Let it cool for about 10 minutes until it’s just warm, not hot.
Cooling matters for both safety and texture. The glue thickens as it cools, so give it time before you judge the consistency.
Step 4: Adjust the Consistency
Check the texture. It should be tacky and slightly stringy, similar to a light syrup that clings to your applicator.
- Too thin? Return it to low heat for another minute to reduce further.
- Too thick? Stir in a few drops of micellar water or distilled water until it loosens.
Step 5: Mix in Optional Extras
If you’re using the non-toxic PVA glue, add just a few drops now and stir thoroughly. This boosts the hold for those who want a firmer grip.
Add a drop of micellar water here too if you’d like a smoother, more spreadable finish. Mix until everything is fully blended with no streaks.
Step 6: Strain and Transfer
For the smoothest result, pour the mixture through a fine mesh strainer into your clean container. This catches any lumps or undissolved sugar.
Seal the container tightly. Your homemade lash glue is now ready to test.
Step 7: Patch Test Before Using
Before you go anywhere near your eyes, dab a small amount on the inside of your wrist or your inner elbow. Wait a full 24 hours to check for redness, itching, or irritation.
If your skin reacts, don’t use the glue. If all is clear, you can apply a thin line to a false lash strip, wait until it turns tacky, and gently press it along your lash line.
Customization Ideas
One of the best parts of DIY is making the recipe your own. Here are a few ways to tweak your batch.
- Stronger hold: Increase the sugar slightly or add a few extra drops of non-toxic PVA glue. This suits humid days or longer wear.
- Gentler formula: Skip the white glue entirely and rely on the sugar-and-honey base alone. Ideal for sensitive skin.
- Added nourishment: Stir in a single drop of aloe vera gel for a soothing feel. Aloe is gentle and calming for the skin around your eyes.
- Clear vs. tinted: The base recipe dries clear-ish. If you prefer a dark line that mimics eyeliner, mix in a tiny bit of activated charcoal powder for a black tint. Use sparingly and keep it well away from your eye.
- Smoother application: A drop or two of micellar water makes the glue glide on more easily with your applicator brush.
Start with small adjustments. Change one thing at a time so you can tell what actually improves your results.
Storage and Shelf Life
Because this glue uses natural, food-based ingredients, it spoils faster than commercial adhesive. Treat it a bit like homemade food.
- Store it airtight. Keep your glue in a tightly sealed jar or tube to block out air and moisture.
- Refrigerate for longer life. Popping it in the fridge slows spoilage. Let it come to room temperature before using so it spreads well.
- Use within 1 to 2 weeks. Sugar and honey mixtures don’t last long without preservatives. Make small batches so you’re always working with a fresh supply.
- Label the date. Write the date you made it on the container so you never guess how old it is.
Watch closely for signs of spoilage. Toss the glue immediately if you notice any of these:
- A sour, off, or fermented smell
- Cloudiness, fuzzy spots, or visible mold
- A change in color or a slimy, separated texture
When in doubt, throw it out and make a fresh batch. It only takes 15 minutes, and it’s never worth risking irritation near your eyes with a spoiled mixture.
Frequently Asked Questions
How do you make eyelash glue with sugar and honey?
Dissolve 2 teaspoons of sugar in 2 tablespoons of distilled water over low heat, then stir in 1 teaspoon of raw honey. Simmer gently until the mixture thickens into a tacky syrup, then let it cool. As it cools, it becomes stickier and ready to hold false lashes. Always patch test on your wrist before using it near your eyes, and skip it if you notice any irritation.
Is homemade eyelash glue safe to use on your eyes?
Homemade lash glue can be gentler than some commercial versions since you control the ingredients, but it isn’t lab-tested for eye safety. The area around your eyes is very delicate, so use caution, always patch test first, and keep the glue off your waterline and out of your actual eye. If you have sensitive eyes, allergies, or wear contacts, be extra careful. Stop using it right away if any redness, stinging, or swelling shows up.
What household items can you use to make lash glue?
You likely have the basics already: granulated sugar, honey, and distilled water form a simple sticky base. Some people add a few drops of non-toxic, washable white glue for a stronger hold, though many prefer to keep it fully food-based. A drop of aloe vera or micellar water can improve the feel and spreadability. Just make sure anything you use is clean and gentle enough for the eye area.
How long does DIY eyelash glue last?
Because it’s made with natural ingredients and no preservatives, homemade lash glue lasts only about 1 to 2 weeks. Store it in an airtight container in the fridge to stretch its life, and let it warm to room temperature before each use. Always check for off smells, mold, or color changes before applying. Making small, fresh batches is the safest and easiest approach.
Ready to Mix Your Own?
Now that you know how to make eyelash glue at home, gather your sugar, honey, and distilled water, and try a small batch this week. Patch test first, store it smart, and enjoy a budget-friendly adhesive you made yourself.
