
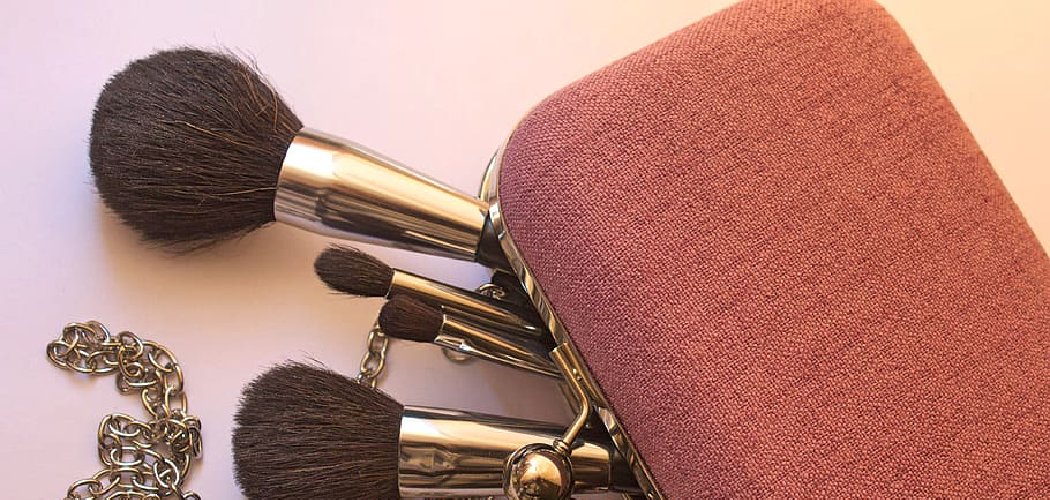
Making your own makeup bag is a fun weekend project that saves money and lets you pick the exact fabric, size, and style you want. When you learn how to make makeup bag from scratch, you control everything from the pattern to the zipper color. Best of all, a homemade version costs far less than a store-bought one, and you can match it to your personality or luggage.
Whether you sew often or you’re a total beginner, this simple pouch comes together in an afternoon. Let’s get started.
Why Make Your Own Makeup Bag?
Store-bought cosmetic pouches can be pricey, and they rarely fit your stuff just right. When you craft your own, you get a bag that suits your routine perfectly.
Here’s why the DIY route wins:
- Budget-friendly. A bit of fabric and a zipper cost a few dollars, way less than a designer pouch.
- Fully customizable. You choose the size, fabric print, lining, and shape to fit your gear.
- Material control. Pick a wipe-clean lining that handles spilled powder or foundation without staining.
- A great gift. Handmade bags make thoughtful, personal presents for friends and family.
You also get to use up fabric scraps you already own. That makes this project even cheaper and a little more eco-friendly.
Materials You’ll Need
Gather these supplies before you start. Most are easy to find at a craft store or online, and you can swap in what you already have.
- Cotton fabric — the main outer fabric; a medium-weight cotton or canvas holds its shape well. Substitute quilting cotton for a softer look.
- Water-resistant lining fabric — a laminated cotton or ripstop nylon keeps the inside easy to wipe clean. Regular cotton works too if you don’t mind hand-washing.
- Fusible interfacing — a stiffening material you iron on to give your bag structure. Skip it if you want a floppier, softer pouch.
- A 9-inch zipper — the closure for your bag; nylon zippers are easy to sew over. A longer zipper works fine, since you can trim it.
- Coordinating thread — pick a color that matches or nicely contrasts your fabric.
- Fabric scissors or a rotary cutter — for clean, straight cuts.
A quick note on fabric: if you plan to store creamy or liquid products, a wipe-clean lining really pays off. It saves you from stubborn stains later.
Tools Needed
You only need a few basic sewing tools to pull this together. Clear a small workspace and lay everything out first.
- Sewing machine — a basic model handles this project easily
- Iron and ironing board — for pressing seams and fusing interfacing
- Straight pins or sewing clips — to hold your fabric layers in place
- Measuring tape or ruler — for accurate cutting
- A fabric marker or chalk — to mark your cutting lines
- A seam ripper — for fixing any wobbly stitches
Don’t have a machine? You can hand-sew this bag with a needle and thread, though it takes a bit longer.
How to Make Makeup Bag: 10 Step by Step
Follow these steps in order for a neat, well-lined pouch. Take your time with the zipper, since that’s the trickiest part.
Step 1: Cut Your Fabric
Cut two rectangles from your outer cotton fabric, each about 9.5 inches wide by 6 inches tall. Then cut two matching rectangles from your lining fabric.
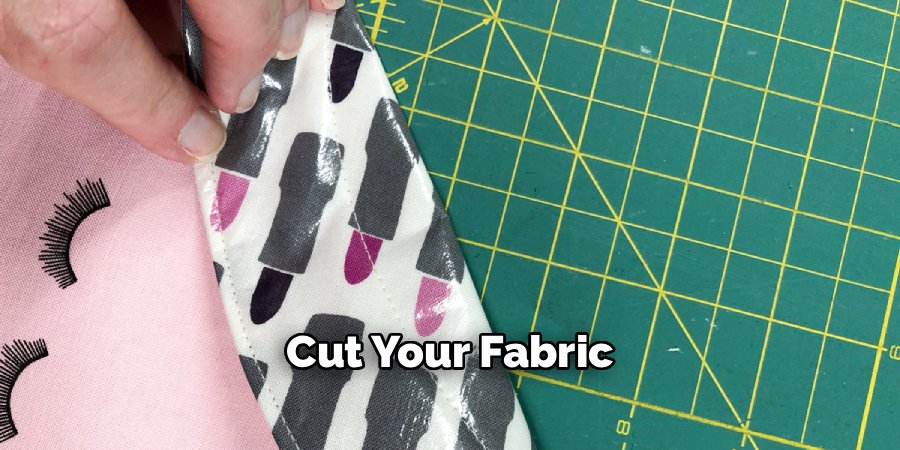
If you’re using interfacing, cut two pieces the same size as your outer fabric. Accurate cutting here makes the whole bag come together smoothly.
Step 2: Fuse the Interfacing
Place your interfacing sticky-side down on the wrong side of each outer fabric piece. Press with a hot iron for several seconds until it bonds.
This step gives your bag a firmer, more polished shape. Let the pieces cool before you handle them.
Step 3: Attach the First Side of the Zipper
Lay one outer piece face-up, then place the zipper face-down along the top edge. Add one lining piece face-down on top, sandwiching the zipper between the two fabrics.
Pin the layers together and sew along the top edge with a zipper foot. Go slowly, since this layered edge can shift.
Step 4: Attach the Second Side of the Zipper
Repeat the sandwich on the other side of the zipper. Place the second outer piece face-up, lay the free zipper edge along its top, then top it with the second lining piece face-down.
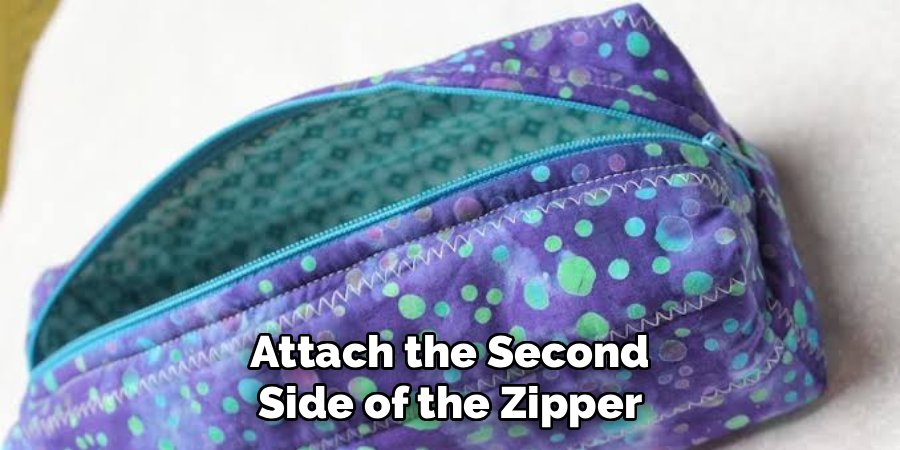
Pin and sew this edge just like the first. Now both fabric pieces attach to the zipper.
Step 5: Press and Topstitch
Open everything out and press the fabric away from the zipper on both sides. This keeps the fabric from catching in the zipper later.
Topstitch a straight line close to the zipper on each side. This small step gives your bag a clean, store-bought finish.
Step 6: Open the Zipper Halfway
This part is easy to forget, so pause here. Slide the zipper open at least halfway.
You’ll need this gap to turn the bag right-side out at the end. Skipping it means you’ll be stuck with a sewn-shut pouch.
Step 7: Pin the Bag Together
Fold the piece so the two outer fabrics face each other and the two lining pieces face each other. Line up the zipper teeth in the middle, then pin all the way around.
Nudge the zipper ends toward the fabric side so they don’t get caught in your seams. Neat pinning here prevents puckered corners.
Step 8: Sew Around the Edges
Sew around the entire outer edge, but leave a 3-inch gap in the bottom of the lining. That opening is how you’ll turn everything right-side out.
Backstitch at the start and end to lock your stitches. Trim the corners slightly so they turn out crisp.
Step 9: Turn and Close the Gap
Reach through the lining gap and pull the whole bag right-side out through the open zipper. Push out the corners with a chopstick or blunt tool.
Fold in the raw edges of the lining gap and sew it shut, either by machine or with a few hand stitches. Then tuck the lining inside the bag.
Step 10: Final Press
Give the finished pouch a gentle press with your iron to smooth out any wrinkles. Zip it open and closed a few times to make sure it glides.
That’s it — your handmade makeup bag is ready to fill. Stand back and admire your work.
Customization Ideas
The best part of a DIY project is making it your own. Here are easy ways to change up the design.
Play with fabric types: Try a fun printed cotton for the outside and a bold solid for the lining. For a sturdier bag, use canvas or denim, or go luxe with a quilted fabric.
Adjust the size: Want a roomy travel case? Cut your rectangles larger, around 11 by 8 inches. For a tiny lipstick pouch, shrink everything down to about 6 by 4 inches.
Add a boxed bottom: Before turning the bag, sew across each bottom corner to create a flat base. This lets your pouch stand up on a counter, which is handy for brushes.
Switch up the style: Add a wrist strap made from a folded fabric strip, or clip on a decorative zipper pull. A pom-pom or tassel gives it a cute, personal touch.
Match a set: Make a few bags in graduated sizes from the same fabric. A nesting set keeps your travel gear organized and looks great together.
Experiment with one small change at a time. That way you always learn something new for your next bag.
Storage and Care
A handmade makeup bag lasts a long time when you treat it well. A little upkeep keeps it looking fresh.
- Empty and shake it out weekly. Loose powder and crumbs build up fast, so a quick shake keeps the inside tidy.
- Wipe the lining regularly. A damp cloth handles most spills if you used a water-resistant lining. For a cotton lining, spot-clean stains quickly before they set.
- Hand-wash when needed. Use mild soap and cool water, then air-dry flat. Avoid the dryer, since heat can warp the shape or shrink the fabric.
- Store it in a dry spot. Keeping the bag out of damp areas prevents any musty smell or mildew.
With basic care, a well-made pouch can last for years. If the zipper ever wears out, you can replace just that part instead of the whole bag.
One gentle caution: if you store liquid products like foundation or serum, tuck them into a small inner pocket or a zip-top bag first. That protects your fabric from leaks and keeps everything clean.
Frequently Asked Questions
What fabric is best for a makeup bag?
Medium-weight cotton or canvas makes a great outer fabric because it holds its shape and stands up to daily use. For the lining, a water-resistant material like laminated cotton or ripstop nylon is ideal, since it wipes clean when powder or cream spills. If you only have regular cotton, that works too, though you’ll want to spot-clean stains more often. Adding fusible interfacing to your outer fabric gives the bag extra structure and a more polished, professional look.
How do you make a makeup bag without sewing?
You can make a no-sew makeup bag using fabric glue or iron-on hem tape instead of stitches. Cut your fabric to size, fold and press the edges, then bond the seams with the glue or hem tape following the package directions. For the closure, attach an adhesive-backed zipper or use strong snaps and hook-and-loop tape. A no-sew bag won’t be quite as sturdy as a stitched one, but it’s a quick, beginner-friendly option that needs zero sewing skills.
Is it cheaper to make your own makeup bag?
In most cases, yes, making your own makeup bag is cheaper than buying one, especially if you already own fabric or a sewing machine. A basic pouch uses just a small amount of fabric and a single zipper, which usually costs only a few dollars. You also save even more when you repurpose fabric scraps or old clothing. Beyond the savings, you get a custom size and print you’d struggle to find in stores, which makes the small cost well worth it.
How long does it take to make a makeup bag?
A simple lined makeup bag takes about 30 to 60 minutes once you have your supplies cut and ready. Beginners may need a little extra time for the zipper, which is the trickiest step. If you’re hand-sewing rather than using a machine, plan for closer to two hours. The more bags you make, the faster you’ll get, so your second pouch will likely come together in half the time.
Ready to sew? Grab your favorite fabric and a zipper, and stitch up a custom makeup bag this weekend.
