
Learning how to apply cream makeup comes down to using light layers, warm fingertips or a damp sponge, and blending each product before moving to the next. The quick version: prep your skin, press in cream foundation, dot on cream concealer, then add cream blush, bronzer, and highlighter with your fingers before setting only where you need it.
Cream formulas melt into your skin for a fresh, natural glow that looks like real skin, not makeup. Below you’ll find every product you need, a full step-by-step tutorial, and pro tips to get that seamless, dewy finish at home.
Why Cream Makeup Is So Beginner-Friendly
Cream products are forgiving in the best way. They blend easily, layer without looking cakey, and give a soft, skin-like finish that powders can’t always match.
Because they’re buildable, you control exactly how much color and coverage you want. Start light, then add more if you need it.
They’re also great for dry or mature skin, since creams add moisture instead of sitting in fine lines. Once you know the order and a couple of techniques, the whole routine feels effortless.
What You’ll Need
Gather these before you start. You likely own a few already, and you can always swap in creams you love.
- Hydrating primer — Preps your skin so cream products glide on and grip better.
- Cream foundation — The base of the look, offering buildable, dewy coverage.
- Cream concealer — Brightens under the eyes and covers spots without caking.
- Cream blush — Adds a fresh, natural flush that looks lit from within.
- Cream bronzer — For a soft, warm, sun-kissed touch.
- Cream or liquid highlighter — To bring glow to the high points of your face.
- Cream eyeshadow sticks — Quick, smudge-and-go color for your lids.
- Loose or pressed setting powder — To lock cream in place where you tend to get oily.
- Damp makeup sponge — For pressing and blending your base seamlessly.
- Fluffy blending brush — Handy for softening edges and setting with powder.
- Setting spray — A final mist to melt everything together for a natural finish.
Quick safety note: before trying any new product on your face, dab a little on your inner arm and wait a day to check for redness or irritation. This patch test matters most with foundations, concealers, and anything you haven’t used before.
How to Apply Cream Makeup: 9 Step-by-Step
Take your time the first time through. These techniques speed up once your hands learn the routine.
Step 1: Start With Clean, Prepped Skin
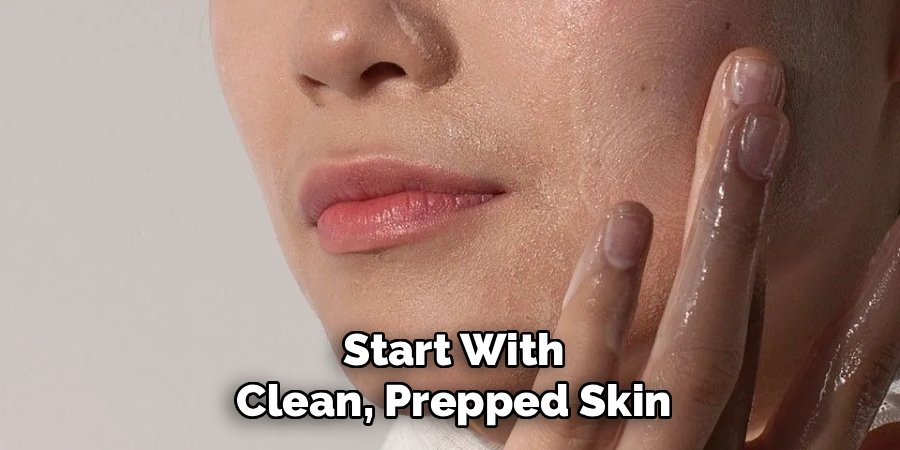
- Wash your face and apply your usual moisturizer.
- Let it absorb for a minute or two so your skin isn’t slippery.
- Smooth on a thin layer of hydrating primer across your whole face.
Primer creates a smooth canvas and helps cream products stay put. Give it a moment to set before you move on.
Step 2: Warm and Press In Your Cream Foundation
- Dot cream foundation onto your forehead, cheeks, nose, and chin.
- Warm it slightly with clean fingertips, which helps it melt into your skin.
- Press and roll a damp makeup sponge over your face rather than dragging it.
Bouncing the sponge blends the product without wiping it away. Build coverage only where you need it so the finish stays fresh and light.
Step 3: Conceal Where You Need It
- Dab cream concealer under your eyes in a small triangle shape.
- Add tiny dots on any blemishes or areas of redness.
- Tap the edges with your sponge or ring finger until they disappear.
Less is more here. A thin layer blends better and is far less likely to crease throughout the day.
Step 4: Add a Fresh Cream Blush

- Smile to find the apples of your cheeks (the round part that pops up).
- Dot cream blush there and blend up toward your temples with your fingers.
- Tap gently instead of rubbing, so the color stays even.
Cream blush melts into the skin for a natural flush. Start with a small amount, since it’s easy to add more but tricky to take away.
Step 5: Warm Up With Cream Bronzer
- Swipe cream bronzer along your cheek hollows, temples, and jawline.
- Blend it up and back with your fingers or a clean, damp sponge.
- Keep the edges soft so there are no harsh lines.
Bronzer adds warmth and gentle dimension. Think of it as a soft touch of sunlight, not a heavy contour.
Step 6: Brighten the High Points
- Dab cream or liquid highlighter on the tops of your cheekbones.
- Add a little to your brow bones and the tip of your nose.
- Tap it in with a fingertip for a natural, dewy glow.
Highlighter is what makes skin look lit from within. Focus it where light would naturally hit your face.
Step 7: Swipe On Cream Eyeshadow
- Draw cream eyeshadow sticks across your lids in a warm, neutral shade.
- Blend the edges with your finger before the formula sets, since creams dry quickly.
- Add a second layer if you want more color payoff.
Cream shadow gives a quick wash of color with zero fallout. Work one eye at a time so you have space to blend.
Step 8: Set Only Where You Need It
- Lightly dust setting powder over your T-zone (forehead, nose, and chin) with a fluffy blending brush.
- Add a touch under your eyes to stop concealer from creasing.
- Leave your cheeks bare so they keep that dewy glow.
Setting means locking your makeup in place so it lasts. With cream products, you only want to set the areas that get oily, not your whole face.
Step 9: Lock It All In
- Hold setting spray about eight inches from your face.
- Mist in an X and a T shape for even coverage.
- Let it dry naturally without touching your skin.
A final spritz melts the layers together and takes away any powdery look. Your finish should look like healthy, real skin.
Pro Tips for a Flawless Cream Finish
A few small habits make a big difference with cream formulas.
- Warm creams before applying. A quick rub between clean fingertips softens the product so it blends like a dream.
- Layer while everything is fresh. Cream over cream blends best before either one sets, so work fairly quickly.
- Use fingers for placement, a sponge for blending. Fingers deposit color exactly where you want it, and a damp sponge smooths the edges.
- Keep powder to a minimum. Too much powder can flatten the glow that makes cream makeup look so natural.
- Build in thin layers. Two light layers always look better than one thick one that can slide or crease.
Common Mistakes to Avoid
Even an easy, forgiving routine has a few traps. Here’s what to watch for.
Applying too much at once. Cream products are pigmented, so a large dot can quickly look heavy. Start small and build.
Blending after it sets. Many creams dry down fast. If you wait too long, you’ll get patchy edges, so blend right away.
Layering cream over powder. Powder creates a barrier that makes creams grab and look blotchy. Always go cream first, powder last.
Setting your whole face. Dusting powder everywhere cancels out that dewy glow. Set only your oily zones and under-eyes.
Using dry, dirty tools. A dry sponge drags product around, and a dirty one can cause breakouts. Dampen your sponge and clean your tools regularly.
Frequently Asked Questions
What order do you apply cream makeup products in?
Work from thinnest to most pigmented and always go cream before powder. Start with primer, then cream foundation, followed by cream concealer. Next add cream blush, bronzer, and highlighter, then any cream eyeshadow. Finish by lightly setting your oily areas with powder and a final mist of setting spray. Keeping this order stops products from grabbing or looking patchy.
Can you apply cream makeup with your fingers?
Yes, and many people prefer it. The warmth from your fingertips helps cream products melt into your skin for the most natural finish. Fingers are great for placing color exactly where you want it, like dotting blush on the apples of your cheeks. For the smoothest edges, follow up by tapping over the area with a damp makeup sponge to blend everything seamlessly.
Do you need to set cream makeup with powder?
Not everywhere, and often not much at all. Cream formulas are designed to look dewy and skin-like, so a full dusting of powder would flatten that glow. Set only the areas that tend to get oily, such as your T-zone and under-eyes, with a light layer of powder. A spritz of setting spray at the end helps everything last without dulling the finish.
Is cream makeup better for dry or oily skin?
Cream makeup is especially loved by people with dry or mature skin because it adds moisture and won’t settle into fine lines the way some powders can. That said, oily skin can absolutely wear creams too. If you’re on the oily side, use a mattifying primer, apply thin layers, and set your T-zone with a light powder to keep shine in check.
Ready to Glow?
Grab your favorite creams and give this routine a try, one easy layer at a time. With a little practice, that fresh, dewy, skin-like finish will become second nature.
