
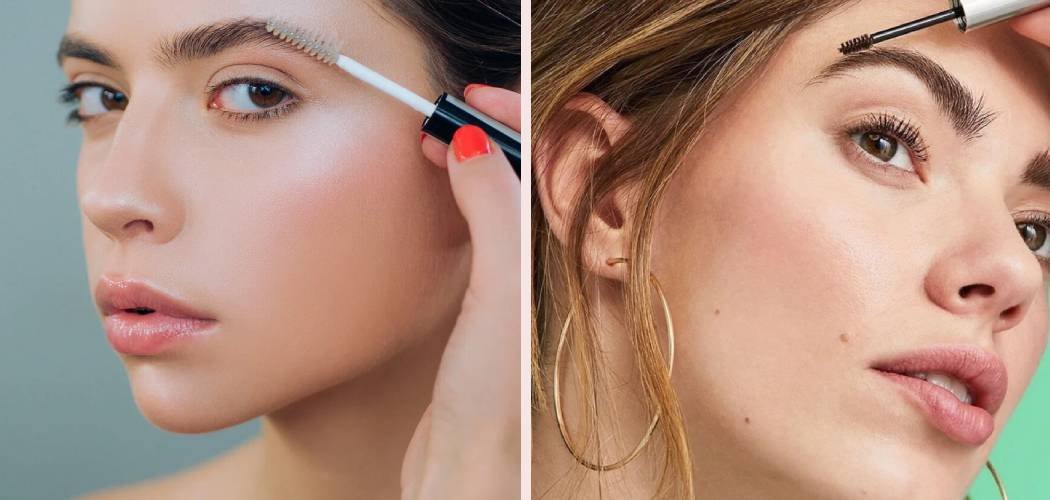
To apply eyebrow gel, brush the gel through your brows in short upward strokes following your natural hair growth, then smooth the ends into your desired shape. Use a light hand, build up slowly, and let each layer set before adding more. That’s the quick version—now let’s break it down so your brows look full, fluffy, and perfectly you.
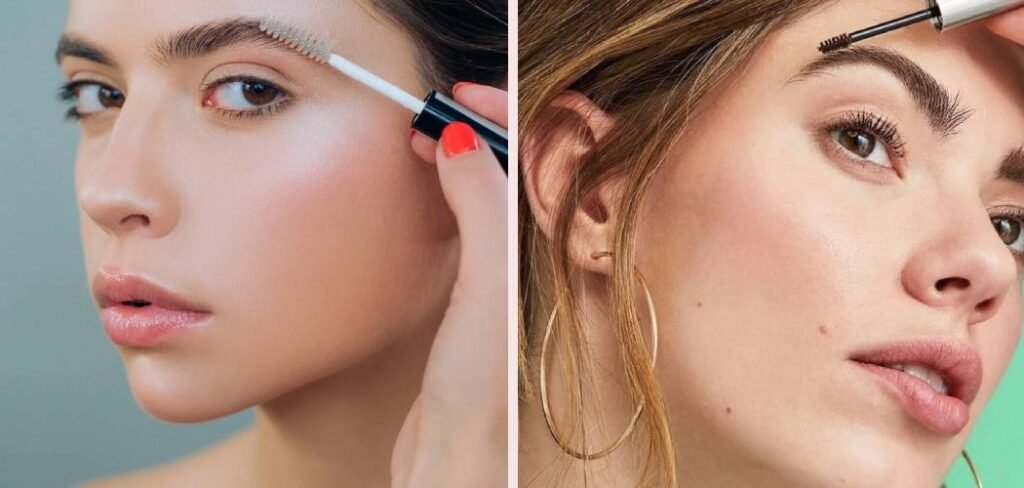
Eyebrow gel is one of the easiest ways to tame, tint, and shape your brows in under a minute. Whether you want a natural “brushed-up” look or a more polished finish, learning how to apply eyebrow gel the right way makes all the difference. Below, you’ll find everything you need, a step-by-step walkthrough, and the little tricks that separate messy brows from magazine-worthy ones.
What You’ll Need
Before you start, gather your tools. You don’t need a huge kit—just a few key items.
- Eyebrow gel — This is your star product. Choose a tinted gel (adds color plus hold) or a clear gel (just holds hairs in place). Tinted works best if you want more definition.
- A spoolie brush — This is the little mascara-wand-shaped brush that comes with most gels. If yours doesn’t include one, grab a disposable spoolie brush pack.
- A brow pencil or pomade (optional) — Use a fine-tip brow pencil to fill in sparse spots before applying gel.
- Angled brush (optional) — Helpful if you’re using pomade for extra precision.
- A clean cotton swab — Perfect for cleaning up smudges and sharpening edges.
- A small mirror with good lighting — Natural daylight is your friend here.
Tip: Pick a gel shade one step lighter than your natural brow color for a soft, believable finish. Going too dark is the fastest way to look overdone.
Step-by-Step: How to Apply Eyebrow Gel
Follow these steps in order for the smoothest results. Take your time the first few times—muscle memory kicks in fast.
Step 1: Start With Clean, Dry Brows
Make sure your brows are free of any oil, moisturizer, or leftover makeup. Gel grips best on a clean surface.
If you’ve just applied face cream, gently blot the brow area with a tissue. Damp or greasy brows make the gel slide around instead of setting.
Step 2: Brush Your Brows Into Shape
Take your spoolie and brush the hairs straight up. This is called “brushing up,” and it reveals the natural shape of your brow and any gaps you might want to fill.
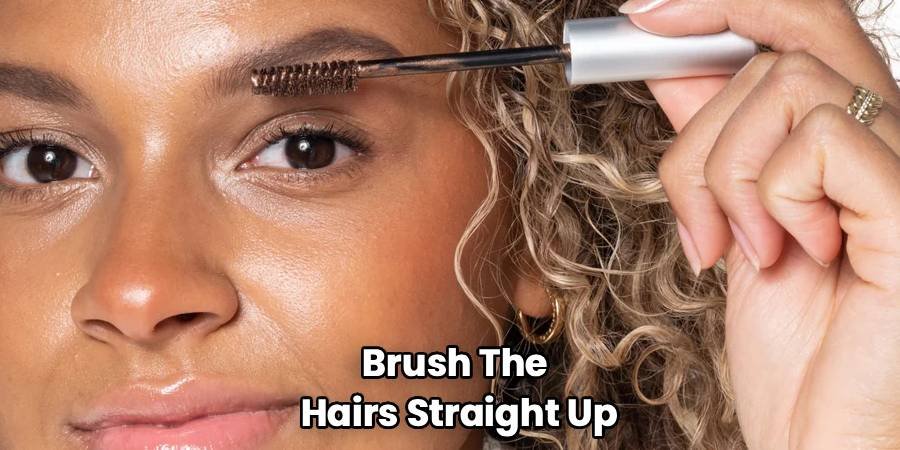
Then brush the tail (the outer end) slightly outward toward your temple. This little map shows you where to focus.
Step 3: Fill in Sparse Spots (Optional)
If you have thin areas or gaps, lightly fill them with your brow pencil now—before the gel. Use short, hair-like strokes rather than solid lines so it looks natural.
Skip this step entirely if you’re going for a low-effort, fluffy look. Tinted gel alone often gives plenty of color.
Step 4: Wipe Off Excess Product From the Wand
Pull the spoolie out of the tube and swipe it once against the rim. You want a light coating, not a glob.
Too much gel is the number one cause of stiff, crunchy, or clumpy brows. Less really is more here.
Step 5: Apply Gel in Upward Strokes
Starting at the inner corner (near your nose), brush the gel through your brows using short upward strokes that follow your natural hair growth.
Work outward toward the tail. Keep the strokes light and let the gel coat each hair rather than sitting on your skin.
Step 6: Shape and Smooth the Tail
Once you reach the outer third of your brow, angle the spoolie to sweep the ends into your desired shape—usually slightly downward and outward.
This defines the “tail” and gives your brow a clean, lifted finish.
Step 7: Clean Up the Edges
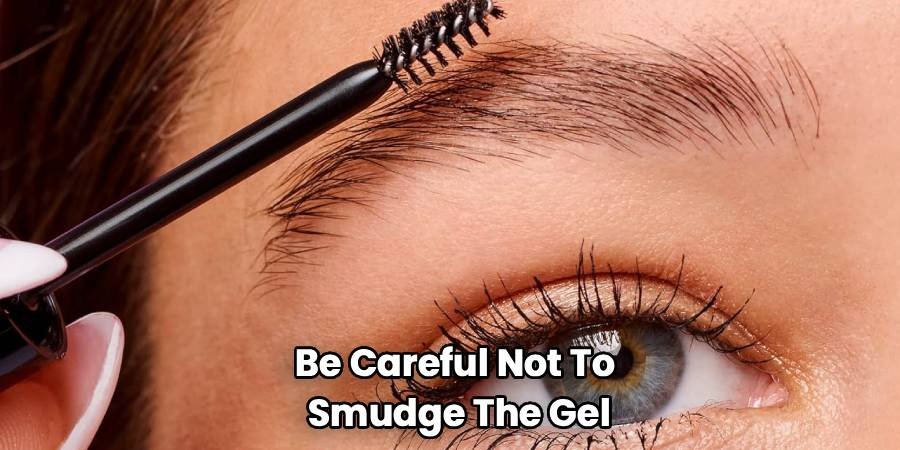
Grab a clean cotton swab and gently run it along the top and bottom edges of each brow. This sharpens the shape and removes any stray gel on your skin.
For extra crispness, some people dip the swab in a tiny bit of makeup remover—just be careful not to smudge the gel you just applied.
Step 8: Let It Set
Give the gel about 30 to 60 seconds to dry. Resist the urge to touch or rub your brows during this time.
Once set, your brows should feel flexible but hold their shape all day. If you want more intensity, add a second thin layer now.
Eye-area caution: Keep the gel on your brow hairs and skin only—avoid getting product into your eyes. If any gel gets in your eye, rinse gently with cool water and stop applying until any irritation clears. If you have sensitive skin, patch-test a new gel on your inner arm 24 hours before using it near your eyes.
Pro Tips for Better Brows
These small tweaks make a big difference once you’ve got the basics down.
- Build in thin layers. One heavy coat looks stiff. Two light coats look natural and last longer.
- Match your undertone, not just your hair color. If you have warm-toned hair, a slightly warm gel blends better. Cool-toned? Reach for an ashy shade.
- Store your gel upside down in warm weather so the product stays near the wand and doesn’t dry out at the bottom.
- Use the tip of the spoolie for the front of your brows. Fanning the hairs upward there creates that trendy, fluffy “soap brow” effect.
- Replace your gel every 3–4 months. Dried-out or old gel gets clumpy and can irritate the delicate eye area.
Common Mistakes to Avoid
Even simple products come with a few easy-to-make errors. Here’s what to watch for.
- Using too much product. Globby gel leads to crunchy, spider-leg brows. Always wipe the wand first.
- Going too dark. A gel that’s darker than your natural brows reads harsh and ages the face. Lighter is more flattering.
- Applying over greasy skin. Moisturizer or oily primer stops gel from gripping. Clean and dry first.
- Brushing against hair growth. This clumps the product and makes brows look messy. Always follow the direction the hairs grow.
- Skipping the set time. Touching your brows before the gel dries smears everything and ruins the shape.
- Ignoring the tail. Leaving the outer end undefined makes brows look unfinished. Sweep it into shape every time.
Frequently Asked Questions
Do you apply eyebrow gel before or after eyebrow pencil?
Apply your brow pencil first, then the gel. The pencil fills gaps and adds definition, while the gel sets everything in place and blends the strokes for a softer, more natural finish. If you’re using tinted gel on its own, you can skip the pencil entirely.
How long does eyebrow gel last on your brows?
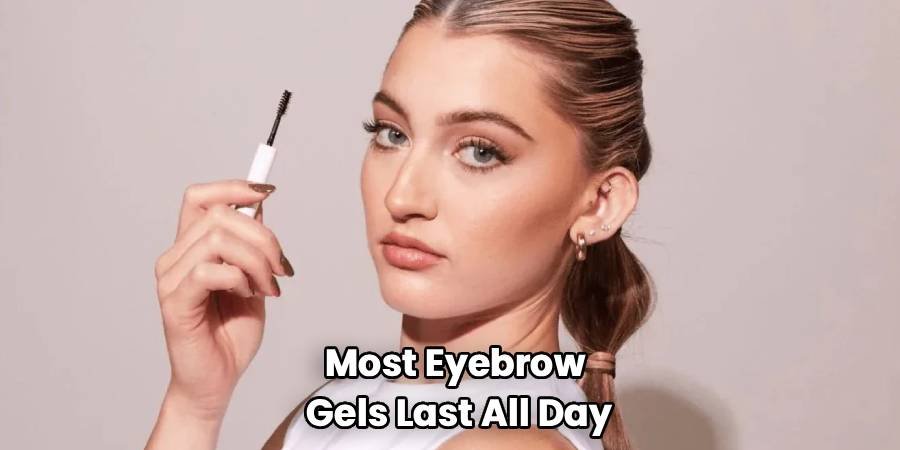
Most eyebrow gels last all day—roughly 8 to 12 hours—depending on the formula and your skin type. Waterproof or “extreme hold” gels tend to last longer and hold up better in heat or humidity. If yours fades quickly, try applying on clean, oil-free brows and building two thin layers.
Can you use eyebrow gel every day?
Yes, eyebrow gel is gentle enough for daily use. Just remove it fully each night with your regular cleanser or makeup remover so product doesn’t build up. If you notice any redness or itching around the delicate eye area, take a break and switch to a fragrance-free formula.
What’s the difference between clear and tinted eyebrow gel?
Clear gel simply holds your brow hairs in place without adding color—great if your brows are already full and dark. Tinted gel does the same job but also deposits pigment, so it fills, shapes, and colors in one step. Tinted is the better pick if you want more definition with less effort.
Ready to Try It?
Grab your favorite gel, follow these steps, and you’ll have fuller, fluffier brows in about a minute flat—go give it a try and see the difference for yourself.
