
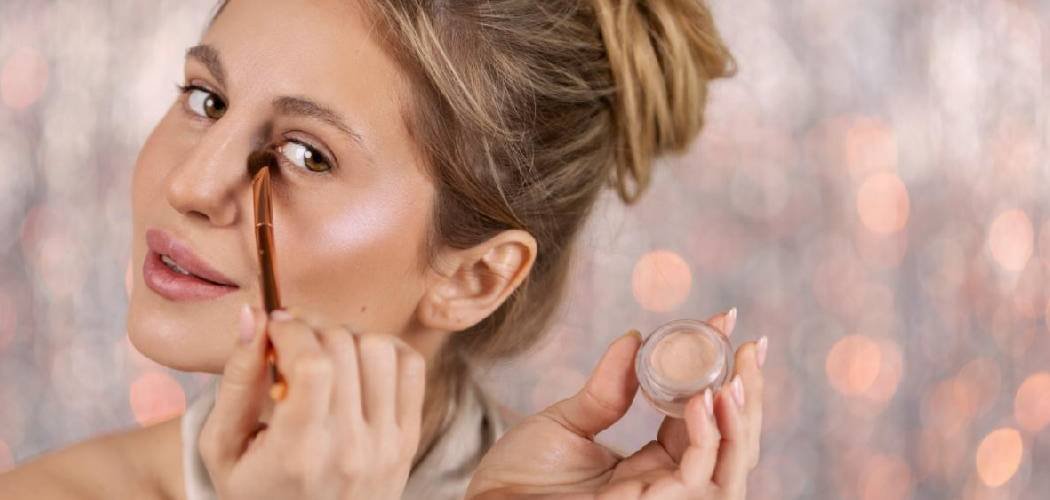
Want to know how to apply liquid highlighter? Apply a few dots to the high points of your face where light naturally hits—cheekbones, brow bones, the bridge of your nose, and your cupid’s bow—then blend with your fingers, a damp sponge, or a brush for a seamless, dewy glow. Liquid highlighter gives you that fresh, radiant finish that looks like your skin is glowing from the inside out.
If you’ve ever looked at someone’s luminous cheekbones and wondered how they got that effortless shine, liquid highlighter is your answer. It’s buildable, blendable, and works beautifully over foundation or straight onto bare skin. And honestly? It’s one of the easiest products to master once you know a few simple tricks.
Let’s break it down step by step.
What You’ll Need
Gather your bits and pieces before you start. Having everything within reach makes blending faster and keeps your glow looking fresh. Here’s your kit:
The essentials:
- Liquid highlighter — the star of the show, in a shade that flatters your skin tone
- Damp makeup sponge — for a soft, skin-like finish
- Fan brush or small blending brush — for precise placement and buffing
- Beauty blender or your clean fingertips — fingers actually warm the product for easier blending
Nice-to-have extras:
- Setting spray — to lock everything in place
- Powder highlighter — to layer on top for extra intensity
- Moisturizer or facial oil — a hydrated base makes liquid highlighter melt in beautifully
A quick note on shade picking:
- Fair skin: champagne, pearl, or icy pink
- Medium skin: golden, peachy, or rose gold
- Deep skin: bronze, copper, or deep gold
Skin caution note: Before slathering a new highlighter across your face, dab a small amount on your inner forearm and wait 24 hours. If you notice redness, itching, or irritation, skip it. This is especially worth doing if you have sensitive or reactive skin.
How to Apply Liquid Highlighter Step by Step
Follow these steps in order for a glow that looks natural, not patchy. The secret is light layers and confident blending.
1. Start With a Smooth, Hydrated Base
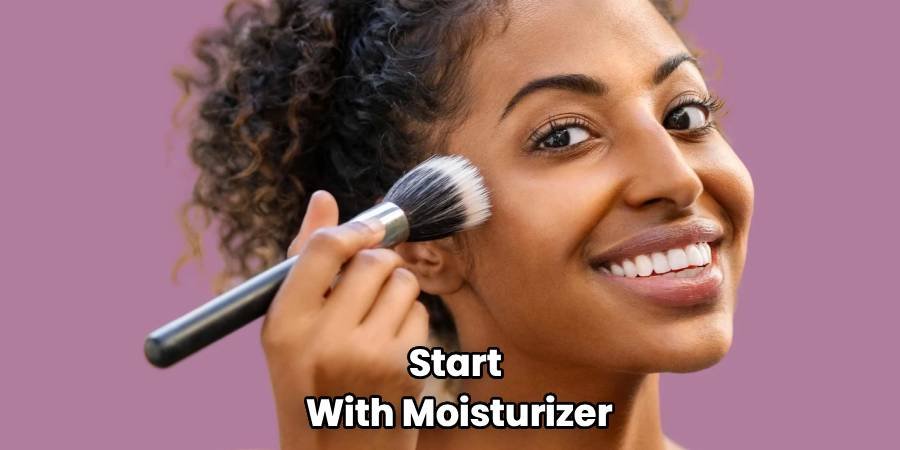
Liquid highlighter looks best over well-prepped skin. Start with moisturizer so the product glides instead of clinging to dry patches.
If you wear foundation, apply it first and let it settle for a minute. Highlighter goes on after your base but before powder for the most natural finish.
2. Choose Your Application Order
Here’s a quick rule that trips people up. Liquid and cream products go on before powder products.
So the order looks like this:
- Moisturizer
- Foundation (liquid or cream)
- Concealer
- Liquid highlighter
- Setting powder (only where you need it)
Applying liquid highlighter over powder can look cakey and slide around, so keep your base creamy underneath.
3. Find the High Points of Your Face
“High points” are simply the areas that naturally catch the light. Highlighting these spots creates dimension and that lit-from-within effect.
Focus on:
- The tops of your cheekbones
- Your brow bones (just under the arch of your brow)
- The bridge and tip of your nose
- Your cupid’s bow (the dip above your top lip)
- The inner corners of your eyes
You don’t need all of them every time. For an everyday glow, cheekbones and inner corners alone do the trick.
4. Dot the Product On Lightly
Less is more here. Squeeze or tap a tiny amount onto the back of your hand first, so you control how much lands on your face.
Then use your fingertip, sponge, or brush to place small dots along your chosen high points. Resist the urge to pile it on—you can always build up later.
5. Blend With a Damp Sponge or Your Fingers
Now for the magic. Gently tap and bounce a damp makeup sponge over the dots to blend the edges into your skin.
“Bouncing” just means light, dabbing motions rather than dragging. Dragging smears the product and disturbs your foundation underneath.
Prefer fingers? The warmth from your skin melts the highlighter for a natural, glowy finish. Pat, don’t rub.
6. Build Up Gradually
Check your glow in natural light before adding more. If you want extra shine, add a second thin layer only where you want the most impact.
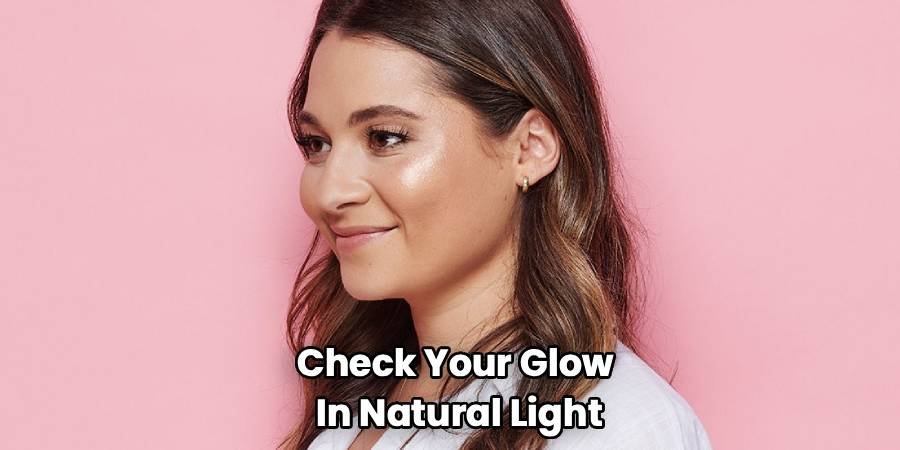
Building slowly keeps things looking radiant instead of greasy. It’s much easier to add than to take away.
7. Blend the Edges Seamlessly
Take a clean, dry spot on your sponge or a fluffy brush and softly buff the outer edges. You’re looking for a smooth transition with no harsh lines.
The goal is skin that looks naturally luminous, like the light is genuinely hitting your cheekbones—not like you’ve placed a stripe of shimmer.
8. Layer Powder Highlighter (Optional)
Want a more intense, blinding glow for a night out or photos? Lightly dust a powder highlighter over the same spots.
This layering technique locks in the liquid and cranks up the shine. For everyday wear, though, you can happily skip this step.
9. Set Everything With Setting Spray
Finish with a few spritzes of setting spray held about an arm’s length from your face. This melts your layers together and helps the glow last all day.
Let it dry naturally instead of blotting, so you don’t disturb your fresh highlight.
Pro Tips for the Perfect Liquid Highlighter Glow
A few small tweaks take your highlight from “nice” to “how is your skin doing that?”
- Mix it into your foundation. Add a drop of liquid highlighter to your foundation for an all-over radiant base that looks lit from within.
- Warm it up first. Rubbing the product between your fingers before applying makes it blend far more smoothly.
- Use a damp sponge for the softest finish. A dry sponge can grab too much product and leave patches. Damp is your friend.
- Highlight your collarbones and shoulders too. A little glow on exposed skin ties a whole look together, especially in strappy outfits.
- Match the finish to the occasion. A subtle sheen for daytime, a bolder layered glow for evening and photos.

Common Mistakes to Avoid
Even glow lovers slip up. Sidestep these and your highlight will look flawless every time.
- Applying too much at once. Overdoing it reads as oily rather than radiant. Start tiny and build.
- Putting it over powder. Liquid over powder looks patchy and slides around. Always keep a creamy base underneath.
- Skipping the blend. Unblended dots look like glitter blobs. Take the extra few seconds to buff the edges.
- Highlighting the wrong spots. Placing it on low points, like under your cheeks, flattens your face instead of lifting it. Stick to the high points.
- Ignoring your undertone. A shade that clashes with your skin can look ashy or muddy. Choose warm or cool tones that complement you.
- Forgetting to prep dry skin. Highlighter clings to flaky patches. Always moisturize first.
Frequently Asked Questions
Where exactly should you apply liquid highlighter on your face?
Apply liquid highlighter to the high points of your face—the areas that naturally catch light. That means the tops of your cheekbones, your brow bones, the bridge and tip of your nose, your cupid’s bow, and the inner corners of your eyes. For a subtle everyday glow, just the cheekbones and inner corners are plenty.
Do you apply liquid highlighter before or after foundation?
Apply liquid highlighter after your foundation and concealer but before any setting powder. Since it’s a liquid product, it blends best over a creamy base and can look patchy if you put it on top of powder. Follow the simple rule: liquids and creams first, powders last.
Can you use liquid highlighter without foundation?
Absolutely. Liquid highlighter looks gorgeous on bare, moisturized skin for a fresh, natural glow. Just make sure your skin is hydrated first so the product blends smoothly instead of clinging to dry patches. It’s a great option on no-makeup makeup days.
How do you make liquid highlighter last all day?
Prep with moisturizer, apply your highlighter over a creamy base, and finish with setting spray to lock everything in. Layering a matching powder highlighter on top also helps the glow hold longer. Avoid touching or rubbing the area throughout the day so you don’t smudge the finish.
Ready to Glow?
Now that you know how to apply liquid highlighter, grab your favorite shade and start experimenting with placement and layers. Play around, find your perfect glow, and get ready to catch the light wherever you go.
