
Learning how to use lip tint is simple: prep and exfoliate your lips, dab or swipe the tint onto the center, then blend it outward for a soft, natural stain that lasts for hours. Lip tint is a lightweight, color-staining product that soaks into your lips rather than sitting on top like a heavy lipstick, giving you that “your lips but better” flush without the mess. Whether you want a bold statement or a barely-there wash of color, the trick is in the prep and the layering.
Below, I’ll walk you through everything, from the tools you need to the exact steps and the little mistakes that trip most people up. Let’s get you that perfect stain.
What You’ll Need
Before you start, gather your supplies. You don’t need every single item here, but having the basics on hand makes the whole process smoother.
- Lip Tint — the star of the show. These come as liquids, gels, oils, or stains, so grab whichever texture appeals to you.
- Lip Scrub — a gentle exfoliating product that buffs away dry, flaky skin so color goes on evenly.
- Lip Balm — a hydrating base that keeps your lips soft and stops the tint from clinging to dry patches.
- Lip Liner — optional, but great if you want to define your lip shape before adding color.
- Lip Brush — a small, flat brush for precise application and clean edges.
- Cotton Swabs — for tidying up any color that strays outside your lip line.
- Tissue — handy for blotting and building color gradually.
A quick note: if you’re trying a brand-new tint, do a patch test first. Dab a tiny bit on the inside of your wrist or elbow and wait 24 hours to check for redness or irritation. This is just general beauty caution, not medical advice, but it saves you from an uncomfortable surprise on your lips.
8 Step-by-Step: How to Use Lip Tint
Take your time the first few tries. Once you find your rhythm, the whole routine takes just a couple of minutes.
1. Exfoliate Your Lips
Start with a clean, smooth canvas. Lip tint clings to any dry, flaky skin, which can leave your color looking patchy and uneven.
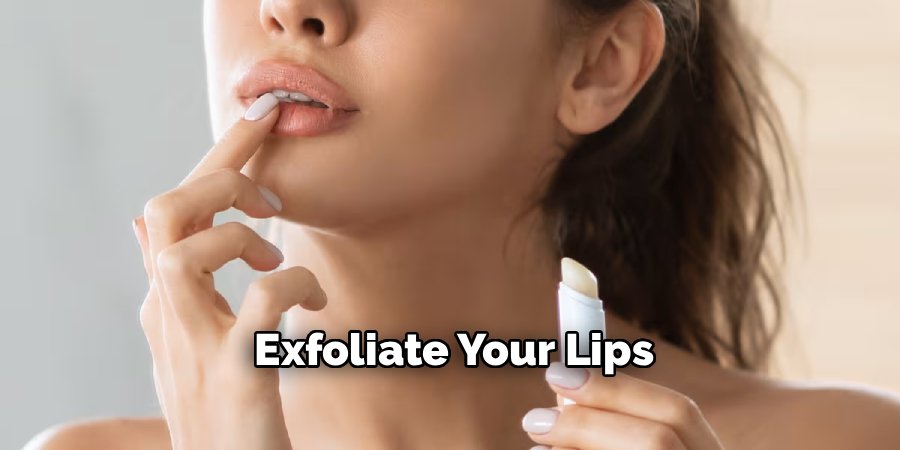
Gently rub a small amount of lip scrub over your lips in little circles, then wipe it away with a damp cloth. If you don’t have a scrub, a soft toothbrush and a dab of balm work in a pinch.
2. Hydrate With Lip Balm
Swipe on a thin layer of lip balm and let it sink in for a minute or two.
This keeps your lips soft and prevents the tint from settling into fine lines. Just don’t go overboard, since too much balm creates a slippery surface that stops the color from grabbing onto your lips properly.
3. Blot Away Excess Balm
Press a tissue lightly against your lips to remove any extra product.
You want your lips moisturized but not greasy. A slightly tacky, matte-ish surface helps the tint actually stain rather than slide right off.
4. Line Your Lips (Optional)
If you like a defined shape, trace your natural lip line with a lip liner in a shade close to your tint.
This step creates a crisp edge and stops the color from feathering, which is when pigment bleeds outside your lip line into the surrounding skin. Skip this if you’re going for a soft, blurred look.
5. Apply Tint to the Center
Here’s where the magic starts. Dab or swipe your lip tint onto the center of both your top and bottom lips.
Starting in the middle gives you the most natural result, since that’s where color naturally concentrates. Use the applicator it comes with, or a lip brush for extra control.
6. Blend Outward
Press your lips together and gently pat the color toward the edges with a clean fingertip or brush.
This diffuses the pigment for that soft, gradient effect where color is deepest in the center and fades outward. Work quickly, because many tints set fast once they touch your lips.
7. Build Your Color in Layers
Want something bolder? Wait about 30 seconds for the first layer to set, then add another.
Building color gradually gives you far more control than piling it all on at once. Two thin layers always look better than one thick, streaky coat.
8. Clean Up the Edges
Dip a cotton swab in a little makeup remover or micellar water and trace around your lip line to sharpen any messy spots.
This quick cleanup makes even a rushed application look polished. Follow with a tiny touch of balm on top if you want a glossy finish, or leave it as-is for a matte stain.
Pro Tips
These small tweaks make a big difference in how your tint looks and lasts.
- Layer over lipstick for longevity. Applying tint first as a base, then a matching lipstick on top, means your color stays even after the lipstick wears off. It’s a favorite trick for all-day wear.
- Use it as a blush too. Many liquid and gel tints double as a cheek stain. Dab a tiny dot on the apples of your cheeks and blend fast with your fingers.
- Match the finish to the occasion. A glossy tint looks fresh and youthful for daytime, while a matte stain reads more polished for evening or events.
- Warm gel tints between your fingers. If your gel or oil tint feels stiff, rub a little between your fingertips first. It applies more smoothly and blends like a dream.
- Keep a balm nearby for touch-ups. Tints can feel drying by mid-afternoon. A quick swipe of balm over the top revives both comfort and color.
Common Mistakes to Avoid
Even a great tint can look off if you fall into these traps. Here’s what to watch for.
- Skipping exfoliation. Applying tint over flaky lips is the number one reason color looks patchy. Thirty seconds of scrubbing fixes it.
- Using too much balm underneath. A greasy base stops the tint from staining and makes it slide around. Always blot before you apply color.
- Applying too much at once. A heavy first coat looks streaky and takes forever to blend. Start light and build.
- Working too slowly. Most tints set quickly, so blend each layer right after you apply it. If you wait, you’ll get hard, uneven edges.
- Ignoring the patch test. Trying a new formula straight on your lips can lead to irritation if your skin reacts to an ingredient. A quick test the day before is worth it.
Frequently Asked Questions
How long does lip tint last on your lips?
Most lip tints last anywhere from four to eight hours, depending on the formula and how well you prep your lips. Stains and long-wear liquid tints tend to hold on longest, while glossy oil tints fade faster because they’re more hydrating. Eating, drinking, and licking your lips will speed up wear, so keep the tube handy for quick touch-ups.
Do you put lip tint on before or after lip balm?
Apply a thin layer of lip balm first, let it absorb, then blot off the excess before adding your tint. This keeps your lips smooth and comfortable without leaving them so greasy that the color won’t grab on. If you want a glossy finish, you can add a little more balm on top after the tint has set.
Can you use lip tint every day?
For most people, wearing lip tint daily is perfectly fine, especially formulas made with nourishing ingredients. Just make sure you remove it gently each night and keep your lips moisturized so they don’t dry out over time. If you ever notice ongoing irritation, dryness, or sensitivity, take a break and check with a professional, since everyone’s lips react differently.
What’s the difference between lip tint and lipstick?
Lip tint stains the surface of your lips with a lightweight wash of color that looks natural and lasts through the day, while lipstick sits on top with fuller, more opaque coverage. Tints feel barely-there and give that soft, “bitten lip” flush, whereas lipstick delivers bolder color and often a creamier finish. Many people layer both, using tint as a long-lasting base underneath their lipstick.
Ready to nail that effortless flush? Grab your favorite tint and give these steps a try, your softest, longest-lasting lip color is just a few dabs away.
