
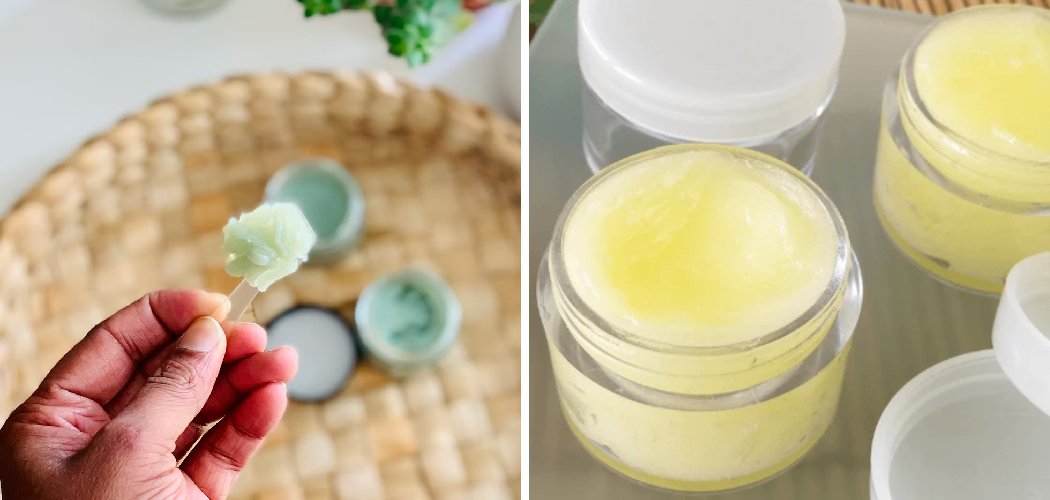
Making your own cleansing balm at home is easier than you’d expect, and it lets you control exactly what touches your skin. A cleansing balm is a solid, oil-based cleanser that melts into a silky oil when you massage it in, dissolving makeup, sunscreen, and daily grime without stripping your face. Learning how to make cleansing balm from scratch saves money, skips the mystery fillers, and lets you tweak the recipe to suit your skin.
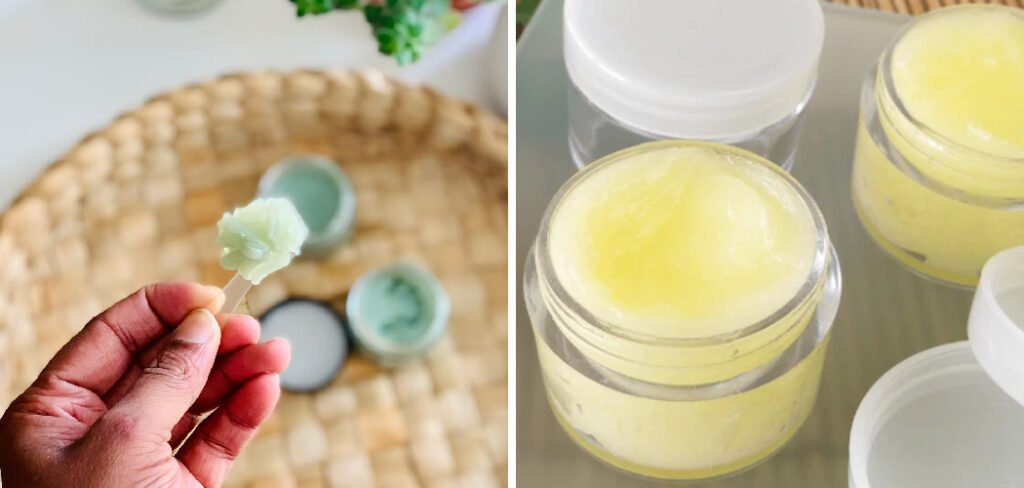
Store-bought balms can run pricey, and many hide long ingredient lists you can’t pronounce. When you make your own, you choose every oil, butter, and scent that goes in. That means you can build a formula that’s gentle, nourishing, and personal.
Below, I’ll walk you through a simple base recipe, the tools you’ll need, and easy ways to customize it. Let’s get into it.
Why Make Your Own Cleansing Balm
There are three big reasons DIY beats the shelf version for a lot of people.
- It’s cheaper over time. A single batch of homemade balm often costs a fraction of a boutique jar, and the ingredients stretch across many batches.
- You control every ingredient. No hidden fragrances, dyes, or preservatives you didn’t ask for. If your skin hates something, you simply leave it out.
- You can customize endlessly. Different oils, butters, and scents let you build a balm for oily, dry, or sensitive skin, all from the same basic method.
Once you’ve made one batch, you’ll wonder why you ever paid full price.
Ingredients
This recipe makes roughly a 4-ounce (about 115g) jar. The magic of a cleansing balm is the ratio of oils to a firming agent, so the texture stays scoopable but solid.
- Carrier Oil (½ cup / 120ml) — the main cleansing oil that dissolves makeup and grime. Sweet almond oil, jojoba oil, or grapeseed oil all work beautifully. Substitution note: jojoba oil mimics your skin’s natural oils and suits most skin types, while grapeseed is lighter for oilier skin.
- Solid Butter (¼ cup / 55g) — gives the balm its rich, buttery body. Shea butter or cocoa butter are both lovely. Substitution note: shea is softer and more moisturizing; cocoa butter is firmer and smells faintly of chocolate.
- Beeswax Pastilles (2 tablespoons) — the firming agent that turns liquid oils into a scoopable solid. Substitution note: for a vegan version, swap in candelilla wax, but use about half the amount since it’s firmer.
- Vitamin E Oil (1 teaspoon) — a natural antioxidant that helps extend shelf life and soothes skin. Substitution note: optional but recommended; you can skip it if you don’t have any.
- Essential Oil (5–10 drops, optional) — for a light, natural scent. Lavender and chamomile are gentle favorites. Substitution note: leave this out entirely for a fragrance-free balm, which is often best for reactive skin.
A quick note before you start: essential oils are potent, so never add more than the amount listed. More is not better here.
Tools and Containers You’ll Need
Gather everything before you begin so the melting process goes smoothly.
- A double boiler — or a heatproof bowl set over a pot of simmering water. This melts your butters and wax gently without scorching them.
- A silicone spatula or spoon — for stirring the mixture as it melts.
- A kitchen scale or measuring cups — for accurate ratios.
- A clean glass jar with a tight lid (4oz) — glass is best because it won’t hold onto oils or bacteria the way plastic can.
- Rubbing alcohol — to sanitize your jar and tools before you pour.
Clean, dry equipment matters a lot here. Any leftover water can shorten your balm’s life, so dry everything thoroughly.
9 Step by Step Guide on How to Make Cleansing Balm
Take it slow the first time. Once you know the rhythm, the whole process takes about 20 minutes plus cooling.
1. Sanitize Your Jar and Tools
Wipe your jar, lid, spatula, and bowl with a little rubbing alcohol and let them air dry.
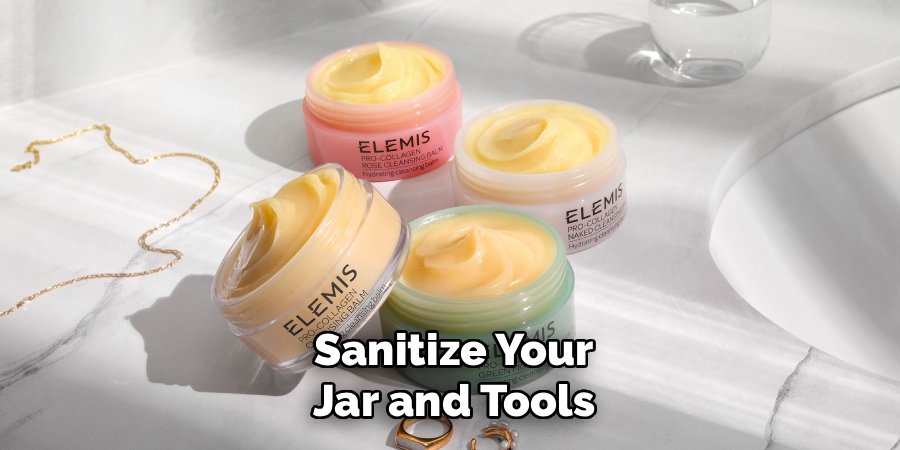
Any bacteria or moisture left behind can cause your balm to spoil early. Starting clean is the single best thing you can do for a long-lasting batch.
2. Set Up Your Double Boiler
Fill a pot with an inch or two of water and bring it to a gentle simmer. Rest your heatproof bowl on top, making sure the bottom doesn’t touch the water directly.
This indirect heat melts everything evenly without burning delicate oils.
3. Melt the Wax and Butter
Add your beeswax pastilles and solid butter to the bowl first, since they take longest to melt.
Stir gently and let them dissolve completely into a clear, liquid mixture. This usually takes three to five minutes.
4. Add the Carrier Oil
Pour in your carrier oil and stir to combine.
The mixture will cool slightly when the room-temperature oil hits it, so keep stirring until everything is fully blended and smooth again.
5. Remove From Heat and Cool Slightly
Take the bowl off the heat and let it sit for about a minute.
You want it warm and liquid but not piping hot, so the next ingredients don’t lose their benefits.
6. Stir In Vitamin E and Essential Oils
Add your vitamin E oil and any essential oils now, while the mixture is off the heat.
Heat can weaken these delicate additions, so adding them at the end keeps them effective. Stir gently to distribute the scent evenly.
7. Pour Into Your Jar
Carefully pour the warm liquid into your sanitized glass jar.
Work slowly to avoid spills and air bubbles. Wipe any drips from the rim so the lid seals cleanly later.
8. Let It Set Completely
Leave the jar uncovered at room temperature until the balm turns solid, usually one to two hours.
Resist the urge to speed things up in the fridge, as cooling too fast can make the texture grainy. Once it’s firm and opaque, pop the lid on.
9. Do a Patch Test Before Full Use
Before slathering it all over your face, dab a small amount on your inner forearm and wait 24 hours.
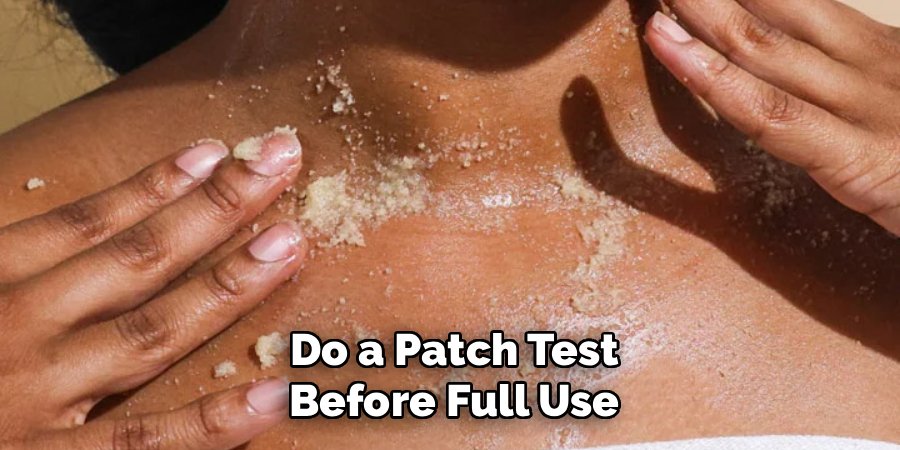
Homemade balms sit on your skin and can contain oils or essential oils that some people react to. If you notice redness, itching, or irritation, don’t use it on your face. This is general beauty caution, not medical advice, so check with a professional if any reaction lingers.
How to Use Your Cleansing Balm
Using it right makes all the difference in how well it cleanses.
- Scoop a small amount with dry fingers onto dry skin.
- Massage it in circular motions for 30 to 60 seconds, letting it melt and dissolve makeup and sunscreen.
- Add a splash of warm water to “emulsify” the balm, meaning it turns milky as it mixes with water.
- Rinse thoroughly with warm water, or wipe away with a damp, soft cloth.
Follow with your usual toner or moisturizer, and enjoy the fresh, soft finish.
Customization Ideas
The base recipe is just a starting point. Here’s how to tailor it to your skin and preferences.
For Different Skin Types
- Oily or acne-prone skin: Lean on lighter oils like grapeseed or jojoba, which won’t feel heavy. Keep essential oils minimal or skip them.
- Dry or mature skin: Use richer ingredients like sweet almond oil and shea butter for extra nourishment and slip.
- Sensitive skin: Go fragrance-free by leaving out essential oils entirely, and stick to one gentle carrier oil like jojoba.
For Scent
- Calming: A few drops of lavender or chamomile for a soothing, spa-like feel.
- Fresh: A touch of sweet orange, though citrus oils can increase sun sensitivity, so use them in night-time balms only.
- Warm and cozy: Cocoa butter alone gives a natural chocolate scent with no added oils needed.
For Finish and Texture
- Firmer balm: Add an extra teaspoon of beeswax if your balm feels too soft in a warm bathroom.
- Softer, more melt-y balm: Reduce the beeswax slightly for a texture that turns to oil the second it hits your skin.
- Extra glow: Stir in a few drops of rosehip oil at the end for a nourishing, radiant feel.
Play around in small batches until you land on your perfect formula.
Storage and Shelf Life
Because this is a natural, preservative-free product, a little care keeps it fresh and safe to use.
- Keep it dry. Water is the enemy of oil-based balms. Always scoop with clean, dry fingers or a small spatula, never wet hands, since moisture invites mold and bacteria.
- Store in a cool, dark spot. Heat and sunlight can turn oils rancid faster. A bathroom cabinet or bedroom drawer works well, away from direct light.
- Use within 3 to 6 months. Without commercial preservatives, homemade balms don’t last forever. The vitamin E helps, but plan to finish or remake your batch within this window.
- Watch for spoilage signs. If your balm smells sour, off, or “crayon-like,” changes color, or shows any spots that could be mold, throw it out. When in doubt, make a fresh batch.
Making smaller batches more often is a smart way to always have fresh balm on hand.
Frequently Asked Questions
Is homemade cleansing balm good for your skin?
For most people, a well-made natural balm is a gentle, nourishing way to remove makeup and daily buildup. Because you control the ingredients, you can avoid additives your skin dislikes and choose oils that suit your skin type. That said, everyone’s skin is different, so always patch test a new batch first and stop using it if you notice irritation.
How long does DIY cleansing balm last?
A homemade balm made with the base recipe here typically stays fresh for three to six months. The exact timeline depends on your ingredients and how you store it, with cool, dark, dry conditions extending its life. Adding vitamin E oil helps slow spoilage, but always toss any balm that smells off or changes texture.
Can I make cleansing balm without beeswax?
Yes, you can swap beeswax for a plant-based firming agent to keep it vegan. Candelilla wax is the most popular alternative, though it’s firmer, so use about half the amount the recipe calls for. Carnauba wax works too, but it sets very hard, so start with a small amount and adjust the texture in future batches.
Why did my cleansing balm turn out grainy?
Graininess usually happens when the balm cools too quickly or unevenly, especially with butters like shea that can crystallize. To fix it, gently remelt the balm in your double boiler, stir well, and let it cool slowly at room temperature instead of the fridge. Cooling gradually gives you that smooth, creamy texture you’re after.
Ready to ditch the pricey jars? Grab your oils and butters, whip up a batch, and treat your skin to a cleanser made entirely by you.
