
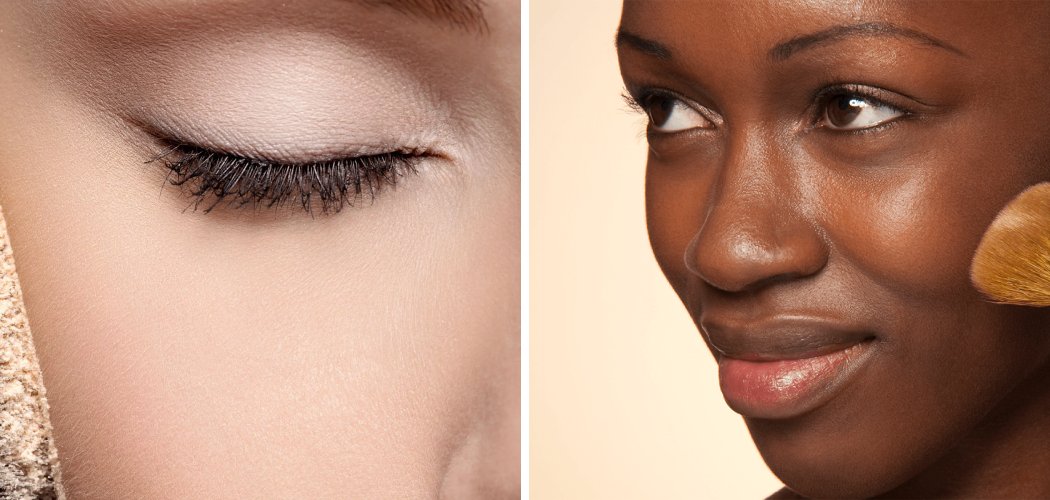
To apply setting powder, dip a fluffy brush or damp sponge into a small amount of powder, tap off the excess, then press and roll it gently over your foundation and concealer. Learning how to apply setting powder the right way keeps your makeup from sliding, creasing, or looking shiny throughout the day.
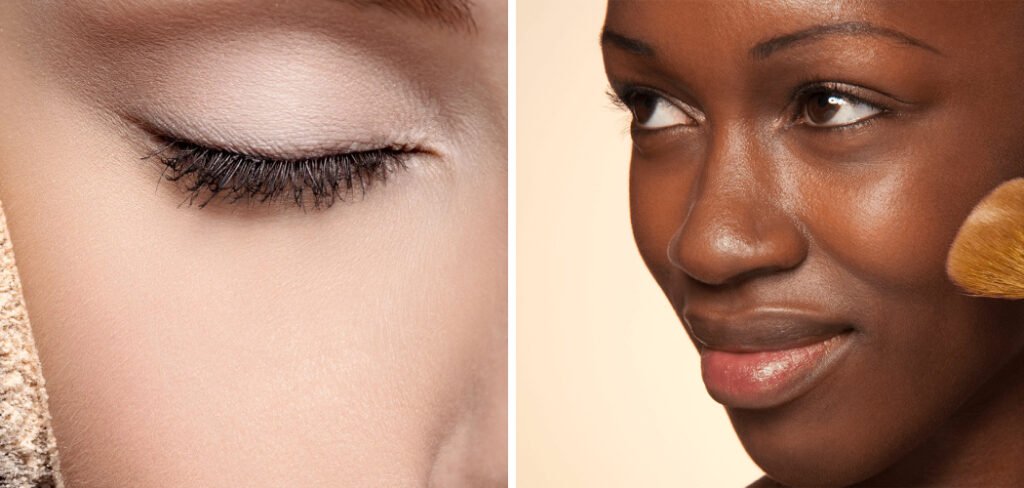
Setting powder is the quiet hero of a long-lasting face. “Setting” simply means locking your liquid or cream makeup in place so it stays put. Use too much and you’ll look cakey; use too little in the wrong spots and your concealer creases by lunchtime. Let’s fix all of that with a simple, foolproof routine.
What You’ll Need
You only need a couple of tools and the right powder to get a smooth, lasting finish. Here’s the short shopping list.
- Loose setting powder — great for a soft-focus, blurred finish and long wear
- Pressed setting powder — perfect for touch-ups on the go and easy to travel with
- Fluffy powder brush — for dusting a light, all-over veil
- Small tapered brush — for pressing powder into the under-eye area precisely
- Makeup sponge — dampened, it presses powder in for a natural, skin-like set
- Setting spray — optional, a fine mist that melts any powdery look into your skin
A quick note on shades: translucent setting powder (a clear, colorless option) works on most skin tones and won’t change your foundation color. If you have deeper skin, look for a translucent formula labeled “no flashback” so you don’t get a gray or ashy cast in photos.
How to Apply Setting Powder: 8 Step-by-Step
Here’s the full routine, broken into easy steps. Follow along and your makeup will stay fresh for hours.
Step 1: Finish your base first
Apply and blend your foundation and concealer completely before you reach for any powder. Your base should look smooth and even.

Setting powder goes on top of liquid or cream products, never underneath. Powdering too early leaves you with a patchy, uneven finish that’s hard to fix.
Step 2: Let your skin settle for a minute
Give your foundation and concealer 30 to 60 seconds to set into your skin before powdering. This tiny pause makes a big difference.
Rushing to powder over wet, freshly applied base causes it to grab unevenly and look cakey. A short wait lets everything melt in so the powder glides on smoothly.
Step 3: Pick up a small amount of powder
Swirl your fluffy brush into the powder, then tap the handle firmly against the edge of your hand or the container. You want just a light dusting on the bristles.
Less is genuinely more here. You can always add another layer, but scraping off excess powder mid-makeup is a pain.
Step 4: Press powder into your under-eye area
Using a small tapered brush or a damp sponge, gently press (don’t sweep) powder over your under-eye concealer. Roll it in with a light patting motion.
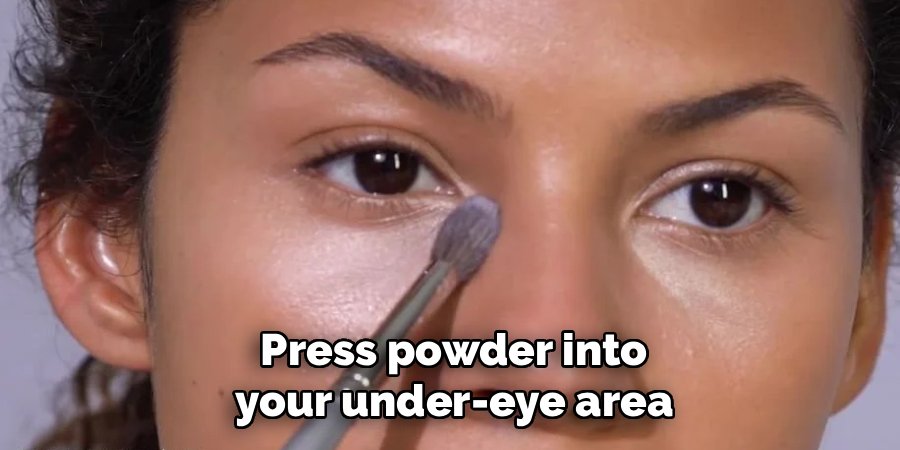
This zone creases the fastest, so setting it well is key. Pressing instead of wiping keeps the concealer from moving and smudging into fine lines.
Step 5: Dust powder across your T-zone
Take your fluffy brush and lightly sweep powder over your forehead, nose, and chin — the areas that get oily first. This strip is often called the “T-zone” because of its shape.
Keep a gentle hand and build slowly. These spots need the most staying power, so a thin, even layer works better than one heavy dump of product.
Step 6: Lightly set the rest of your face
Swipe any powder left on your brush over your cheeks and the outer edges of your face. These drier areas usually need barely any product.
A whisper of powder here is plenty. Over-powdering the cheeks is the fastest way to look flat and dry, so err on the light side.
Step 7: Try baking for extra staying power (optional)
If you want your under-eye and high points to last all night, you can “bake.” Baking means pressing a thick layer of loose powder onto the area, letting it sit for 5 to 10 minutes so your body heat sets the makeup, then dusting off the excess.
Use a damp sponge to pack the powder on your under-eyes, forehead center, and chin. After the wait, sweep away the leftover powder with a clean fluffy brush. This trick is fantastic for events but totally optional for everyday wear.
Step 8: Melt it all together with setting spray
Finish with a few spritzes of setting spray held about an arm’s length from your face. This step is what takes your look from powdery to natural.
The fine mist dissolves any dusty, dry finish and fuses your layers into skin-like makeup. Let it dry fully before touching your face.
Safety first: Take care around your eyes when applying powder and setting spray. Close your eyes during any spritz, and keep loose powder from drifting into them, since fine particles can irritate. If you’re using a brand-new product, patch-test a little on your jaw or inner arm first and wait a day to check for redness or irritation. These are general beauty tips, not medical advice — if your skin reacts, stop using the product and give it a rest.
Pro Tips
Once you’ve got the basics down, these small tweaks take your finish from good to flawless.
- Match your powder to your skin type. Oily skin loves a mattifying loose powder, while dry skin does better with a light, hydrating formula so you don’t emphasize flaky patches.
- Warm your brush against your skin first. A quick swirl on the back of your hand distributes the powder evenly, so you avoid dropping a concentrated blob on one spot.
- Powder only where you need it. Not every face needs an all-over layer. Focus on your T-zone and under-eyes, and leave dry areas nearly bare.
- Keep a pressed powder in your bag. For midday shine, blot first with a tissue, then press (never sweep) a pressed powder on top to refresh without buildup.
- Use a damp sponge for a skin-like set. Pressing powder in with a slightly damp sponge gives the most natural, seamless finish, especially under the eyes.
Common Mistakes to Avoid
Even makeup lovers slip up with powder. Here are the usual offenders and how to sidestep them.
Using way too much product. A heavy hand is the number one cause of cakey, flat-looking makeup. Tap off excess every single time and build in thin layers.
Sweeping instead of pressing under the eyes. Wiping a brush back and forth drags your concealer around and settles it into fine lines. Press and roll gently instead.
Powdering before your base has set. Jumping in while your foundation is still wet leads to patchy, streaky results. Wait a minute so everything can settle.
Powdering your whole face at full strength. Dry areas like the cheeks rarely need much powder. Loading them up makes skin look dull and accentuates texture.
Skipping the excess tap-off. Loading your brush and going straight to your face drops too much powder in one place. Always knock off the extra first.
Forgetting to blend it out. A dusty, obvious powder finish reads as heavy makeup. A quick mist of setting spray melts it into your skin.
Frequently Asked Questions
Do you apply setting powder before or after foundation?
Always apply setting powder after your foundation and concealer, never before. Powder is designed to lock liquid and cream products in place, so it needs to go on top.
If you powder before your base, your foundation won’t have a smooth surface to grip, and you’ll end up with a patchy, uneven finish. Blend your base first, let it settle for a minute, then set it with powder.
How much setting powder should you use?
Use a very light amount — just a soft dusting on your brush after you tap off the excess. Most faces only need real coverage on the T-zone and under the eyes.
Too much powder is the top reason makeup looks cakey and dry. Start with a thin layer, check the mirror, and add a touch more only where you actually need it. Building up slowly always beats scraping off a heavy layer.
What is the difference between loose and pressed setting powder?
Loose setting powder is a fine, unpackaged powder that gives a soft-focus, blurred finish and is ideal for baking and all-over setting at home. Pressed setting powder is compacted into a compact, making it neater and perfect for touch-ups on the go.
Both do the same core job of setting your makeup. Loose formulas tend to feel lighter and offer more control for a full application, while pressed versions win on portability and mess-free midday fixes.
Can you apply setting powder without cakey buildup?
Yes, avoiding a cakey look comes down to using less product and pressing rather than sweeping. Tap off excess powder, focus on oily zones, and go lightly over dry areas.
Finishing with a setting spray also melts any dusty finish into your skin for a natural result. If your makeup still looks heavy, you’re likely using too much powder — cut the amount in half and build up only where needed.
Ready for makeup that lasts from morning to night? Grab your powder and brush, follow these steps before your next event, and enjoy a shine-free, crease-free finish all day long.
