
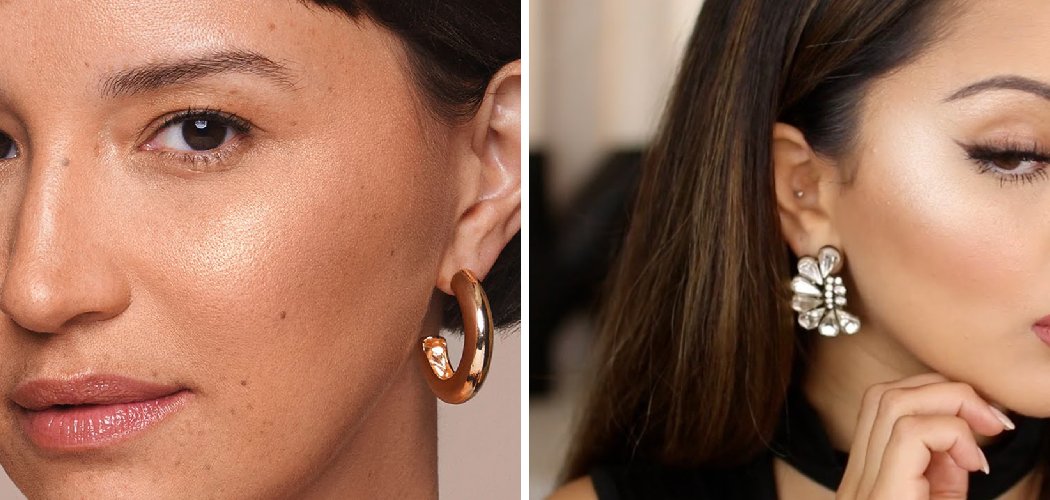
To apply powder highlighter, sweep a small amount onto the high points of your face — the tops of your cheekbones, brow bones, the bridge of your nose, and your cupid’s bow — using a fan or tapered brush, then build up slowly for a soft, lit-from-within glow. Learning how to apply powder highlighter the right way lets you catch the light in all the flattering spots without looking glittery or overdone.
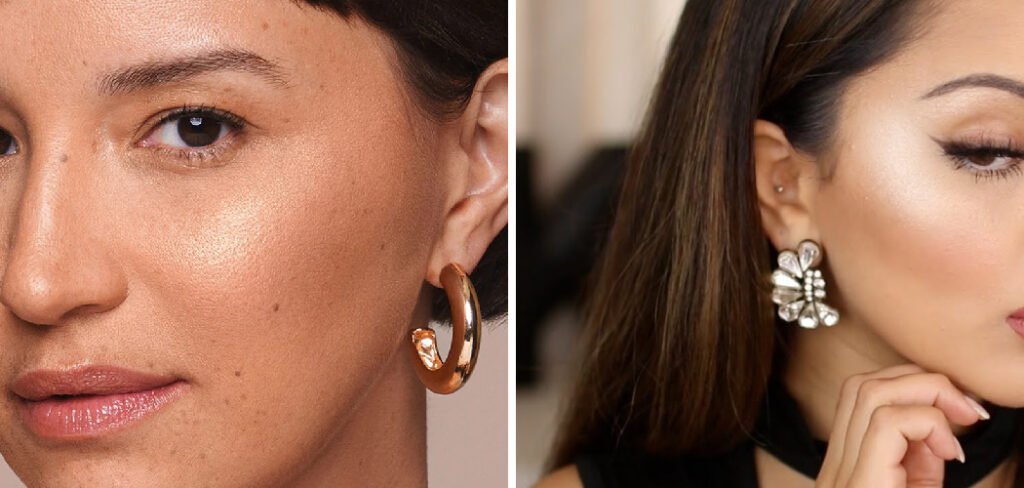
Powder highlighter is one of the easiest ways to make your skin look fresh and awake, even on tired mornings. It sits beautifully over foundation and powder, blends without fuss, and gives you that radiant finish makeup lovers chase. Let’s walk through exactly where to place it and how to blend it like a pro.
What You’ll Need
You don’t need a drawer full of products to get a gorgeous glow. Here’s the short, useful list that makes application easy and even.
- Powder highlighter — the star of the show, in a shade that flatters your skin tone (champagne, gold, rose, or pearl)
- Fan brush — its thin, feathered shape lays down a soft, sheer wash of glow
- Tapered highlighter brush — for more precise, concentrated placement on the cheekbones
- Small detail brush — perfect for tiny areas like the inner corners of your eyes and cupid’s bow
- Setting spray — a fine mist that melts the powder into your skin for a more natural, skin-like finish
- Foundation or tinted moisturizer — creates a smooth base so the highlighter glides on evenly
A quick word on shades: cooler tones like pearl and icy pink flatter fair skin, champagne and gold suit medium tones, and rich bronze or copper looks stunning on deep skin. When in doubt, pick a shade just one or two steps brighter than your natural skin tone for a believable glow.
How to Apply Powder Highlighter: 8 Step-by-Step
Follow these steps in order and you’ll get a radiant, healthy-looking finish every single time.
Step 1: Start with a finished base
Apply your foundation, concealer, and any powder first. Highlighter is the last complexion step, so your skin should already look smooth and even before you add glow.
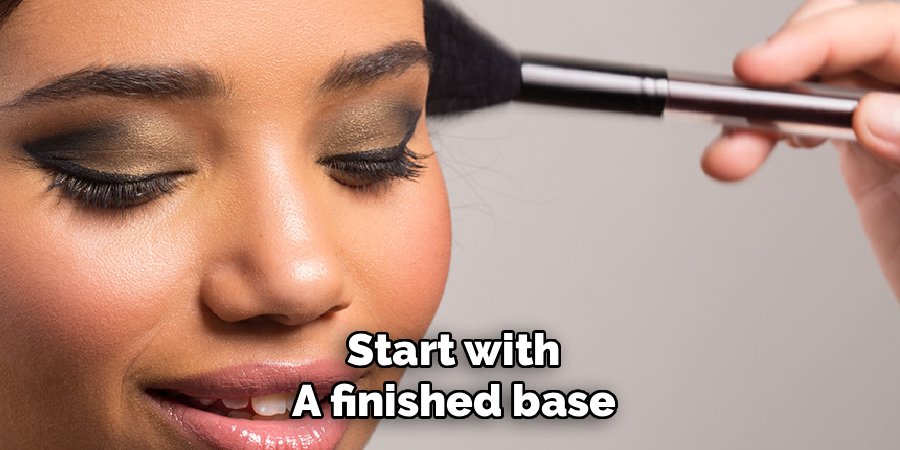
If you use a setting powder, dust it on before highlighting. That way your glow sits on top and stays crisp instead of blending into your base.
Step 2: Know your placement zones
Before you touch the powder, know where the light naturally hits your face. The main spots are the tops of your cheekbones, your brow bones, the bridge of your nose, your cupid’s bow, and the inner corners of your eyes.
These are the “high points” — the areas that catch light and give your face dimension. Hitting these zones is what makes the glow look natural instead of random.
Step 3: Tap off the excess
Dip your fan or tapered brush lightly into the powder, then tap the handle against your hand to knock off any loose product. This tiny step prevents fallout and stops you from applying too much at once.
Powder highlighters are often more pigmented than they look. A gentle tap now saves you from cleaning up glittery specks later.
Step 4: Sweep across the cheekbones
Place your brush at the top of your cheekbone, just above where you’d apply blush, and sweep it back toward your temple. Follow the natural upward line of the bone.
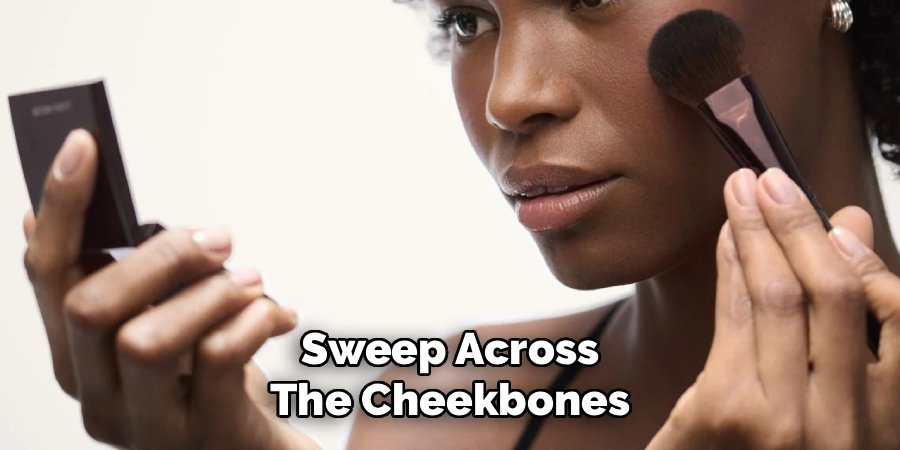
Use light, feathery strokes rather than pressing hard. This is the spot where a beautiful glow makes the biggest difference, so build it slowly.
Step 5: Add a touch to the brow bone
Sweep a small amount just under your eyebrow arch. This lifts the brow area and makes your eyes look brighter and more open.
Keep it subtle here. A light kiss of glow is all you need to add that fresh, wide-awake effect.
Step 6: Highlight the nose and cupid’s bow
Using your small detail brush, run a thin line of highlighter down the center of your nose bridge. Stop before the tip to keep it looking natural.
Then dab a tiny bit onto your cupid’s bow — the little dip in the center of your upper lip. This makes your lips look fuller and adds a polished finishing touch.
Step 7: Brighten the inner corners
With the same detail brush, tap a whisper of highlighter into the inner corners of your eyes. This instantly makes you look more rested and refreshed.
Be gentle and precise since you’re working close to the eye. A small amount goes a long way in this delicate spot.
Step 8: Build and blend
Step back and check your glow in natural light. If you want more shine, add another light layer to the cheekbones and blend the edges with a clean brush so nothing looks harsh.
For an extra seamless finish, mist your face with setting spray. This melts the powder into your skin and softens any powdery texture.
Safety first: Before trying a brand-new highlighter, patch-test a little on your inner arm or jaw and wait a day to check for any redness or irritation. Avoid applying over broken or irritated skin, and keep loose powder away from your eyes to prevent stinging. These are general beauty tips, not medical advice — if your skin reacts, stop using the product and give it a rest.
Pro Tips
Once you’ve nailed the basics, these small tweaks take your glow from good to gorgeous.
- Layer over a cream base for extra shine. Pressing a dab of liquid or cream highlighter onto your cheekbones first, then setting it with powder highlighter, creates an intense, multidimensional glow that lasts longer.
- Use a light hand with your brush. Highlighter is meant to catch the light, not coat your face. A soft, sheer sweep always looks more expensive than a heavy stripe.
- Match your finish to your skin type. If you have oily skin, a satin or fine-milled powder reads as glow, not grease. For dry skin, a dewier formula keeps things fresh.
- Angle your face toward a mirror and light source. Tilt your head slightly to see exactly where the light hits. This helps you place the glow precisely on your natural high points.
- Keep highlighter and blush in harmony. Apply blush first, then add highlighter just above it so the two blend into one seamless flush of color and shine.
Common Mistakes to Avoid
Even experienced makeup fans slip up with highlighter. Here are the usual pitfalls and how to dodge them.
Applying too much at once. A heavy hand turns a soft glow into an obvious, glittery patch. Tap off excess and build up in thin layers instead.
Choosing a shade that’s too stark. A highlighter that’s far lighter than your skin can look chalky or ashy. Pick a tone that brightens without clashing with your complexion.
Placing it in the wrong spots. Glow belongs on the high points that catch light, not spread all over your face. Random placement makes the effect look flat and shiny rather than sculpted.
Skipping the base. Applying highlighter straight onto bare, textured skin can emphasize dry patches and pores. A smooth base helps it sit evenly.
Using a brush that’s too big or fluffy. An oversized brush scatters product everywhere. Match your brush size to the area you’re highlighting for cleaner placement.
Forgetting to blend the edges. A hard line of shimmer looks unnatural. Sweep a clean brush over the borders to soften and blur everything together.
Frequently Asked Questions
Where exactly should you apply powder highlighter on your face?
Apply it to the high points where light naturally hits — the tops of your cheekbones, your brow bones, the bridge of your nose, your cupid’s bow, and the inner corners of your eyes. These spots catch the light and give your face a lifted, radiant look.
Start with the cheekbones since that’s where glow makes the biggest impact, then add smaller touches to the other areas. Keep the placement precise so the shine looks intentional rather than scattered.
Do you apply powder highlighter before or after foundation?
Apply powder highlighter after your foundation, concealer, and setting powder. Highlighter is the final complexion step, so your base should already be smooth and finished before you add glow.
If you set your face with powder first, the highlighter sits neatly on top and stays crisp. Adding it too early means it can blend into your base and lose that light-catching effect.
What brush is best for applying powder highlighter?
A fan brush is great for a soft, sheer wash of glow, while a tapered brush gives you more concentrated color on the cheekbones. For tiny areas like the inner corners of your eyes and cupid’s bow, a small detail brush offers the most control.
Choose your brush based on the area and the intensity you want. A smaller, denser brush picks up more product and delivers a stronger glow, while a fan brush keeps things subtle.
How do you make powder highlighter look natural and not glittery?
The trick is to tap off excess product and build up in thin, sheer layers rather than piling it on. Choose a finely milled formula, since chunky glitter particles are what make highlighter look harsh.
Finish with a light mist of setting spray to melt the powder into your skin. Blending the edges with a clean brush also softens any obvious lines for a seamless, lit-from-within glow.
Ready to glow? Grab your favorite powder highlighter, follow these steps before your next night out, and enjoy that fresh, radiant finish that lights up your whole face.
