
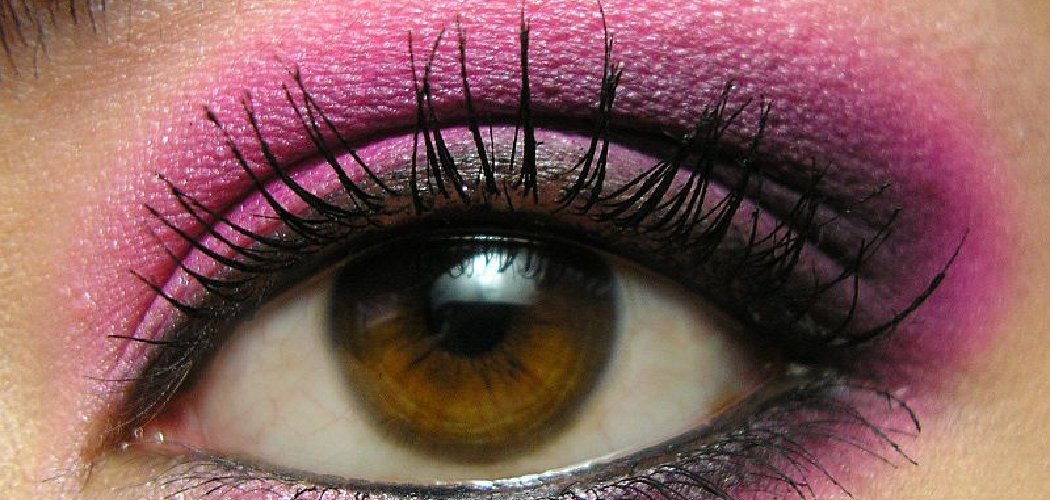
To do inner corner eyeliner, dot or draw a small line of eyeliner right at the inner corner of your eye—the section closest to your nose—then blend or sharpen it depending on the look you want. A bright or shimmery shade in this spot instantly opens up your eyes and makes them look bigger and more awake.
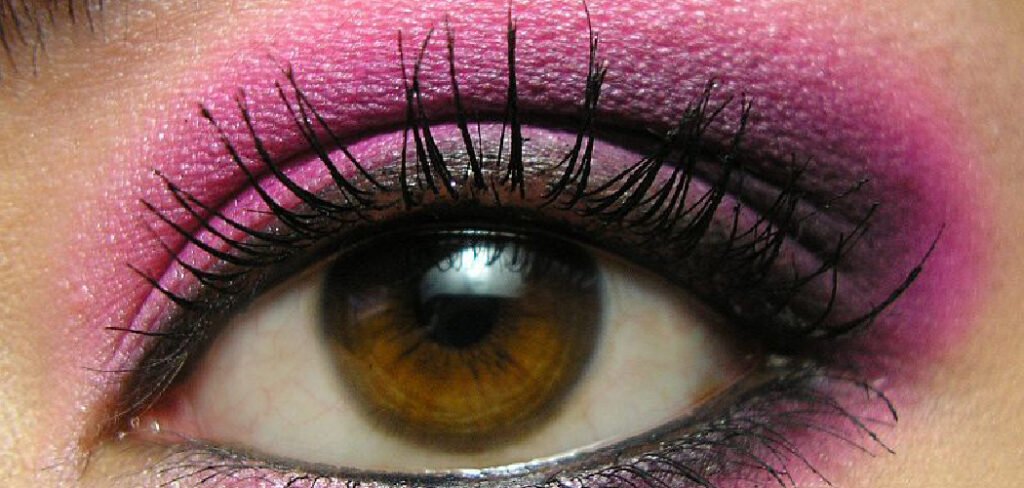
Inner corner eyeliner is one of those tiny tricks that delivers a huge payoff. It takes seconds, uses barely any product, and can brighten tired eyes or add a pop of color that ties your whole look together. Below, we’ll walk through exactly what to use, a simple step-by-step method, and the little mistakes that trip up beginners.
Why Inner Corner Eyeliner Makes Such a Difference
The inner corner of your eye sits right beside the tear duct—the small pink area near your nose where tears drain. Adding light or color here reflects brightness back at your face, which is why it makes eyes look instantly more open.
You can go two directions with this technique. A pale, shimmery shade (think champagne, white, or soft gold) brightens and enlarges. A bold color or dark liner, on the other hand, adds drama and can even make your eyes look a different shape.
The best part? This is a low-stakes technique. You’re working with a tiny amount of product in a small area, so it’s easy to fix and hard to truly mess up.
What You’ll Need
You don’t need much for this look. A few of these are optional, but they help you get cleaner, longer-lasting results.
- Gel or liquid eyeliner — in white, champagne, or your chosen color for a crisp, defined line
- Eyeliner pencil — a creamy pencil is more forgiving and easier to blend for beginners
- Shimmer eyeshadow — a light, sparkly shade for a soft, glowy inner corner
- A small detail brush — a tiny, pointed brush for precise placement
- A flat shader brush — for pressing shimmer shadow into the inner corner
- Eye primer — optional, a base that helps color grip and last longer without fading
- Cotton swabs and micellar water — for cleaning up any smudges or mistakes
Safety note: The skin around your eyes is thin and delicate, and the inner corner sits close to the tear duct. Only use products labeled safe for the eye area, keep them out of your actual eye, and never share eye makeup. If you’re trying a new product, dab a little on the inside of your wrist and wait 24 hours to check for irritation. If anything stings, waters, or feels uncomfortable, remove it gently and stop using it.
8 Step-by-Step: How to Do Inner Corner Eyeliner
Grab a mirror and good lighting before you start. Working close to a well-lit mirror makes this small area much easier to see and control.
Step 1: Prep the Inner Corner
Start with clean, dry skin around your eyes. Wipe away any oil or leftover makeup near the inner corner with a bit of micellar water and let it dry.
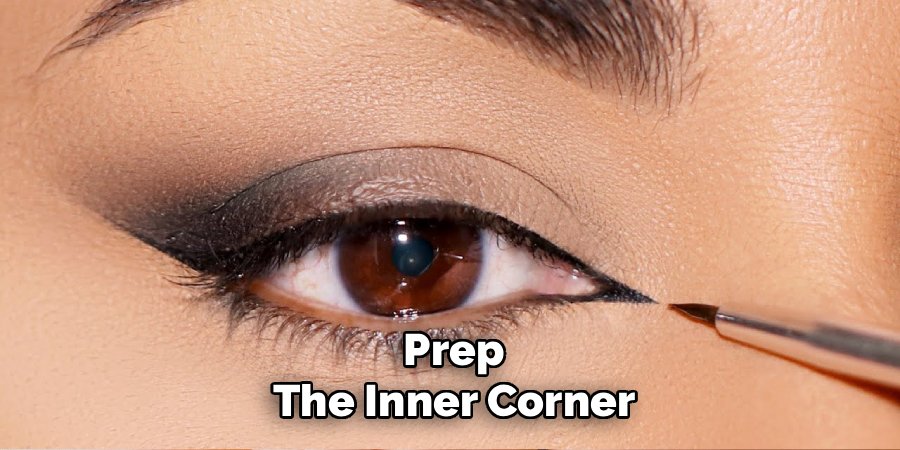
If you want the color to last all day, tap a thin layer of eye primer over the area. This gives the liner or shadow something to grip so it doesn’t fade or slide off.
Step 2: Finish the Rest of Your Eye Look First
Inner corner detail works best as a finishing touch. Apply your eyeshadow, liner, and mascara before you add anything to the inner corner.
That way, the bright pop sits cleanly on top and doesn’t get muddied by other products layered over it. It also helps you see exactly where the inner corner needs brightening.
Step 3: Choose Your Shape
The inner corner of your eye naturally forms a small “V” or wedge shape where the upper and lower lash lines meet. You’ll be filling in and around this little corner.
Decide how far you want the color to travel:
- Just the corner for a subtle, natural brightening effect
- A small “V” following both lash lines for a more defined, wide-awake look
- Extending slightly along the lower lash line for extra pop and drama
Step 4: Apply Your Product
Now for the main event. Load a small amount of product onto your brush or pencil and place it right in the inner corner.

- For shimmer shadow: Press a flat shader brush loaded with color directly into the corner, patting rather than swiping so the sparkle stays put.
- For pencil: Gently draw a small line or dot following the natural V shape, keeping a light hand.
- For gel or liquid liner: Use a fine detail brush or the liner’s own tip to draw a crisp line along the corner.
Less is more here—start small and build up if you want more intensity.
Step 5: Blend or Sharpen
This step depends on the look you’re after.
For a soft, glowy effect, gently blend the edges of the color with a clean fingertip or a small blending brush so it fades naturally into your skin. For a bold, graphic look, leave the lines crisp and clean instead.
If you’re using shimmer, a soft blend on the outer edge keeps it from looking like a harsh block of color.
Step 6: Add a Highlight Pop (Optional)
Want maximum brightness? Layer a tiny dot of shimmery, light-reflecting shadow or a white liner right at the very inner tip.
This extra hit of light in the corner makes eyes look noticeably bigger and more rested. Keep this dot small—it’s an accent, not the whole show.
Step 7: Clean Up the Edges
Check your work in the mirror. If any color landed where you didn’t want it, dip a cotton swab in a little micellar water and gently wipe it away.
Cleaning up the edges gives you a sharp, intentional finish. Take your time here, since neat edges are what separate a polished look from a smudgy one.
Step 8: Set the Look (Optional)
If you’re worried about the color fading, you can lightly press a matching powder shadow over a pencil or liner to help it stay in place.
Avoid rubbing your eyes once you’re done, and let everything dry fully before you head out. That’s it—you’ve brightened your eyes in under a minute.
Pro Tips for Brighter, Longer-Lasting Inner Corners
These small tweaks take your inner corner from good to genuinely eye-opening.
- Match the shade to your goal. Use champagne or soft gold to brighten warm skin tones, white for maximum pop, and bold colors when you want a statement.
- Layer for staying power. Set a creamy pencil with a matching powder shadow so it doesn’t smudge or fade throughout the day.
- Use a tiny brush for control. A fine detail brush gives you far more precision in this small space than the tip of a big pencil.
- Tap, don’t drag. Pressing shimmer into the corner keeps the sparkle intact, while dragging can scatter it and leave patchy color.
- Keep it clean. Wipe your brush between uses so old product doesn’t dull your bright shade.
Common Mistakes to Avoid
Even seasoned makeup lovers slip up on these. Dodge them and your inner corner will look crisp every time.
Using too much product. A heavy hand looks clumpy and can migrate into your eye. Start with a small amount and build up slowly.
Placing color too far in. Getting product right on the tear duct itself can irritate your eye and looks unnatural. Keep it just at the corner, not inside it.
Skipping the rest of your eye look. Adding the inner corner first means you’ll smudge it later. Save it for last as a finishing touch.
Choosing the wrong shade. A too-stark white can look chalky on deeper skin tones. Try champagne, gold, or a soft shimmer that flatters your complexion instead.
Forgetting to set it. Creamy formulas near the eye can smudge quickly. A light dusting of matching powder keeps everything locked in.
Blending too much. Over-blending a bold or graphic look erases the crisp definition you were going for. Blend only if you want a soft effect.
Frequently Asked Questions
What color eyeliner is best for the inner corner of the eye?
It depends on the effect you want. Light, shimmery shades like white, champagne, and soft gold are the most popular because they reflect light and make eyes look bigger and more awake. White gives the boldest brightening pop, while champagne and gold look softer and more natural on most skin tones. If you want drama instead of brightness, a colorful or dark liner in the inner corner can add depth and even reshape how your eyes appear.
Does inner corner eyeliner make your eyes look bigger?
Yes, that’s the main reason people love this technique. Adding a light or shimmery shade to the inner corner reflects brightness back at your face, which opens up the eye and creates the illusion of more space. It’s especially helpful for close-set eyes or when you’re tired and want to look more rested. For the biggest effect, use a light-reflecting shimmer and add a tiny dot of highlight right at the very inner tip.
Should you put eyeliner on the inner corner or leave it bare?
Both approaches work, and it comes down to the look you’re going for. Leaving the inner corner bare or brightening it with a light shade keeps eyes looking open and awake, which flatters most eye shapes. Lining the inner corner with a darker shade creates a more intense, dramatic effect but can make eyes look slightly smaller or more closed in. If you have close-set eyes, you’ll usually want to brighten the corner rather than darken it.
How do you keep inner corner eyeliner from smudging?
Smudging usually comes down to prep and setting. Start with clean, oil-free skin and a thin layer of eye primer so the color has something to grip. Choose a long-wearing gel or liquid formula, or set a creamy pencil by pressing a matching powder shadow on top. Finally, let everything dry fully before blinking hard or rubbing your eyes, and keep touch-ups gentle throughout the day.
Ready to Brighten Those Eyes
Now that you know how to do inner corner eyeliner, grab a shimmery shade and a small brush, and give your eyes that wide-awake pop in under a minute.
