
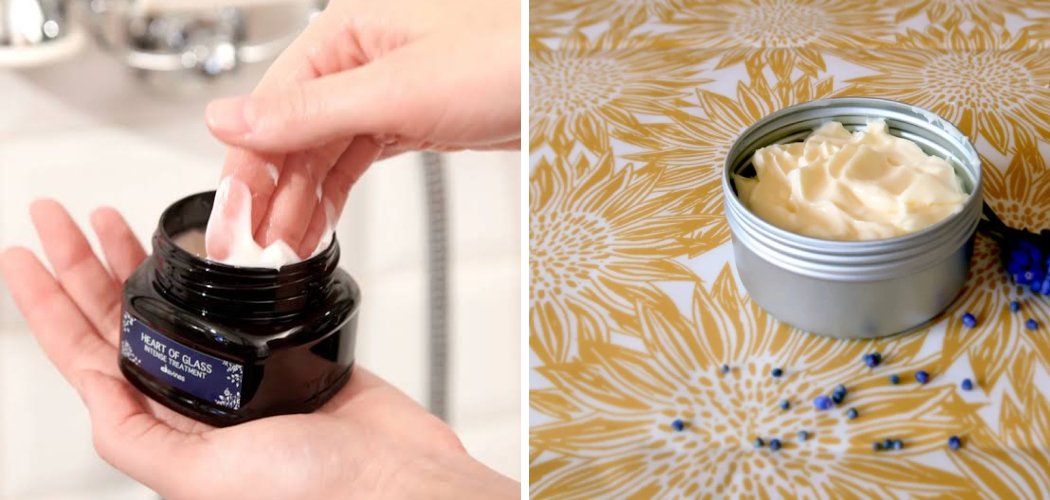
Making your own hand cream is easier than you think: you melt a few natural oils and butters together, whip in a little water-based liquid, and pour the mix into a jar.
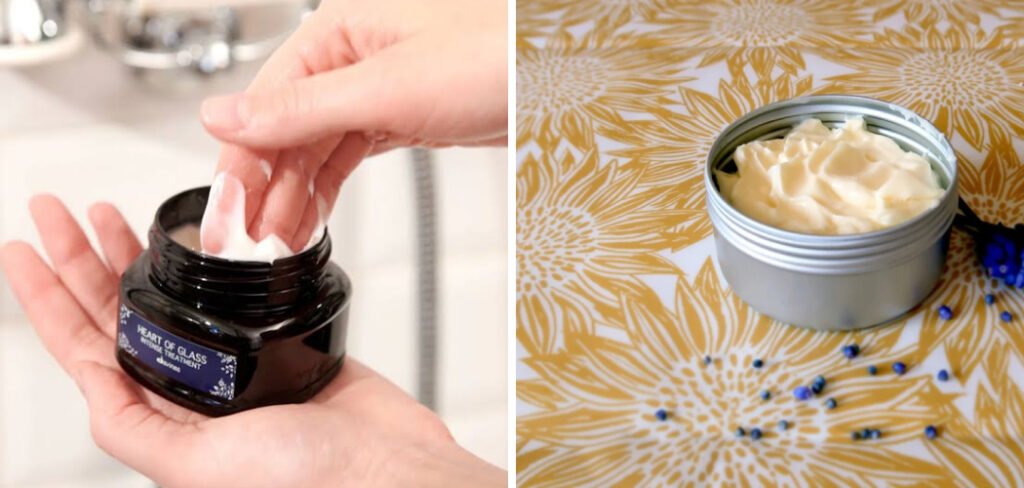
Learning how to make hand cream at home means you control every ingredient, skip the mystery chemicals, and save real money compared to fancy store-bought tubes. Best of all, you can customize the scent, texture, and richness to suit exactly what your hands need.
Ready to whip up a batch? Let’s get into it.
Why Make Your Own Hand Cream?
There are a few really good reasons to skip the drugstore aisle and DIY instead.
First, it’s cheaper. A single batch made from pantry-friendly oils and butters can fill several jars for the price of one premium moisturizer.
Second, you know exactly what’s going on your skin. No long list of unpronounceable additives — just the ingredients you choose. That’s a big deal if you have sensitive skin or you’re trying to avoid synthetic fragrances.
Third, homemade hand lotion is endlessly customizable. Want it extra rich for cracked winter hands? Done. Prefer a light, fast-absorbing formula for daytime? Easy. You’re the boss of your own hand moisturizer recipe.
Ingredients You’ll Need
This recipe makes roughly 4 ounces of creamy, spreadable hand cream. Every ingredient does a specific job, and most have easy swaps if you don’t have them on hand.
- Shea butter (2 tablespoons) — the rich, nourishing base that softens dry skin. Substitute: mango butter or cocoa butter for a firmer, slightly waxier feel.
- Coconut oil (2 tablespoons) — adds glide and deep moisture. Substitute: sweet almond oil or olive oil if coconut breaks you out or feels too greasy.
- Sweet almond oil (1 tablespoon) — a lightweight “carrier oil” (a plant oil that carries nutrients and dilutes stronger oils) that helps the cream absorb. Substitute: jojoba oil or grapeseed oil.
- Beeswax pellets (1 tablespoon) — thickens the cream and locks moisture in. Substitute: candelilla wax for a vegan version (use about half the amount, as it’s firmer).
- Vitamin E oil (½ teaspoon) — a natural antioxidant that nourishes skin and helps extend shelf life. Optional but recommended.
- Distilled water or rosewater (2 tablespoons) — lightens the texture so it feels like lotion, not balm. Use distilled, not tap, to cut down on bacteria.
- Essential oil (5–10 drops, optional) — for scent. Lavender, sweet orange, and geranium are all lovely. Skip entirely for a fragrance-free version.
Quick note on the water: Adding any water-based liquid makes the cream more prone to spoilage. If you’d rather keep things ultra-simple and long-lasting, you can leave the water out completely and make a thicker balm-style cream instead.
Tools and Containers
You don’t need fancy gear. Chances are you already own most of this.
- A double boiler — or just a heatproof bowl set over a small pot of simmering water
- A silicone spatula or spoon for stirring
- A small whisk or handheld milk frother — this is the secret to a fluffy, whipped texture
- A measuring spoon set
- A clean 4-ounce glass jar with a lid (or two 2-ounce jars) — glass is best for storage
- A funnel (optional, but helpful for pouring into narrow containers)
Make sure everything is spotlessly clean and completely dry before you start. Any leftover water or residue can introduce bacteria and shorten your cream’s life.
How to Make Hand Cream: 9 Step-by-Step
Follow these steps in order and you’ll have a smooth, luxurious cream in about 20 minutes (plus cooling time).
1. Sterilize Your Equipment
Wash your jar, bowl, spatula, and whisk in hot soapy water, then dry everything thoroughly. For extra safety, rinse the jar with boiling water and let it air-dry completely.

Clean tools mean fewer bacteria, which means your homemade hand lotion lasts longer.
2. Melt the Butters and Wax
Set up your double boiler with a couple inches of water in the bottom pot. Add the shea butter, coconut oil, and beeswax pellets to the top bowl.
Warm over low-medium heat, stirring gently, until everything melts into a clear, liquid pool. This usually takes 3–5 minutes. Don’t let it boil.
3. Stir in the Carrier Oil
Once the butters and wax are fully melted, remove the bowl from the heat. Stir in the sweet almond oil.
Adding this oil off the heat helps keep its skin-loving nutrients intact.
4. Let It Cool Slightly
Set the mixture aside for 3–5 minutes. You want it to cool a little but not start solidifying — it should still be liquid but no longer piping hot.
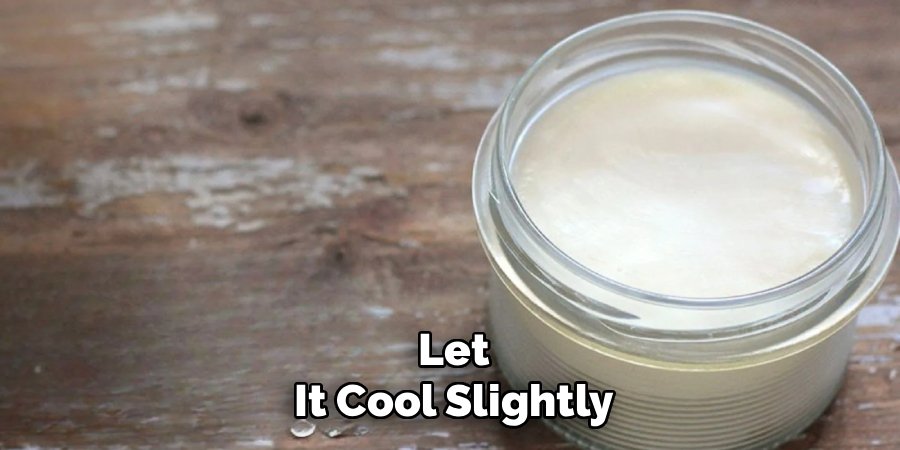
This step matters because adding water to a scorching-hot mix can cause it to separate.
5. Whisk in the Water
Slowly drizzle in the distilled water or rosewater while whisking constantly. Go a little at a time so it blends smoothly rather than pooling.
The mixture will start to turn creamy and pale as the water combines with the oils. Keep whisking until it looks uniform.
6. Add Vitamin E and Essential Oils
Stir in the vitamin E oil and your chosen essential oils now, while the cream is still soft. This is your chance to build your scent.
Start with fewer drops — you can always add more, but you can’t take them out.
7. Whip Until Fluffy
As the cream cools, use your whisk or milk frother to whip it. This adds air and gives you that light, fluffy, spreadable texture.
If the cream is still too runny, pop it in the fridge for 10 minutes, then whip again. Cooling helps it firm up.
8. Transfer to Your Jar
Once the cream reaches a soft, whipped consistency, spoon or pour it into your clean glass jar. Tap the jar gently on the counter to settle out any air pockets.
Let it cool completely, uncovered, before putting the lid on. Sealing warm cream can trap condensation inside — and that moisture invites mold.
9. Label and Date It
Pop a small label on the jar with the date you made it. Homemade cream doesn’t have preservatives, so knowing its age helps you use it up in time.
That’s it — your DIY hand cream is ready to soothe dry, tired hands.
Customization Ideas
Here’s where the fun really starts. Once you’ve nailed the base recipe, you can tweak it a hundred different ways.
For scent:
- Relaxing: lavender + a touch of chamomile
- Fresh and uplifting: sweet orange + grapefruit
- Warm and cozy: vanilla + a little cinnamon (use cinnamon sparingly — it can irritate skin)
- Floral: geranium + rose
For finish and texture:
- Richer, balm-like cream: skip the water and add an extra tablespoon of shea butter
- Lighter, fast-absorbing lotion: add an extra tablespoon of distilled water and a little more almond oil
- Extra glide: stir in a teaspoon of glycerin, a humectant (an ingredient that pulls moisture into the skin)
For different skin types:
- Very dry or cracked hands: boost the shea and cocoa butter; add a few drops of avocado oil
- Oily or acne-prone skin: swap coconut oil for jojoba oil, which is lighter and less pore-clogging
- Sensitive skin: leave out essential oils entirely and stick to fragrance-free carrier oils
Patch-test reminder: Before slathering any new cream — especially one with essential oils — all over your hands, dab a small amount on the inside of your wrist and wait 24 hours. If you notice redness, itching, or irritation, skip that ingredient. This general caution matters most for sensitive skin and stronger essential oils like cinnamon and citrus.
Storage & Shelf Life
Because this is a fresh, preservative-free product, storage really matters. A few simple habits keep your cream safe and effective.
- Store in a cool, dry spot. A bathroom cabinet away from the shower steam works, but a bedroom drawer or the fridge is even better. Cool temps slow spoilage.
- Keep water out with clean hands. Scoop with a clean, dry spoon or spatula rather than dipping wet fingers into the jar. Water is mold’s best friend.
- Watch the shelf life. With the water added, use your cream within 2–3 weeks. A water-free, balm-style version lasts much longer — about 2–3 months.
- Refrigerate to extend it. Popping the jar in the fridge can add a week or two and gives a lovely cooling feel on tired hands.
How to spot spoilage: Toss the cream immediately if you notice any of these warning signs:
- A sour, “off,” or rancid smell
- Visible mold spots (fuzzy white, green, or black patches)
- A change in color or a watery, separated layer that won’t re-blend
When in doubt, throw it out and whip up a fresh batch. The ingredients are inexpensive, and your skin isn’t worth the risk.
Frequently Asked Questions
How long does homemade hand cream last?
It depends on whether you added water. A hand cream made with distilled water or rosewater and no preservatives typically lasts 2–3 weeks, especially if stored in the fridge. A water-free, balm-style version can last 2–3 months because there’s no moisture for bacteria and mold to grow in. Always give it a sniff before using — a sour or off smell means it’s time to make a new batch.
Can I make hand cream without beeswax?
Absolutely. Beeswax acts as a thickener and moisture sealer, but you can swap it for candelilla wax if you want a vegan option — just use about half the amount, since it sets firmer. You can also leave wax out entirely and rely on shea and cocoa butter for thickness, though the result will be softer and more balm-like. Popping the finished cream in the fridge helps a wax-free version firm up nicely.
What is the best oil for a DIY hand moisturizer?
The “best” oil depends on your skin type. Sweet almond oil and jojoba oil are popular all-rounders because they absorb well and suit most skin types, including sensitive skin. For very dry or cracked hands, richer oils like avocado or olive oil add extra nourishment. If your skin is oily or breaks out easily, jojoba oil is a smart pick since it’s lightweight and less likely to clog pores.
Why did my homemade hand cream turn out greasy?
Greasiness usually means there’s too much oil relative to the other ingredients, or the cream wasn’t whipped enough to lighten the texture. Try adding a little more water-based liquid next time, or reduce the coconut oil, which tends to feel heaviest. Whipping the cream well as it cools also makes a big difference — it adds air and helps everything absorb faster into your skin.
Grab your favorite oils, pick a scent you love, and treat your hands to a batch of soft, silky homemade cream this weekend.
