
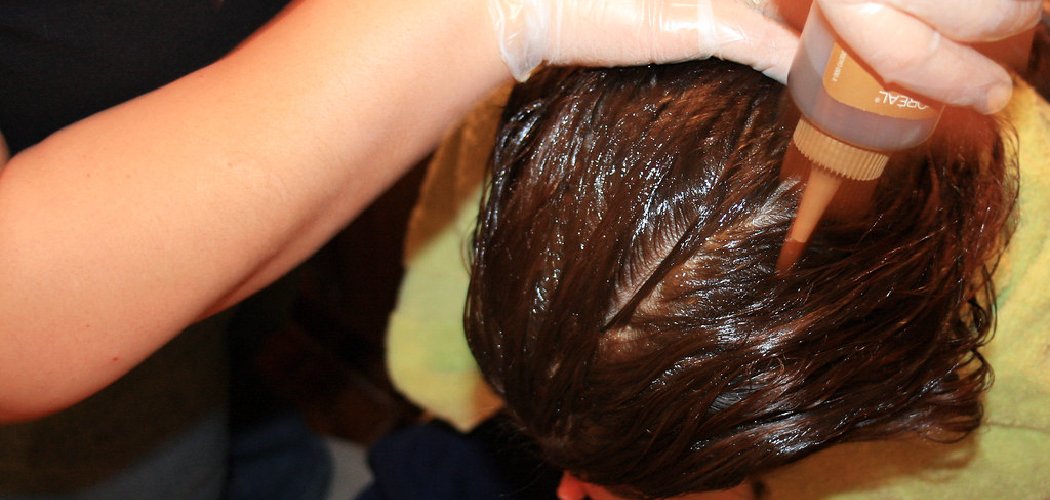
Want to know how to dye your hair without hair dye? You totally can, using kitchen staples and pantry ingredients like coffee, tea, henna, and beet juice to shift your color naturally. These DIY methods won’t bleach or dramatically lift your shade, but they add rich tones, cover a few grays, or give your hair a subtle new tint. It’s a gentle, budget-friendly way to refresh your look without harsh chemicals.
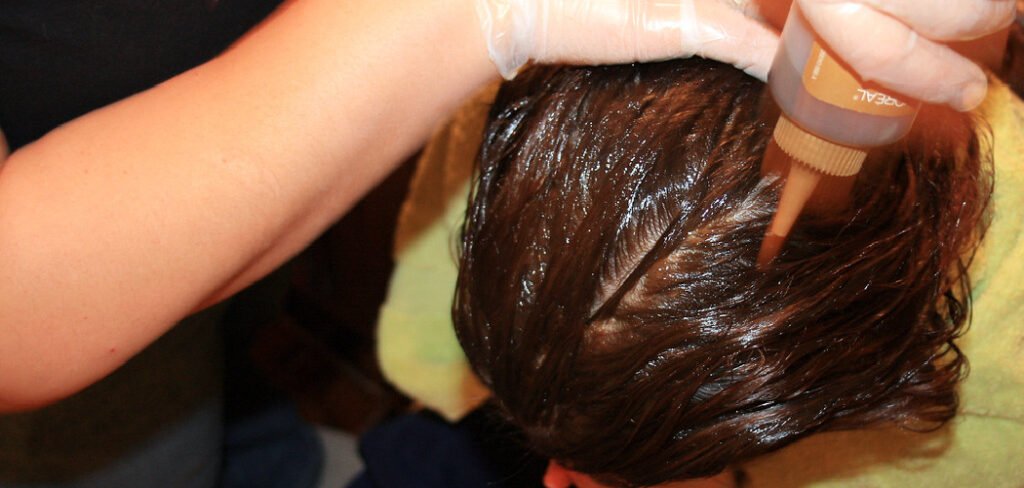
The best part? You control exactly what goes on your hair. No mystery ingredients, no ammonia smell, and no salon price tag.
Why Try a DIY Natural Hair Tint?
Store-bought box color works, but it comes with trade-offs. Natural methods let you skip the downsides while having a little fun in the kitchen.
Here’s why people love going the DIY route:
- It’s cheap. Most ingredients cost a few dollars, and you probably already have some at home.
- You control what touches your hair. No harsh chemicals, no long ingredient lists you can’t pronounce.
- It’s gentle. These tints coat the hair rather than stripping it, so they’re kinder to your strands.
- It’s customizable. You can dial the color up or down by adjusting strength and soak time.
- It’s low commitment. Most natural tints fade gradually, so you’re not stuck if you change your mind.
Just set your expectations first. Natural tinting deepens and enhances your existing color. It won’t turn dark brown hair platinum blonde, and results show up best on lighter or gray hair.
Ingredients
Pick your base depending on the shade you’re after. Each ingredient below leans toward a certain tone, and you can mix a few for custom results.
- Brewed coffee — Adds deep brown tones and a bit of shine. Best for brunettes wanting richer, darker color. Use strong espresso or a dark roast for the boldest result.
- Black tea — Darkens hair and can help blend grays. Swap in rooibos tea for reddish tones or chamomile tea for subtle golden highlights on light hair.
- Henna powder — Gives long-lasting red, auburn, or copper tones. Look for body-art-quality henna with no additives. This is the most permanent natural option.
- Beet juice — Adds cool red and burgundy tints. Best on light or pre-lightened hair.
- Carrot juice — Gives warm reddish-orange tones. Great mixed with beet juice for a custom red.
- Lemon juice — Naturally lightens hair over time, especially with sun exposure. Substitute chamomile tea if you want gentler lightening.
- Sage — Darkens and covers grays on brown and black hair. Steep it like tea for a natural rinse.
- Cocoa powder — Deepens brown shades. Mix it into a coffee or henna paste for extra depth.
Optional add-ins: A spoonful of coconut oil or your usual conditioner helps the mixture cling to hair and keeps strands soft. A little apple cider vinegar can help set the color.
Substitution Notes
Don’t have the exact ingredient? No problem.
- No fresh beet juice? Bottled beetroot juice works fine.
- No loose sage? Dried sage from the spice rack is perfect.
- No henna? Coffee and black tea combined give a decent brown without the commitment.
Tools and Containers You’ll Need
Gather these before you start so you’re not hunting mid-process with stained hands.
- A non-metal mixing bowl (glass or plastic — metal can react with henna)
- A whisk or spoon for mixing
- A tint brush or an old, clean toothbrush for application
- Sectioning clips to keep hair out of the way
- An old towel and an old shirt you don’t mind staining
- Disposable gloves to protect your hands
- A shower cap or plastic wrap to trap heat while it develops
- A spray bottle if you’re using a thin liquid like tea or coffee
How to Dye Your Hair Naturally: 8 Step by Step
The exact steps shift slightly depending on your ingredient, but the general method stays the same. Here’s your roadmap.
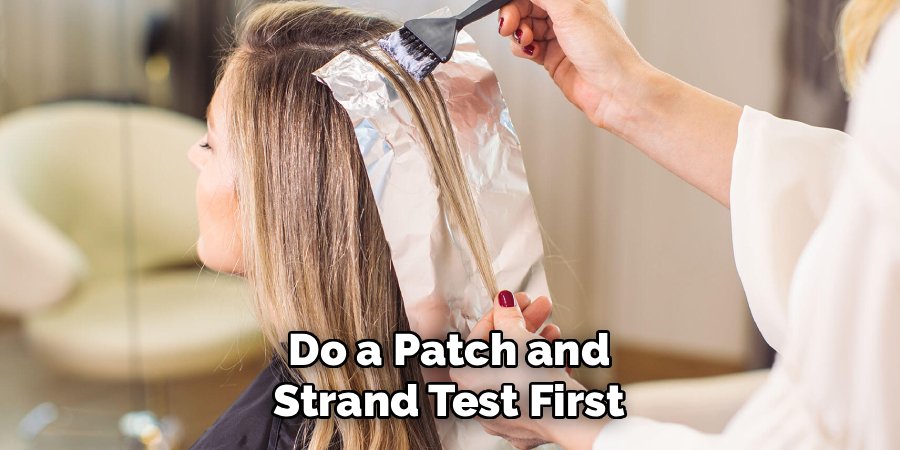
Step 1: Do a Patch and Strand Test First
Always test before you commit. Natural doesn’t automatically mean safe for everyone.
Dab a little of your mixture on the inside of your elbow and wait 24 hours to check for irritation. Then apply it to a small, hidden section of hair to preview the color and see how your strands react.
Safety note: Henna in particular can cause reactions in some people, and “black henna” products may contain harmful additives — stick to pure, body-art-quality henna. If you notice redness, itching, or burning at any point, rinse immediately and stop. This is general beauty caution, not medical advice, so check with a professional if you have sensitive skin or scalp conditions.
Step 2: Prep Your Mixture
Brew or blend your chosen base until it’s strong and concentrated.
- For coffee or tea, brew it double or triple strength and let it cool completely.
- For henna, mix the powder with warm water (and a splash of lemon juice or vinegar) until it’s a smooth, yogurt-like paste. Let it sit for a few hours so the color can release.
- For beet or carrot juice, mix it with a spoonful of conditioner or coconut oil to help it spread.
Step 3: Start With Clean, Damp Hair
Wash your hair and skip the conditioner unless your recipe includes it. Clean hair grabs color better because there’s no product buildup blocking it.
Towel-dry until your hair is just damp, not dripping. Damp strands absorb the tint more evenly.
Step 4: Section Your Hair
Divide your hair into four sections and clip them up. Working section by section means you won’t miss spots.
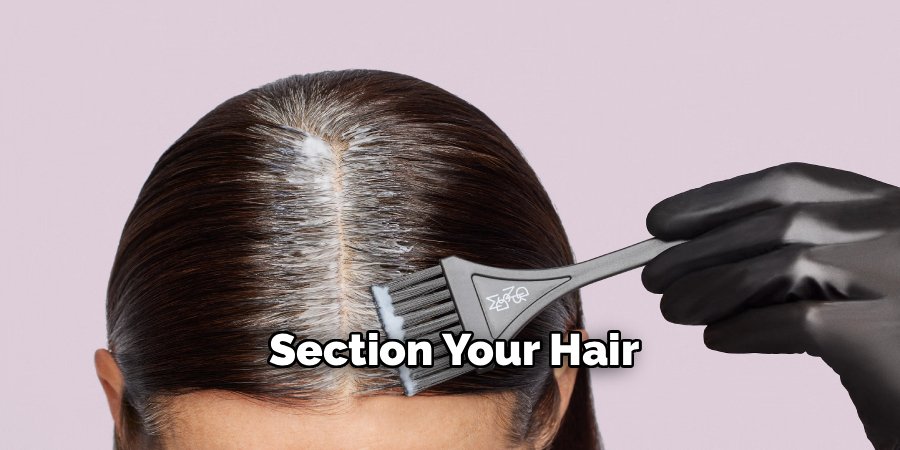
This step matters most for thick or long hair, where it’s easy to leave patchy gaps.
Step 5: Apply the Mixture
Put on your gloves and start applying from roots to ends.
- For thick pastes like henna, use your tint brush to coat each section fully.
- For liquids like coffee or tea, either pour it through as a rinse over a bowl or spray it on and massage it in.
Make sure every strand is saturated. Uneven coverage leads to uneven color.
Step 6: Cover and Wait
Pile your hair up and cover it with a shower cap or plastic wrap. The trapped heat helps the color develop.
Now be patient. Development time varies a lot:
- Coffee or tea rinse: 30 minutes to 1 hour
- Henna: 2 to 4 hours for deep color
- Beet or carrot juice: 1 hour
- Lemon juice: Sit in the sun for 30 to 60 minutes
Step 7: Rinse and Repeat if Needed
Rinse with cool water until it runs clear. Skip shampoo for the first wash so you don’t strip the fresh color.
Natural tints build gradually, so don’t panic if the first round looks subtle. Repeat every few days until you reach the shade you want.
Step 8: Condition and Seal
Finish with a light conditioner or a splash of apple cider vinegar diluted in water. This smooths the hair and helps lock in the tint.
Let your hair air-dry when possible to keep the color looking its best.
Customization Ideas
Once you get the hang of the basics, mix and match to create your own signature shade.
- Richer brunette: Combine strong coffee with a spoonful of cocoa powder for extra depth and shine.
- Warm auburn: Blend henna with a little beet juice for a red-brown glow.
- Sun-kissed highlights: Mix lemon juice with chamomile tea and apply only to the pieces framing your face.
- Gray blending: Layer black tea and sage over several sessions to soften grays without full coverage.
- Cool burgundy: Mix beet juice with a splash of black tea to tone down the brightness.
- Golden glow: Use chamomile tea alone on blonde or light brown hair for a soft, honeyed tint.
Feel free to adjust ratios. More coffee means darker; more beet juice means redder. Keep notes on what you use so you can recreate your favorite blend later.
Storage and Shelf Life
Natural mixtures don’t contain preservatives, so they spoil quickly. Treat them like food, because that’s basically what they are.
- Brewed coffee and tea: Store in the fridge for up to 3 days in a sealed jar. Toss it if it smells off.
- Fresh juice blends (beet, carrot): Use within 24 hours for best color and safety. Fresh juice ferments fast.
- Henna paste: Best used the same day once mixed, but you can freeze leftover paste in a sealed container for up to a few months. Thaw before using.
- Herbal rinses (sage): Refrigerate for up to 3 days.
A good rule of thumb: if it looks moldy, smells sour, or seems slimy, throw it out. Never put a spoiled mixture on your scalp.
Store everything in airtight glass jars and label them with the date you made them. Keep them in the back of the fridge where it’s coldest.
Frequently Asked Questions
How can I dye my hair naturally at home?
You can tint your hair at home using ingredients like brewed coffee, black tea, henna, beet juice, or sage. Brew or blend your chosen ingredient into a strong mixture, apply it to clean damp hair, cover with a shower cap, and let it develop anywhere from 30 minutes to a few hours. Rinse with cool water and repeat over several sessions to build the color, since natural tints work gradually rather than all at once.
Does dyeing hair with coffee actually work?
Yes, coffee can darken hair and add subtle brown tones, though the effect is temporary and works best on hair that’s already brown. Use strong, cooled coffee, leave it on for at least 30 minutes to an hour under a shower cap, and repeat regularly to maintain the shade. Coffee won’t lighten hair or drastically change your color, but it’s a gentle way to deepen and enrich brunette tones between washes.
How long does natural hair dye last?
It depends on the ingredient. Coffee and tea rinses usually last through a handful of washes before fading, while henna is far more permanent and can hang around for weeks or even months. Juice-based tints like beet or carrot tend to fade fastest. To keep any natural color longer, wash less often, use cool water, and reapply as needed.
Can natural hair dye cover gray hair?
Natural methods can blend and soften grays, but they rarely give full, opaque coverage like box dye does. Henna offers the most lasting gray coverage, while repeated black tea and sage rinses gradually darken grays over time. Set realistic expectations: you’ll likely get a natural-looking blend rather than a completely uniform color, and multiple sessions give the best results.
Ready to skip the box dye? Grab your favorite pantry ingredient, run a quick patch test, and give your hair a gentle, natural refresh this weekend.
