
Learning how to put on false eyelashes is easier than it looks: measure the lash to your eye, trim off any excess, add a thin line of glue, wait until it turns tacky, then press it down along your lash line from the center outward. With a little practice, you’ll have fuller, fluttery lashes in under five minutes. This step-by-step guide walks you through everything, from picking your first pair to sealing them so they stay put all day.
False lashes can feel intimidating the first time you try them, but the process is really just a handful of small, repeatable steps. Once you nail your rhythm, you’ll wonder why you waited so long. Let’s get into it.
What You’ll Need
Before you start, gather your supplies so you’re not scrambling mid-application with glue drying on your fingers. Here’s your simple kit:
- False eyelashes — Strip lashes are the most beginner-friendly. Look for a natural, wispy style for your first pair.
- Lash glue — A quality dark or clear lash adhesive with a fine brush tip. Dark dries black and blends into liner; clear dries invisible.
- Tweezers or a lash applicator tool — For precise placement without smudging glue everywhere.
- Small curved scissors — To trim the lash band to fit your eye.
- Eyelash curler — To blend your natural lashes with the falsies.
- Mascara — Optional, for a seamless finish.
- Eyeliner — Helps hide the lash band. A black liquid or gel liner works best.
- A mirror — Ideally one you can tilt or angle downward.
That’s it. You don’t need anything fancy to get a great result.
8 Step-by-Step: How to Apply False Lashes
Step 1: Do Your Eye Makeup First
Apply your eyeshadow, liner, and mascara before the lashes go on. Putting shadow on top of a fresh strip lash can knock it loose and cake up the band.
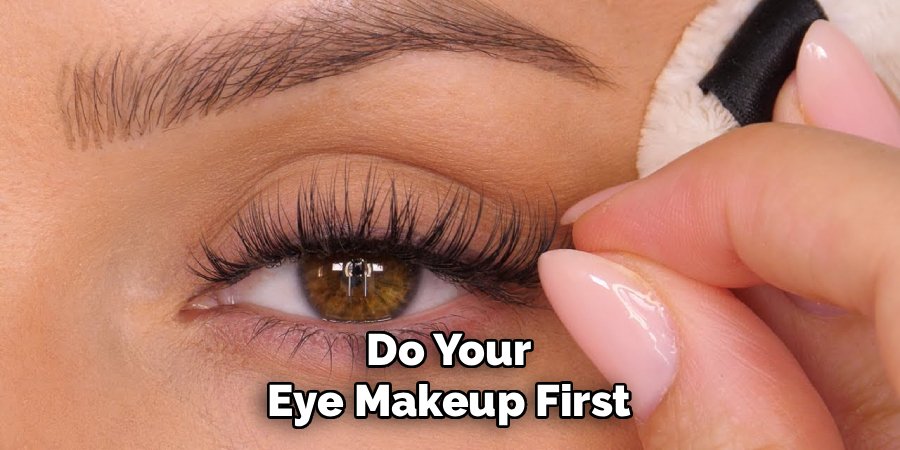
Curl your natural lashes and add a coat of mascara now if you want. This gives the falsies something to grip onto later.
Step 2: Measure and Trim the Lash
Hold the false lash strip against your lash line to check the length. Most strips are made too long on purpose, so they’ll likely hang past your outer corner.
Trim any excess from the outer edge only, never the inner corner. Cutting the outer end keeps the band comfortable and stops it from poking the corner of your eye.
Step 3: Give the Band a Little Flex
Take the trimmed lash and gently bend it into a “C” shape, wrapping it around your finger for a few seconds. A stiff, flat band won’t hug the natural curve of your eye.
This one small move makes application dramatically easier. The lash will sit flush instead of lifting at the edges.
Step 4: Add Your Glue
Squeeze a thin line of lash adhesive along the band. Less is more here, so aim for a hair-thin ribbon rather than a thick blob.
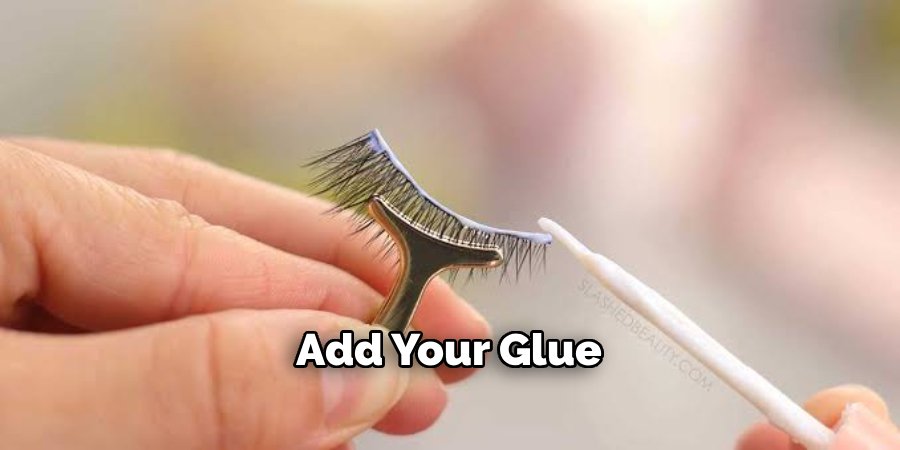
Add a tiny bit extra to the two ends, since the inner and outer corners are the first spots to peel. Use the glue tube’s brush tip or the back of a clean tool to spread it evenly.
Step 5: Wait for the Glue to Get Tacky
This is the step most people skip, and it’s the secret to lashes that actually stay on. Wait about 20 to 30 seconds until the glue turns from wet and shiny to tacky and slightly cloudy.
Tacky glue grips instantly. Wet glue slides around and refuses to stick, which is where most of the frustration comes from.
Safety note: Lash glue and your eyes don’t mix. Never apply adhesive directly onto your lash line or waterline (the inner rim of your eyelid). Keep the glue on the lash band only, and if any product stings or your eye waters excessively, stop and rinse gently with cool water.
Step 6: Place the Lash
Using tweezers or an applicator, pick up the lash and look down into a mirror placed below your face. Set the center of the band down first, as close to your natural lash line as you can get without touching the eyelid skin.
Then press down the inner corner, followed by the outer corner. Working center-out gives you the most control and the straightest placement.
Step 7: Press and Adjust
Once the strip is down, gently press along the whole band with your tweezers or fingertip to lock it in. If a corner lifts, press it back before the glue fully sets.
You have a few seconds of wiggle room to nudge the lash into place. Take your time and check that it follows your natural lash line.
Step 8: Blend and Finish
Give the glue a full minute to dry. Then squeeze your natural lashes and the falsies together at the base with your fingers or a curler so they blend into one.
If there’s a visible gap or shiny glue showing, run a thin line of eyeliner along the top to hide the band. A quick coat of mascara over the top ties everything together, though it’s totally optional.
Pro Tips
A few habits separate a wobbly first attempt from a flawless finish. Keep these in mind:
- Trust the tacky-glue rule. If you remember nothing else, remember to wait before placing. This single change fixes most application struggles.
- Warm the band with your fingers. Holding the strip for a moment before applying makes it more flexible and helps it mold to your eye shape.
- Buy a good lash applicator. A dedicated tool gives you way more precision than fingers alone and keeps glue off your fingertips.
- Choose dark glue if you wear liner. It dries into your liner and hides the band without extra steps. Clear glue is better for soft, no-liner looks.
- Reuse your lashes. Quality strip lashes can last 10 to 20 wears. Peel off the old glue from the band after each use and store them in their tray.
Common Mistakes to Avoid
Even seasoned makeup lovers slip up now and then. Steer clear of these and you’ll save yourself a lot of headaches:
- Using too much glue. A thick layer takes forever to dry, oozes onto your skin, and clumps the band. A thin line is all you need.
- Placing lashes on wet glue. Rushing this step is the number one reason lashes lift and slide. Patience pays off.
- Skipping the trim. An untrimmed strip that’s too long will poke your eye and lift at the corners all day.
- Setting the band on your eyelid instead of your lash line. This looks obvious and feels heavy. Aim for the base of your natural lashes.
- Pulling lashes off roughly. Yanking can tug out your real lashes. Always peel gently from the outer corner, or use a little remover to loosen the glue first.
- Applying eyeshadow after the lashes. Do your shadow first so fallout doesn’t ruin your fresh strip.
Frequently Asked Questions
How do you put on false eyelashes for beginners?
Start with a natural strip lash rather than a dramatic pair, since shorter lashes are more forgiving and easier to place. Measure and trim the strip to fit your eye, add a thin line of glue, and wait until it turns tacky. Then set the center of the band along your lash line first, press down the corners, and hold for a few seconds. Beginners often find an applicator tool and dark glue make the whole process much simpler.
How long do false eyelashes stay on?
A properly applied strip lash with quality adhesive should stay put for a full day, usually 8 to 12 hours. The key factors are using tacky (not wet) glue, adding a little extra at the corners, and pressing the band firmly along your lash line. If yours peel early, you’re likely using too little glue or placing the lash before the adhesive gets tacky.
Do you put mascara on before or after false lashes?
Apply mascara to your natural lashes before putting on the falsies. This gives the strip something to blend into and adds a base of grip. You can add one light coat over the top afterward to fuse everything together, but be gentle, as heavy mascara can clump the false lashes and shorten their lifespan.
Can you sleep in false eyelashes?
It’s best not to. Sleeping in strip lashes can bend the band, trap bacteria, and irritate your eyes. Removing them each night also protects your natural lashes and keeps your falsies in good shape for reuse. Take them off gently with a bit of oil-based makeup remover or lash adhesive remover before bed.
Ready to Try It?
Grab your favorite strip lashes and your glue, and give this method a go — with the tacky-glue trick in your back pocket, you’ll be applying false eyelashes like a pro in no time.
