
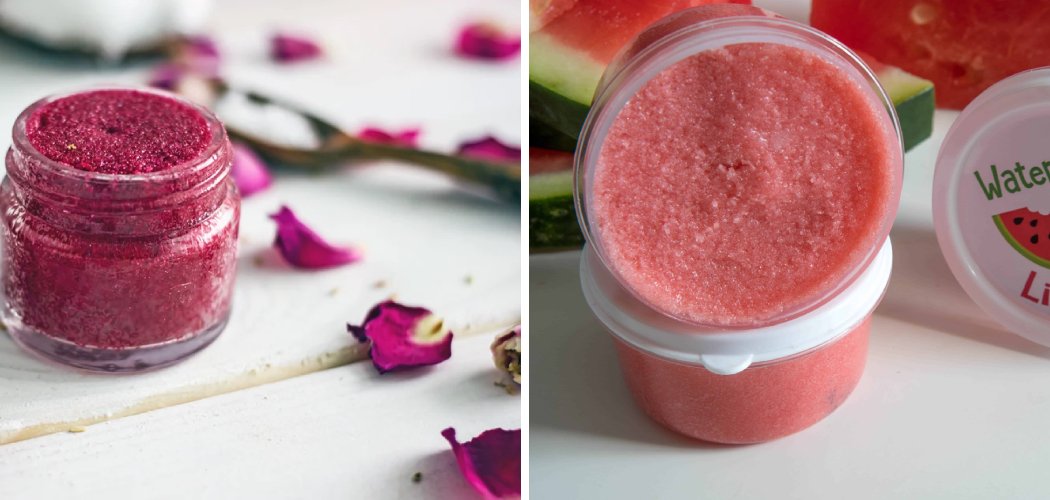
Want to know how to make lip scrub at home? All you really need is sugar and an oil like coconut or honey, mixed into a soft paste you gently rub over your lips to buff away dry, flaky skin. It takes about five minutes, costs pennies, and leaves your lips smooth and ready for balm or lipstick.
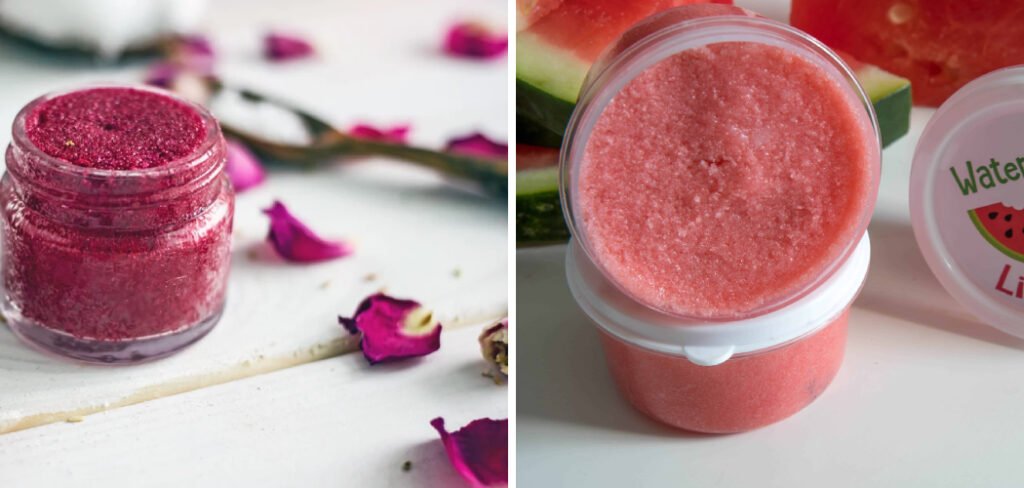
The best part? You control exactly what goes on your skin. No mystery ingredients, no big price tag, and endless flavors to play with. Let’s make some.
Why Make Your Own Lip Scrub?
Store-bought lip scrubs can cost anywhere from $10 to $25 for a tiny pot. A homemade version uses ingredients you probably already have in your kitchen, and one batch costs almost nothing.
Beyond the savings, there are a few more good reasons to DIY:
- You control the ingredients. No synthetic fragrances, dyes, or preservatives unless you want them.
- You customize the flavor and scent. Vanilla, peppermint, citrus — your call.
- You tailor it to your skin. Extra oil for very dry lips, lighter formulas for oily-prone skin.
- It makes a cute gift. Pop it in a little jar with a ribbon and you’re done.
A lip scrub works by using tiny abrasive particles (usually sugar) to lift away dead skin cells. This is called exfoliation — just a fancy word for gently sloughing off the dry, flaky layer on top. The oils in the mix soften and moisturize at the same time.
Ingredients
You only need two base ingredients, plus a few optional extras for flavor and moisture. Here’s the full lineup with easy swaps.
- Granulated sugar — the exfoliating base. White sugar is gentlest; brown sugar is slightly softer and adds a caramel scent. Substitution: fine sea salt works, but it stings if your lips are cracked, so sugar is safer.
- Carrier oil — this binds the scrub and moisturizes. Coconut oil is a favorite because it smells lovely and softens skin. Substitutions: olive oil, sweet almond oil, or jojoba oil all work beautifully.
- Honey (optional but great) — adds natural moisture and mild antibacterial qualities. Substitution: maple syrup or a little extra oil.
- Vanilla extract or essential oil (optional) — for scent and flavor. Substitution: a tiny bit of flavored extract from the baking aisle.
A few notes on quality:
- Use raw honey if you can — it’s less processed and keeps more of its natural goodness.
- Unrefined coconut oil smells more like coconut; refined has almost no scent, which is handy if you want a neutral base.
- Skip anything you’re allergic to. If nut oils are a no-go, jojoba (technically a wax) is a safe bet.
Tools and Containers You’ll Need
Nothing fancy here. You likely have most of this already.
- A small mixing bowl
- A spoon or small spatula for stirring
- Measuring spoons for consistency batch to batch
- A small glass jar with a lid — a mini mason jar or a repurposed clean cosmetic pot works perfectly
- A label or sticker to note the date you made it (trust me, you’ll forget)
Glass is better than plastic for storing oil-based products because it doesn’t absorb residue or scent. Make sure your jar is completely clean and dry before you fill it, since any leftover water can invite mold.
How to Make Lip Scrub: 7 Step-by-Step
This recipe makes enough for a small jar, roughly 8 to 10 uses. Scale it up if you want extra or plan to gift some.
Step 1: Measure Your Sugar
Add 2 tablespoons of granulated sugar to your mixing bowl. This is the exfoliating heart of your scrub.
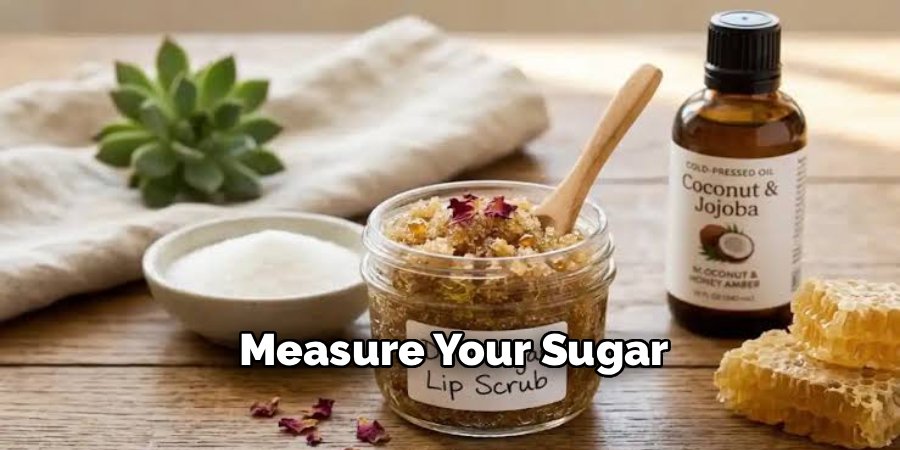
If your lips are especially sensitive, use finer sugar or give regular sugar a quick pulse in a spice grinder to soften the grains.
Step 2: Add Your Oil
Pour in 1 tablespoon of coconut oil (or your chosen carrier oil). If your coconut oil is solid, warm it slightly between your fingers or microwave it for a few seconds until it’s just soft, not hot.
You want a texture that holds together but isn’t swimming in oil.
Step 3: Stir in Honey
Add 1 teaspoon of honey for extra moisture and that lovely sticky-smooth feel. Stir it in well.
Honey also helps the scrub cling to your lips instead of sliding right off.
Step 4: Add Flavor or Scent
Drop in a 1/4 teaspoon of vanilla extract or one drop of a lip-safe essential oil like peppermint. Stir again.
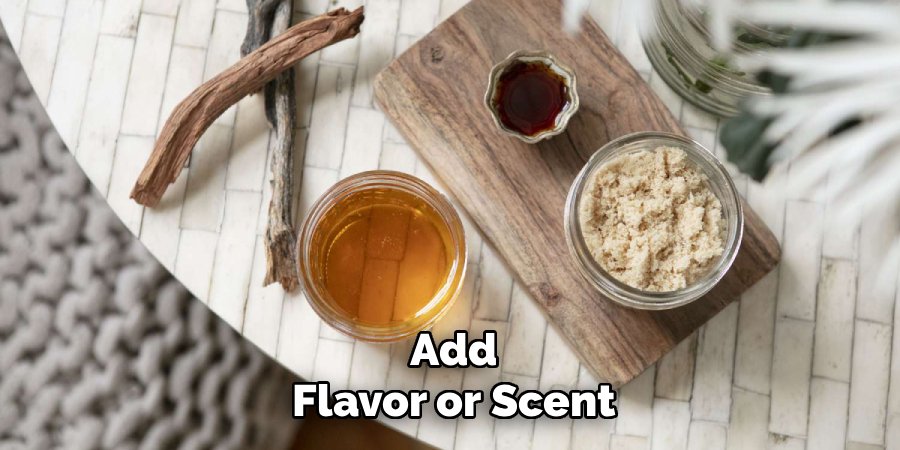
Go light here — a little scent goes a long way, and too much essential oil can irritate delicate lip skin.
Step 5: Mix Until Combined
Stir everything until you get a thick, grainy paste. It should look like wet sand and hold its shape on the spoon.
Too runny? Add a pinch more sugar. Too dry and crumbly? Add a few drops of oil.
Step 6: Transfer to Your Jar
Spoon the finished scrub into your clean, dry glass jar and seal the lid. Add a label with today’s date.
That’s it — your homemade lip scrub is ready to use.
Step 7: How to Use It
Take a small amount on a clean fingertip and gently massage it over your lips in tiny circles for about 30 seconds. Keep the pressure light.
Wipe away with a damp cloth or rinse with warm water, then follow with a nourishing lip balm to lock in moisture. Use your scrub two to three times a week, not daily, to avoid over-exfoliating.
Patch-test first: Before slathering any new DIY product on your lips, dab a small amount on the inside of your wrist and wait 24 hours. If you notice redness, itching, or irritation, skip that ingredient. This is general beauty guidance only — if you have persistent irritation or a known allergy, check with a professional.
Customization Ideas
Here’s where the fun starts. Once you’ve got the base down, you can tweak it to match any mood, season, or skin type.
Flavor and scent variations:
- Vanilla latte: brown sugar + a pinch of instant coffee + vanilla extract.
- Peppermint fresh: white sugar + one drop peppermint essential oil for a tingly finish.
- Citrus zing: add a tiny bit of orange or lemon zest for brightness.
- Berry sweet: stir in a touch of freeze-dried berry powder for color and scent.
- Cocoa treat: add 1/2 teaspoon cocoa powder for a chocolatey vibe.
Skin-type tweaks:
- Very dry or chapped lips: increase the oil and honey, reduce the sugar slightly for a gentler scrub.
- Oily-prone or combination skin: use a lighter oil like jojoba and go easy on the honey.
- Sensitive skin: stick to plain white sugar and fragrance-free oil, skipping essential oils entirely.
Fun finishes:
- Add a shimmer with a pinch of cosmetic-grade mica powder for a subtle glow.
- Tint it naturally with a little beetroot powder for a rosy touch.
Just remember that every add-in can affect shelf life. Fresh ingredients like zest or berry powder spoil faster, so make smaller batches when you experiment.
Storage and Shelf Life
Because homemade lip scrub has no preservatives, treating it right keeps it fresh and safe to use.
How to store it:
- Keep your jar in a cool, dry spot away from direct sunlight and heat.
- If you live somewhere warm, the fridge helps coconut oil stay firm and extends freshness.
- Always seal the lid tightly between uses.
How long it lasts:
- A basic sugar-and-oil scrub keeps for about 2 to 4 weeks.
- Recipes with honey and no fresh add-ins can last up to a month.
- Anything with fresh fruit, zest, or dairy-type ingredients should be used within 1 week.
Keep it clean and safe:
- Use a clean, dry finger or a small spoon every time. Scooping with wet hands introduces water and bacteria.
- Never let water get into the jar. Moisture is the fastest route to mold.
- Toss it if anything looks off. Signs to watch for: a strange or sour smell, changes in color, a slimy or watery layer, or visible mold. When in doubt, throw it out and make a fresh batch — it only takes five minutes.
Labeling the date really pays off here. If you can’t remember when you made it, it’s time for a new jar.
Frequently Asked Questions
What ingredients do I need to make a lip scrub at home?
At the most basic level, you need just two things: a granulated exfoliant like sugar and a moisturizing oil such as coconut, olive, or jojoba. From there, honey adds extra hydration and flavor extracts or essential oils bring scent. The beauty of a homemade lip scrub is its flexibility — you can keep it as simple as sugar and oil or dress it up with add-ins like vanilla or cocoa.
How often should you use a lip scrub?
For most people, two to three times a week is plenty. Lip skin is thin and delicate, so scrubbing daily can leave it irritated, red, or even more chapped than before. Gently massage the scrub in for about 30 seconds, rinse, and always follow with a moisturizing balm. If your lips ever feel raw or sensitive, ease off and give them a few days to recover.
Can I use brown sugar instead of white sugar for lip scrub?
Yes, brown sugar is a great swap and actually one of the most popular choices. Its granules are a little softer than white sugar, which makes it gentler on delicate lip skin, and it carries a mild caramel-like scent that smells amazing. White sugar works just as well if that’s what you have — both dissolve slowly enough to exfoliate without being too harsh.
Is homemade lip scrub safe to use if I accidentally eat some?
The classic sugar, oil, and honey combination is made from food-safe ingredients, so a tiny taste won’t hurt. That said, it’s still meant for external use, so don’t treat it like a snack. Be more cautious with add-ins like essential oils or cosmetic mica, which aren’t for eating, and always keep amounts small. If you have any allergies, patch-test first and skip anything your skin reacts to.
Ready to give your lips some love? Mix up a batch tonight, smooth it on, and enjoy soft, kissable lips in minutes.
