
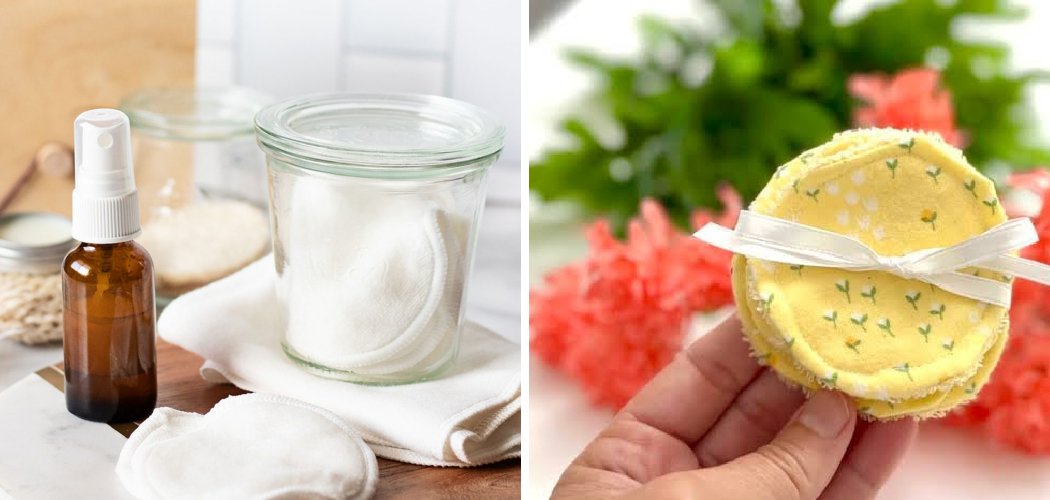
To make makeup remover pads, cut soft cotton flannel or old T-shirt fabric into small rounds, stack them in a jar, then pour over a simple cleansing solution of water, a little carrier oil, and a drop of gentle castile soap. Seal the jar, let the pads soak it up, and you’ll have ready-to-use, reusable wipes that lift away makeup in seconds. It’s an easy afternoon project that saves money and cuts down on waste.
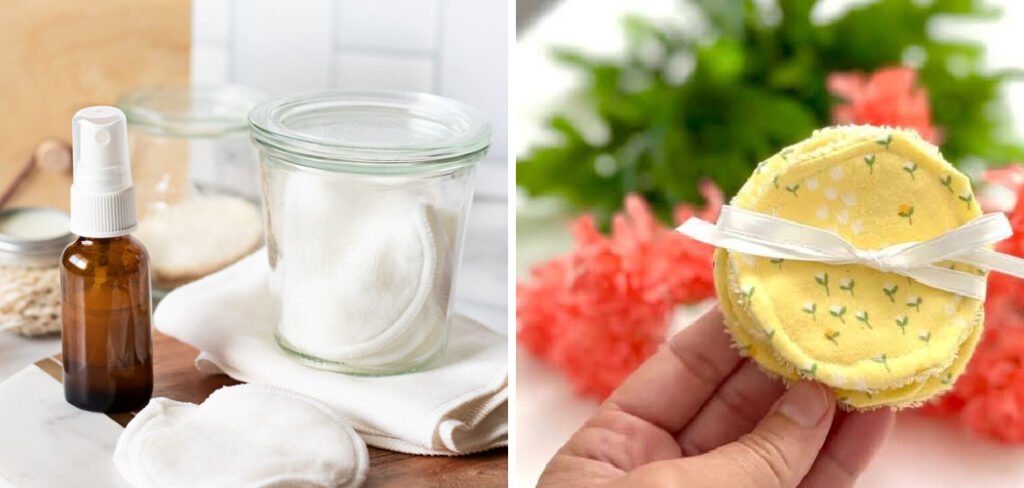
If you’ve been tossing disposable wipes every night, you already know how fast they add up. Homemade pads are cheaper over time, and you get to control exactly what touches your skin. No mystery ingredients, no harsh preservatives — just what you choose to put in the jar.
DIY pads are also endlessly customizable. Sensitive skin? Keep it fragrance-free. Love a spa feel? Add a whisper of essential oil. You can match the formula to your skin type and your budget, which is something store-bought wipes rarely let you do.
Let’s walk through everything you need and exactly how to make makeup remover pads.
Why Make Your Own Makeup Remover Pads
Store-bought remover wipes are convenient, but they’re not cheap, and single-use versions create a surprising amount of trash. Making your own solves both problems at once.
Here’s what you gain by going the DIY route:
- Cost savings. A batch of reusable pads and a homemade solution costs a fraction of monthly disposable wipes.
- Ingredient control. You decide what goes in — helpful if your skin reacts to alcohol, strong fragrances, or certain preservatives.
- Less waste. Reusable cloth rounds get washed and reused for months, so you’re not filling the bin every night.
- Customization. Tweak the oil, soap, and scent to suit dry, oily, or sensitive skin.
Ready to make a batch? Here’s your shopping and supply list.
Ingredients You’ll Need
Keep the recipe simple. A basic solution needs just a few staples, most of which you may already own.
- Distilled water — the base of your solution. Distilled is best because it has fewer impurities than tap water, which helps your pads stay fresh longer. Substitute: cooled boiled water in a pinch.
- Liquid castile soap — a gentle, plant-based cleanser that breaks down makeup without stripping skin. Substitute: a tiny squeeze of a mild, fragrance-free baby wash.
- Carrier oil — a light oil like fractionated coconut oil, jojoba oil, or sweet almond oil dissolves stubborn makeup, including mascara. Substitute: olive oil works too, though it feels heavier.
- Witch hazel (optional) — a natural astringent that helps clean and tone. Great for oily skin; skip it if your skin runs dry or reacts easily.
- Vitamin E oil (optional) — a few drops act as a light natural preservative and add a nourishing touch. Substitute: leave it out and simply make smaller batches.
- Essential oil (optional) — one or two drops of lavender or chamomile for a subtle, calming scent. Fully optional and best skipped for very sensitive skin.
A quick note on ratios: for a soothing everyday blend, mix about 1 cup distilled water, 1 tablespoon carrier oil, and 1 teaspoon castile soap. You can scale this up or down to fit your jar.
Tools and Containers
You don’t need anything fancy. Chances are you have most of this in a drawer already.
- Soft fabric — cotton flannel, bamboo terry, or an old clean cotton T-shirt. These are gentle enough for the eye area.
- Fabric scissors — for cutting neat rounds or squares. Pinking shears help reduce fraying but aren’t essential.
- A glass jar with a tight lid — a mason jar is perfect. Glass is easy to sanitize and won’t hold onto odors.
- A measuring cup and spoons — for mixing your solution accurately.
- A small bowl — to stir everything together before pouring.
- A round template (optional) — a cookie cutter or small lid helps you trace even circles.
Once your supplies are ready, the fun part begins.
How to Make Makeup Remover Pads: 9 Step by Step
Follow these steps in order. The whole process takes about 20–30 minutes, plus a little soaking time.
Step 1: Cut Your Fabric Pads
Lay your fabric flat and cut it into small rounds or squares, roughly 3 to 4 inches across. If you’re using a template, trace around it first, then cut.
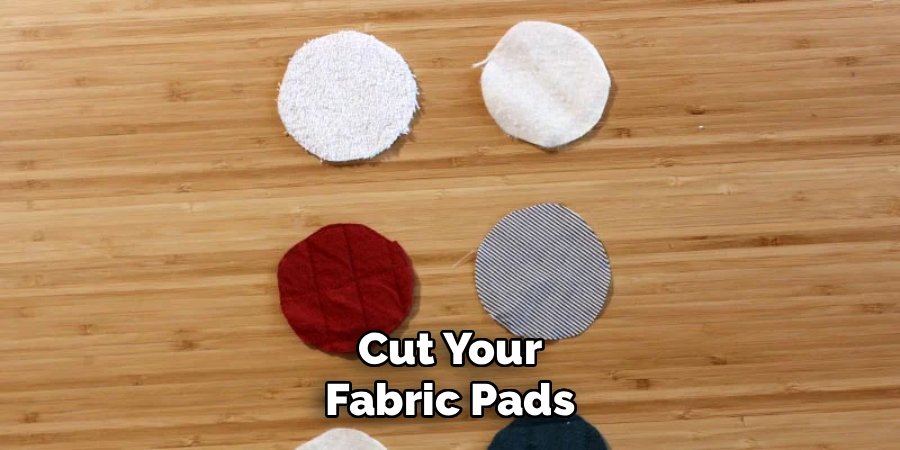
Aim for a stack of 10 to 20 pads per batch. Double-layer them by sewing or simply stacking two pieces if you want a sturdier, more absorbent pad.
Step 2: Wash the Pads First
Toss your freshly cut pads in the wash before their first use. New fabric often carries lint, dye, or factory residue you don’t want near your eyes.
Let them air dry or tumble dry on low. Clean, dry pads soak up the solution more evenly.
Step 3: Mix Your Cleansing Solution
In your small bowl, combine the distilled water, carrier oil, and castile soap. Add witch hazel, vitamin E, or essential oil now if you’re using them.
Stir gently until everything looks blended. The oil may want to separate — that’s normal, and you’ll shake the jar before each use.
Step 4: Sanitize Your Jar
Wash your glass jar in hot, soapy water and let it dry completely. For extra peace of mind, rinse it with boiling water first.
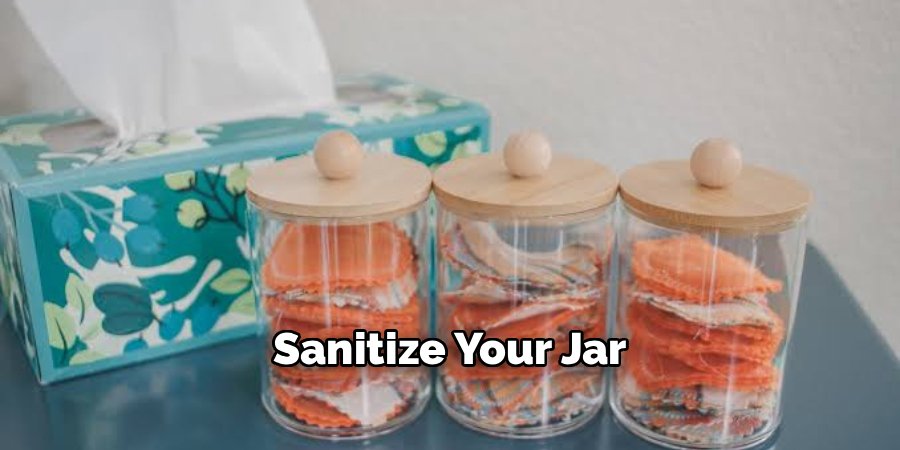
A clean jar keeps bacteria and mold from creeping in, which matters a lot with water-based DIY products.
Step 5: Stack the Pads in the Jar
Fold or stack your dry pads neatly inside the jar. Pressing them down slightly helps you fit more and keeps them tidy.
Leave a little room at the top so the solution can spread evenly through the stack.
Step 6: Pour the Solution Over the Pads
Slowly pour your mixed solution over the stacked pads. Add just enough to dampen them fully without leaving a pool at the bottom.
You want moist, not soaking wet. If there’s excess liquid sitting at the base, add a couple more dry pads to absorb it.
Step 7: Seal and Let Them Soak
Put the lid on tightly and gently turn the jar upside down a few times. This helps the solution reach every pad evenly.
Let the jar sit for about 15 minutes before the first use so the fabric fully absorbs the mixture.
Step 8: Patch Test Before Full Use
Before swiping a pad across your whole face, do a quick patch test. Rub a damp pad on the inside of your forearm and wait 24 hours to check for any redness, itching, or irritation.
Safety note: This is general beauty guidance, not medical advice. Everyone’s skin is different, so a patch test protects you before a new formula goes near your delicate eye area. If any ingredient stings, burns, or causes a reaction, rinse it off and stop using it. Keep essential oils to a bare minimum around the eyes, and skip them entirely if your skin is reactive.
Step 9: Use and Enjoy
Grab a pad, gently sweep away makeup, and follow with your usual cleanser if you like. Toss used pads in a laundry bag until wash day.
Give the jar a gentle shake before each use to remix the oil and water.
Customization Ideas
The best part of a DIY recipe is making it truly yours. Here are easy ways to tweak your pads for scent, finish, and skin type.
For dry skin:
- Bump up the carrier oil to two tablespoons for extra nourishment.
- Skip the witch hazel, which can feel drying.
- Add a couple of drops of vitamin E for a soft, conditioned finish.
For oily or acne-prone skin:
- Add a tablespoon of witch hazel to help balance excess oil.
- Use a lighter oil like jojoba, which mimics skin’s natural sebum.
- Keep the castile soap slightly higher for a deeper clean.
For sensitive skin:
- Leave out all essential oils and fragrance.
- Choose the gentlest fabric, like bamboo or soft flannel.
- Stick to just water, a tiny bit of oil, and the mildest soap.
For a spa-like scent:
- Add one drop of lavender for a calming, sleepy vibe.
- Try chamomile for a soft, soothing aroma.
- Always keep essential oils to one or two drops, since a little goes a long way.
For a refreshing finish:
- A splash of rosewater adds a light, floral feel and a gentle toning effect.
- Store the jar in the fridge for a cooling swipe on hot days.
Play around in small batches until you land on your perfect blend.
Storage and Shelf Life
Because these pads are water-based and free of strong preservatives, they don’t last forever. Treating them right keeps them safe and fresh.
Here’s how to store them well:
- Keep the lid sealed tightly. Air exposure invites bacteria and speeds up spoilage.
- Store in a cool, dry spot or the fridge. Cooler temps slow mold growth and give a nice cooling sensation.
- Use within 1 to 2 weeks. Small batches are safest, since homemade solutions lack the long-life preservatives found in store-bought products.
- Always use clean hands when reaching into the jar to avoid introducing germs.
Watch for warning signs that a batch has turned. If you notice any of these, toss the solution and start fresh:
- A sour, funky, or off smell
- Cloudiness or slimy film in the liquid
- Any visible fuzzy spots or discoloration on the pads
When in doubt, throw it out. A new batch takes minutes and costs very little, so there’s no reason to risk irritation from a spoiled mix.
To reuse your cloth pads, rinse them after each use, then machine wash on warm with your regular laundry. A mesh laundry bag keeps the small rounds from disappearing into your machine.
Frequently Asked Questions
What can I use to make homemade makeup remover pads?
You need soft fabric and a simple cleansing solution. For the pads, cotton flannel, bamboo terry, or an old clean T-shirt all work beautifully. For the solution, mix distilled water, a light carrier oil like jojoba or fractionated coconut oil, and a small amount of gentle castile soap. Optional add-ins like witch hazel, vitamin E, or a single drop of essential oil let you tailor the recipe to your skin. Store everything in a sanitized glass jar with a tight lid.
Are reusable makeup remover pads actually better than disposable wipes?
For most people, yes — on both cost and waste. Reusable pads get washed and used again for months, so you’re not buying and tossing wipes every night, which saves money over time. They also cut down on the trash that single-use wipes create. On top of that, a homemade solution lets you control every ingredient, which is a big plus if disposable wipes tend to irritate your skin. The only trade-off is that you’ll need to wash the pads regularly.
How long do homemade makeup remover pads last?
A batch of soaked pads generally stays fresh for about 1 to 2 weeks. Because you’re skipping the strong preservatives found in commercial products, the water-based solution can grow bacteria or mold if it sits too long. Keeping the jar sealed, storing it somewhere cool or in the fridge, and always using clean hands all help extend its life. Make small batches so you finish them before they spoil, and toss any mix that smells off or looks cloudy.
Can you use homemade remover pads on your eyes?
You can, as long as your formula is gentle and you’ve patch tested it first. Keep essential oils to an absolute minimum or leave them out entirely, since the eye area is delicate and easily irritated. A soft fabric like flannel or bamboo feels kinder on thin eyelid skin. Close your eyes and swipe gently to lift away eye makeup, then rinse if anything feels uncomfortable. If your eyes sting or water, stop using that batch and adjust the recipe.
Gather your fabric and a jar, mix up a batch, and enjoy a gentler, greener way to wipe the day away.
