
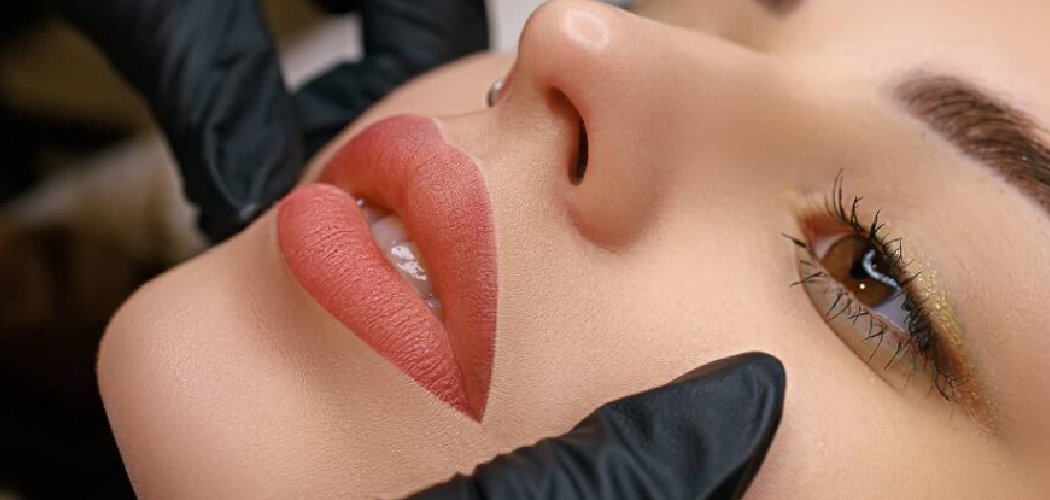
Learning how to apply liquid lipstick is simple: exfoliate and hydrate your lips, line them for a crisp edge, then swipe on one thin, even layer of liquid lipstick from the center outward and let it dry fully without pressing your lips together. This gives you that smooth, long-lasting color without patchiness or feathering.
Liquid lipstick can look intimidating, but once you nail the prep and application, it’s honestly one of the easiest ways to get bold, all-day color. Below, we’ll walk through every step, the tools that make it easier, and the little mistakes that trip most people up.
Why Liquid Lipstick Deserves a Spot in Your Bag
Liquid lipstick comes with a doe-foot applicator (that soft, sponge-tipped wand inside the tube) and usually dries down to a matte or satin finish. Once it sets, it barely budges through coffee, snacks, and long days.
The trade-off? It’s less forgiving than a traditional bullet lipstick. Dry patches, uneven edges, and cracking can happen if you rush. The good news is that a little technique fixes all of that, and by the end of this guide you’ll be applying it like second nature.
What You’ll Need
Grab these before you start. A few are optional, but they make a noticeable difference in how polished the final look turns out.
- Lip scrub — a gentle exfoliator to buff away dry, flaky skin
- Lip balm — to hydrate before color goes on
- Lip primer — a base product that smooths the lips and helps color grip and last longer
- Lip liner — matched to your lipstick shade for definition and to prevent feathering (color bleeding outside your lip line)
- Liquid lipstick — your star product, in your chosen shade and finish
- Concealer and a small brush — optional, for cleaning up edges
- Lip brush — optional, for precise application
- Setting powder — optional, for extra longevity
- Cotton swabs and micellar water — for fixing small mistakes
Patch-test note: If you’re trying a new lipstick or lip product, dab a small amount on the inside of your wrist or your inner forearm and wait 24 hours before using it on your lips. Skin around the mouth is delicate, so this quick check helps you rule out irritation.
9 Step-by-Step: Applying Liquid Lipstick
Take your time with the prep steps. Ninety percent of a flawless matte lip comes down to what you do before the color touches your mouth.
Step 1: Exfoliate Your Lips
Liquid lipstick clings to dry skin and shows every flake, so start with a clean, smooth base.
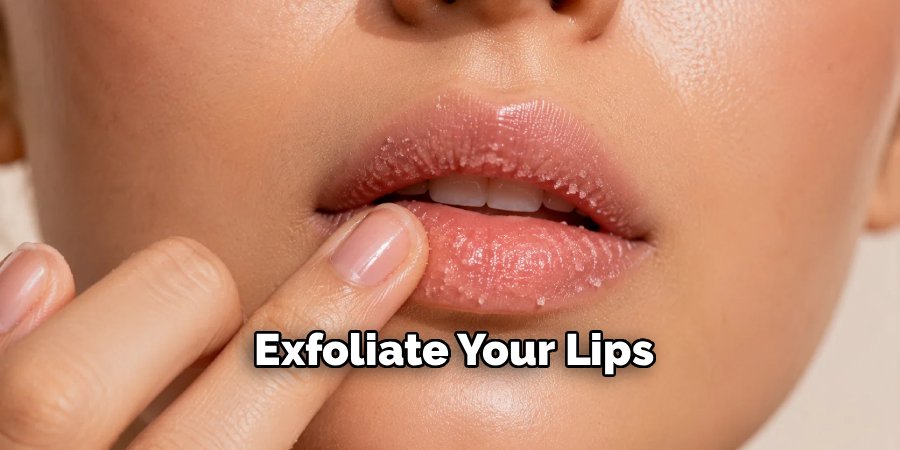
Gently rub a lip scrub over your lips in small circles for about 20 seconds, then wipe it off. No scrub on hand? A soft, damp toothbrush or a warm washcloth works in a pinch. Be gentle—you’re buffing, not scrubbing hard.
Step 2: Hydrate and Let It Absorb
Swipe on a thin layer of lip balm and give it a few minutes to sink in.
This step keeps your lips from feeling tight later. The key is to blot away any excess before applying color, since a slick, greasy surface stops liquid lipstick from gripping properly. Your lips should feel soft, not shiny.
Step 3: Prime (Optional but Helpful)
If your lipstick tends to fade fast or settle into lines, apply a lip primer or dab a tiny bit of concealer onto your lips and blend it out.
Priming creates a smooth, even canvas and helps the color last longer. It also neutralizes your natural lip tone, so bright and bold shades show up truer.
Step 4: Line Your Lips
Trace your natural lip line with a lip liner in a shade close to your lipstick.
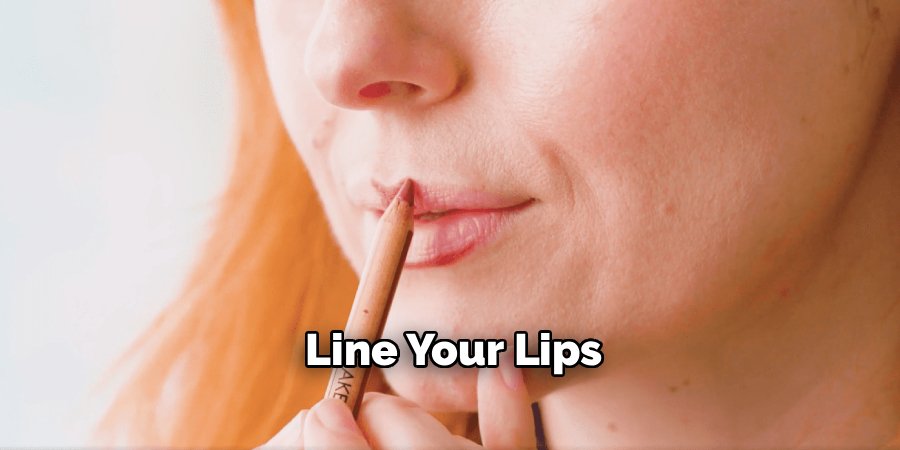
- Start at the cupid’s bow (the two peaks in the center of your upper lip) and work outward.
- Follow your bottom lip line next.
- For extra staying power, lightly fill in your entire lip with the liner as a base.
Lining creates a crisp border that stops the color from bleeding and gives your lips a defined shape.
Step 5: Load the Applicator Correctly
Pull the doe-foot wand out and wipe one side against the tube’s rim to remove excess product.
You want a light, even amount on the applicator—not a dripping glob. Too much product is the number one cause of streaky, uneven color, so err on the side of less.
Step 6: Apply from the Center Outward
Start in the center of your upper lip and glide the color toward each corner, following the line you already drew.
Do your bottom lip the same way. Use the pointed tip of the applicator for the corners and cupid’s bow, where precision matters most. Keep the layer thin and even—resist the urge to go over the same spot repeatedly while it’s still wet.
Step 7: Clean Up the Edges
If you colored slightly outside the lines, dip a cotton swab in a little micellar water and gently correct the edge.
For an ultra-sharp finish, run a small brush with concealer around the outer edge of your lips. This crisp border makes the whole look more polished.
Step 8: Let It Dry Completely
This is the step everyone skips, and it’s the most important one.
Hold your lips slightly apart and stay still for 30 to 60 seconds while the formula sets. Don’t press your lips together or rub them—that’s how you get transfer and patchiness. Once it’s fully matte and dry, you’re good to go.
Step 9: Layer or Set (Optional)
For deeper color, apply a second thin layer only after the first has fully dried.
Want maximum longevity? Lightly press a tissue over your lips, then dust a tiny bit of translucent setting powder through the tissue. This locks everything in without dulling the shade.
Pro Tips for a Flawless Finish
These small tricks separate a rushed application from a professional-looking one.
- Warm the tube in your hands for a minute if the formula feels thick or dry. A slightly warmed liquid lipstick glides on more smoothly.
- Smile while you apply to stretch out the corners of your mouth, then relax. This helps you reach the creases so you don’t end up with bare spots when you talk or laugh.
- Keep a lip liner in a nude or matching shade handy for midday touch-ups on the corners, which tend to fade first.
- Less product, more layers. Two thin coats always look better and last longer than one thick, gloppy one.
- Store your liquid lipstick upright and capped tightly so the formula doesn’t dry out or separate over time.
Common Mistakes to Avoid
Even seasoned makeup lovers slip up on these. Sidestep them and your lips will look better instantly.
Skipping lip prep. Applying matte color over dry, unmoisturized lips guarantees flaking and an aged, cracked look. Always exfoliate and hydrate first.
Using too much product. A heavy layer takes forever to dry, feels sticky, and cakes up. Wipe the wand and build gradually.
Rubbing your lips together. This old habit works for creamy bullet lipsticks, but with liquid formulas it smears the color before it sets. Let it dry untouched.
Not waiting for it to dry. Talking, eating, or drinking too soon transfers color everywhere. Give it that full minute.
Ignoring your lip line. Skipping liner often leads to feathering and uneven edges, especially with darker shades.
Applying over greasy balm. A thick, slick layer of balm repels the color. Blot off the excess so only a thin, absorbed layer remains.
Frequently Asked Questions
How do you keep liquid lipstick from cracking and looking dry?
Cracking almost always comes down to prep. Exfoliate to remove flakes, moisturize with balm and let it fully absorb, then apply thin layers rather than one thick coat. If your lips still feel tight, look for a satin or “comfort matte” formula, which is more flexible than a traditional ultra-matte one.
Should you put lip liner on before or after liquid lipstick?
Apply lip liner before your liquid lipstick. Lining first gives you a defined shape, stops the color from bleeding outside your natural lip line, and—if you fill in the whole lip with liner—creates a base that helps the color grip and last longer. You can lightly reline the edges afterward for touch-ups if needed.
How long does liquid lipstick usually last on the lips?
A well-applied, properly set liquid lipstick can last anywhere from 4 to 8 hours or more, even through light meals and drinks. Longevity depends on the formula, how well you prepped, and whether you set it with powder. Oily foods and lots of rubbing will shorten wear time, so keep the product handy for quick corners touch-ups.
Can you make matte liquid lipstick less drying?
Yes. Prep with balm beforehand and blot the excess, then apply your color. Throughout the day, you can gently press a hydrating balm over the top if your lips feel tight, though this may soften the matte finish slightly. Choosing a satin or hydrating liquid formula from the start is the most comfortable option for dry lips.
Ready to Rock That Bold Lip
Now that you know exactly how to apply liquid lipstick, prep those lips, grab your favorite shade, and give it a try—your longest-lasting, most flawless lip look is just a few swipes away.
