
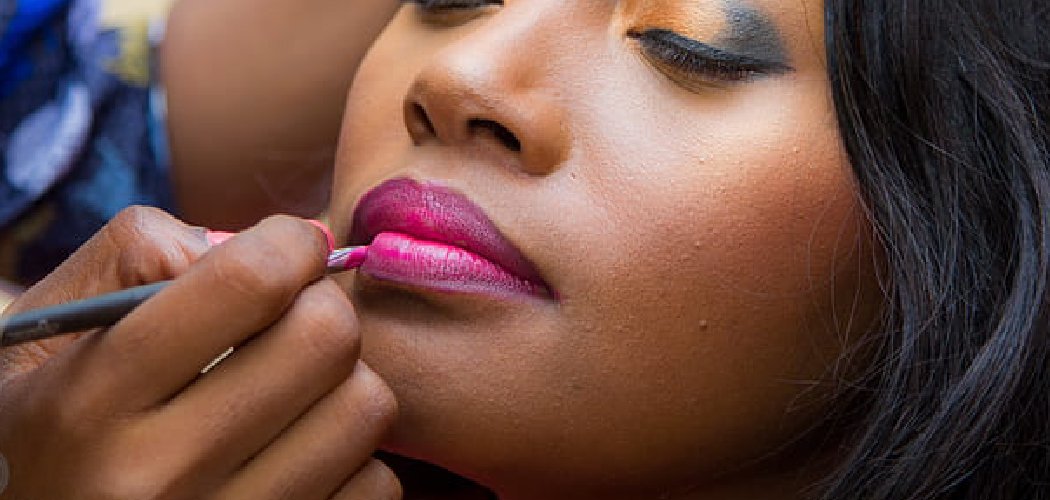
To use NYX lip liner, start with clean, moisturized lips, then trace along your natural lip line using short, feathery strokes. Fill in your entire lip with the liner to create a lasting base, then blend the edges and top it with lipstick or gloss for a smooth, long-wearing finish.
Lip liner is one of those small tools that makes a big difference. It defines your shape, stops your lipstick from bleeding, and helps color last through coffee, lunch, and long chats. Once you learn how to use NYX lip liner properly, your whole lip look levels up in seconds.
In this guide, we’ll walk through everything from prepping your lips to that final swipe of gloss. You’ll learn how to line, fill, and blend like a pro, plus the little tricks that keep everything looking crisp all day.
Why Lip Liner Is Worth the Extra Step
Skipping liner is tempting when you’re in a rush. But that one small step is what separates a quick swipe of color from a polished, put-together lip.
Liner shapes your lips, adds subtle definition, and creates a “grippy” base that helps lipstick stay put. NYX liners are budget-friendly and come in tons of shades, so it’s easy to build a little collection without breaking the bank.
What You’ll Need
Gather your supplies before you start so everything is within reach. Having the right tools makes the whole process smoother and faster.
- NYX Professional Makeup Lip Liner — a creamy, blendable pencil in a shade that matches your lips or lipstick
- Lip primer or balm — smooths and hydrates your lips so the liner glides on
- A matching or complementary lipstick — to fill and finish your look
- Lip gloss (optional) — for a shiny, plumped finish
- A small lip brush — for precise blending and cleaner edges
- A gentle lip scrub — to buff away flaky skin before you start
- A cotton swab and micellar water — for quick cleanup and fixing mistakes
A quick shade tip: for an everyday look, pick a liner close to your natural lip color. For a bold lip, match the liner to your lipstick so the edges look seamless.
10 Step-by-Step: How to Use NYX Lip Liner
Follow these steps in order for the cleanest, longest-lasting results. Don’t rush the prep, since smooth lips are the secret to a smooth finish.
Step 1: Prep and Exfoliate Your Lips
Start by gently buffing your lips with a lip scrub or a soft, damp toothbrush. This lifts away dry, flaky patches so the liner won’t drag or skip.
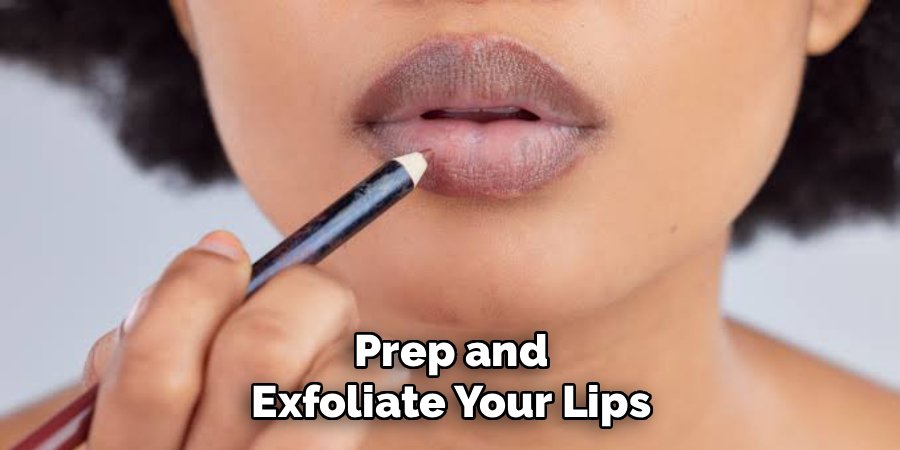
Wipe away any leftover scrub with a tissue. Smooth lips give you an even canvas, which makes lining much easier.
Step 2: Moisturize, Then Blot
Swipe on a thin layer of lip balm or primer and let it soak in for a minute. Hydrated lips take color more evenly and feel more comfortable all day.
Then blot off any excess with a tissue. You want lips that feel soft, not slippery, since too much balm can stop the liner from gripping.
Step 3: Sharpen Your Liner
Make sure your pencil has a clean, slightly pointed tip. A fresh point gives you more control for tracing that crisp outline.
Sharpening also removes any old product from the tip, which keeps things hygienic. A dull pencil creates thick, messy lines that are harder to fix.
Step 4: Outline Your Cupid’s Bow
Start at your cupid’s bow, the little “M” shape in the center of your upper lip. Trace the two peaks first using short, feathery strokes rather than one long drag.
Working in small strokes gives you more control and a more natural line. Follow your natural lip shape here instead of drawing way outside it.
Step 5: Line the Rest of Your Upper Lip
Work from the center of your cupid’s bow out toward each corner. Keep your strokes light and follow the edge of your natural lip line.
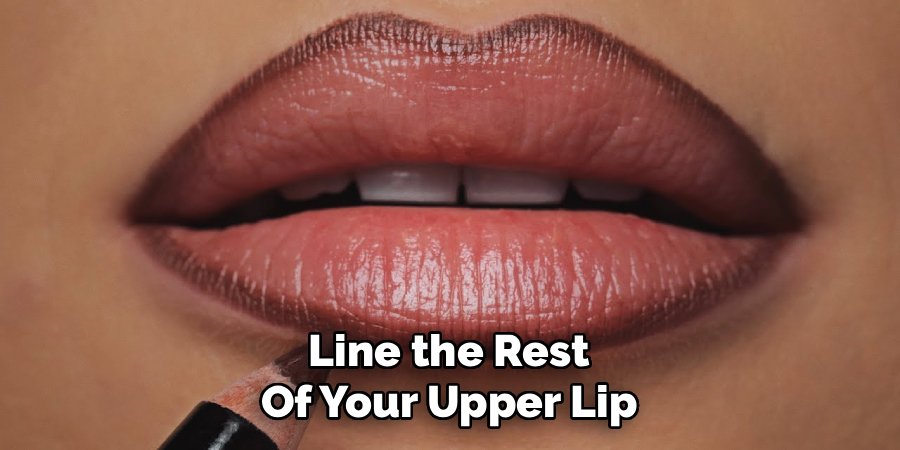
Take your time and mirror both sides so they match. If you want a slightly fuller look, you can line just barely outside your natural line, but keep it subtle.
Step 6: Line Your Bottom Lip
Move to your lower lip and start in the center, then work outward to each corner. Connect your top and bottom lines neatly where the corners meet.
Check that both sides look balanced. A quick glance in the mirror at this stage helps you catch any uneven spots before you fill in.
Step 7: Fill In Your Entire Lip
Here’s the trick most people miss: don’t just line the edges. Color in your whole lip with the pencil.
Filling in creates a base that grips your lipstick and helps color last much longer. It also means if your lipstick fades, you won’t be left with a harsh ring around a bare center.
Step 8: Blend the Edges
Use your fingertip or a small lip brush to softly blend the inner edge of your liner. This smooths any hard lines so your lips look seamless, not “outlined.”
Blend gently toward the center of your lips. This step is especially helpful if your liner is a shade or two different from your lipstick.
Step 9: Apply Lipstick or Gloss
Now swipe on your matching lipstick right over the lined base. Press your lips together to spread the color evenly.
For extra shine, dab a little gloss in the center of your lips. This creates a soft, plumped look while your liner keeps everything defined at the edges.
Step 10: Clean Up and Set
Dip a cotton swab in a little micellar water to tidy any spots where you strayed outside the lines. This sharpens your edges instantly.
For a longer-lasting look, blot your lips with a tissue and add a second thin layer of color. That press-blot-press method helps your lip look stay put through the day.
Pro Tips for a Flawless Lip Line
These little tricks take your lips from good to salon-worthy. Keep them in mind next time you reach for your pencil.
- Warm the pencil first. If your NYX liner feels stiff, rub the tip gently on the back of your hand for a second to soften it. It’ll glide on more smoothly.
- Line after lipstick for a natural look. Prefer a softer finish? Apply your lipstick first, then use the liner to clean up and define the edges afterward.
- Overline lightly, not dramatically. For fuller-looking lips, stay just slightly outside your natural line. Going too far reads obvious and can look uneven.
- Match your undertone. Pick a liner with a similar undertone to your lipstick (warm with warm, cool with cool) so the two blend seamlessly.
- Keep a mirror at eye level. Lining while looking straight ahead, rather than tilting your head, gives you a more accurate, symmetrical shape.
Common Mistakes to Avoid
Even lip liner fans slip up sometimes. Here’s what to watch for so your lips stay crisp and natural.
- Skipping lip prep. Dry, flaky lips make liner drag and look patchy. Always exfoliate and moisturize first.
- Only lining the edges. This leaves a visible ring once your lipstick fades. Fill in the whole lip instead.
- Pressing too hard. Heavy pressure creates thick, uneven lines and can tug at delicate lip skin. Use light, feathery strokes.
- Using a dull pencil. A blunt tip makes precise lines impossible. Sharpen before each use.
- Choosing a mismatched shade. A liner that’s way darker than your lipstick creates a harsh outline. Keep the two within a shade or two of each other.
- Forgetting to blend. Unblended liner looks obvious and dated. A quick blend softens everything beautifully.
A Quick Safety Note
Your lips are delicate, so keep things gentle. Don’t scrub too hard during prep, and stop if your lips feel sore or irritated.
Before trying a new liner or lip product, it’s smart to do a patch test. Dab a little on the skin near your lips or on your inner arm and wait a day to check for any reaction. If you notice redness, itching, or swelling, skip the product. This is general beauty-routine caution, not medical advice, so check with a professional if you have ongoing concerns.
Frequently Asked Questions
Should you fill in your whole lip with lip liner or just the edges?
Filling in your entire lip is the way to go for a longer-lasting look. When you color your whole lip with liner, it creates a base that grips your lipstick and keeps the shade even as the day goes on. If you only line the edges, you’ll likely end up with a harsh ring around your lips once the lipstick in the center fades. Blend the inner edge softly so the transition looks natural.
How do you make NYX lip liner last all day?
Prep is everything for long wear. Start by exfoliating and moisturizing, then blot off any excess balm so your lips aren’t too slippery. Fill in your whole lip with the liner, apply your lipstick, then blot with a tissue and add a second thin layer. This press-blot-press method locks the color in and helps it survive coffee, meals, and reapplication breaks.
What shade of lip liner should you choose?
For an everyday, natural look, pick a liner that’s close to your own lip color or just one shade deeper. If you’re wearing a bold lipstick, choose a liner that matches the lipstick so the edges blend seamlessly. Pay attention to undertones too: pair warm liners with warm lipsticks and cool with cool. When in doubt, a versatile “your lips but better” nude shade works with almost everything.
Do you apply lip liner before or after lipstick?
Both methods work, and it depends on the finish you want. Applying liner first gives you crisp definition and a base for your lipstick to grip, which is great for bold, long-lasting looks. Lining after lipstick creates a softer, more natural edge and lets you clean up any bleeding. Many people do a bit of both: line first, then touch up the edges once the lipstick is on.
Ready to define those lips? Grab your favorite NYX liner, take it slow with light strokes, and enjoy a polished, long-lasting lip look you can recreate any day of the week.
