
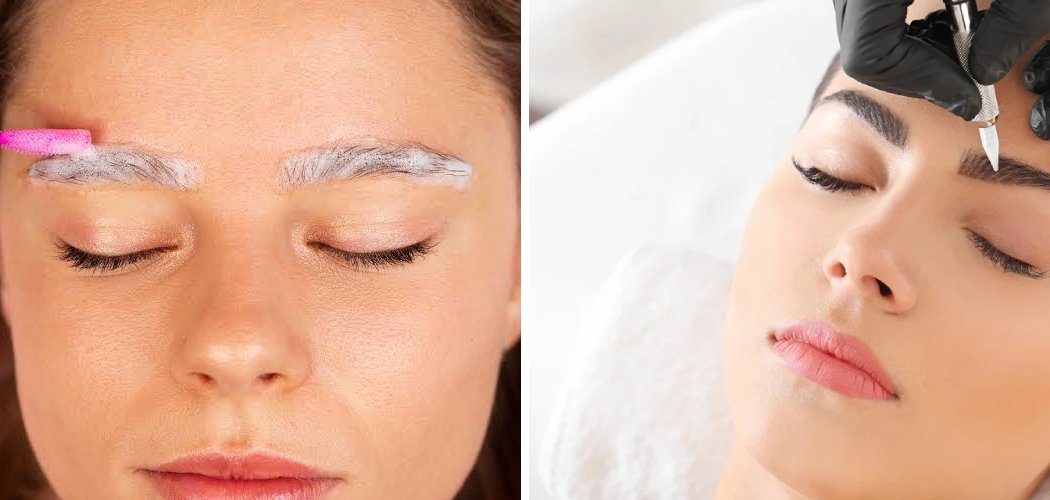
The fastest, most reliable way to remove an eyebrow tattoo is professional laser removal, which breaks down the ink over several sessions. At home, gentler options like exfoliation, saline fading, and letting cosmetic tattoos naturally lighten can help soften the look, but they work slowly and best on semi-permanent brows.
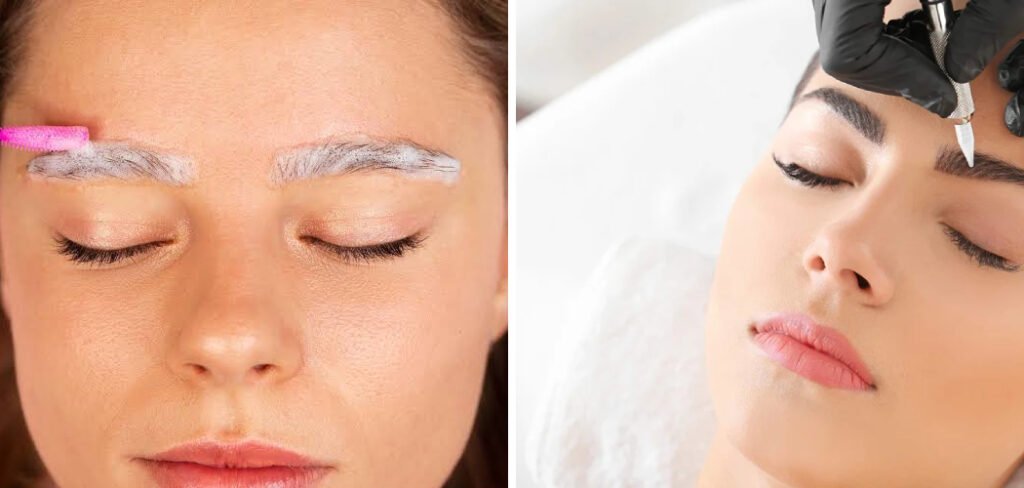
If you’ve got an eyebrow tattoo you’re no longer loving, you’re definitely not alone. Whether it’s the wrong shape, a shade that’s gone too warm, or microblading that just didn’t age well, you have options. Some are quick and clinical, others are slow and DIY-friendly.
In this guide, we’ll walk through the most effective removal method, a gentler at-home approach, how to remove eyebrow tattoo, and the mistakes that can leave you with irritation or scarring. Let’s get your brows back to a fresh start.
A Quick Note Before You Start
Eyebrow tattoos come in a few different forms, and that matters a lot for removal.
- Traditional/permanent cosmetic tattoos use deeper ink and are the toughest to remove.
- Microblading is semi-permanent, sitting closer to the surface, and fades more easily over time.
- Powder or ombré brows fall somewhere in between.
The closer the pigment is to the skin’s surface, the easier it fades. Deep, saturated tattoos almost always need professional help. Keep that in mind as you pick your method.
What You’ll Need
Gather your supplies before you begin. Having everything ready makes the process smoother and helps you avoid over-handling the delicate skin around your brows.
- Gentle exfoliating scrub — a soft, non-abrasive facial scrub to slowly buff the top layers of skin
- Saline solution — sterile saline can help draw pigment upward on fresh, shallow tattoos
- Salt paste or salt-based fading gel — a common household-style fading option
- Cotton pads and cotton swabs — for applying and removing products cleanly
- Fragrance-free moisturizer — to keep skin hydrated and calm between attempts
- Broad-spectrum sunscreen — the treated area needs sun protection during fading
- Aloe vera gel — soothing for irritated or freshly exfoliated skin
- Micellar water — a gentle, water-based cleanser for prepping the area
Household alternatives like plain salt, honey, or lemon get mentioned online, but go easy. Lemon in particular can irritate and increase sun sensitivity, so we’ll skip harsh acids here.
Method 1: Professional Laser Removal (Recommended and Fastest)
Laser removal is the gold standard for getting rid of an eyebrow tattoo, especially deeper or older ink. A trained technician uses targeted light to break the pigment into tiny particles your body then clears away. You won’t do this at home, but knowing the process helps you prepare and set realistic expectations.
Step 1: Do a Patch Test and Consultation
Book a consultation with a licensed removal specialist first. They’ll assess your ink depth, color, and skin type, then usually do a small test spot to see how your skin reacts.
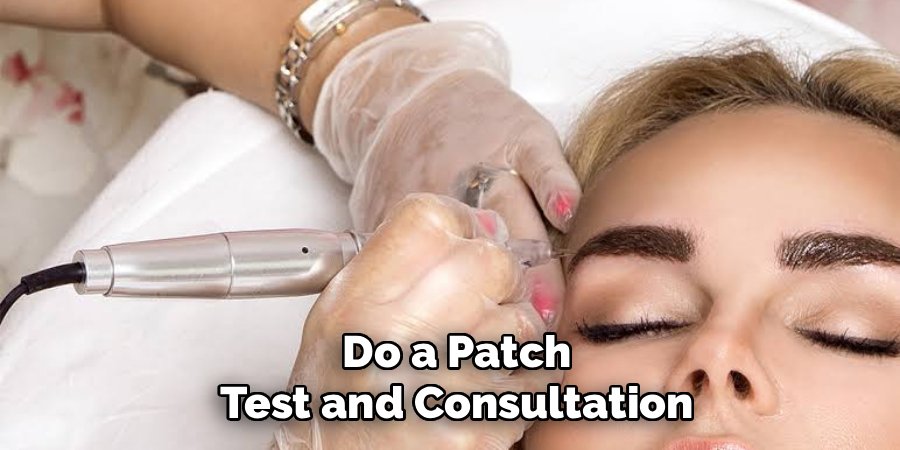
This is non-negotiable. A patch test checks for unwanted reactions before treating your whole brow. Never skip it, even if you’re eager to start.
Step 2: Prep Your Skin
In the days before your appointment, keep the brow area clean and avoid sun exposure. Tanned or sunburned skin can react poorly to laser treatment.
Skip retinoids, acids, and harsh actives near your brows for about a week beforehand. Your technician will give you specifics based on your skin.
Step 3: Attend Your First Session
During treatment, you’ll feel quick zaps that many describe as a rubber band snap. Sessions are usually short, often 10 to 20 minutes for brows.
The pigment may look darker or frosty right after. That’s normal and fades as your skin heals.
Step 4: Follow the Session Schedule
Laser removal takes multiple visits, typically spaced six to eight weeks apart. Most people need several sessions, sometimes more for stubborn or dark ink.
Patience is key. Rushing back too soon doesn’t give your skin time to recover between treatments.
Step 5: Care for the Area Between Visits
After each session, keep the area clean, moisturized, and out of the sun. Your technician will hand you specific aftercare instructions.
Let any scabbing heal on its own. Picking can lead to scarring and patchy results.
Method 2: Gentle At-Home Fading (Natural and Slow)
If your eyebrow tattoo is semi-permanent, freshly done, or you just want to soften it before it fully sets, gentle exfoliation and saline fading can help. This approach is slow and works best on shallow ink like microblading. It won’t erase deep permanent tattoos, so keep expectations realistic.
Step 1: Patch Test Everything
Before applying any scrub, saline, or salt paste to your brows, test it on a small area like your inner arm. Wait 24 hours to check for redness, itching, or irritation.
The skin around your eyes is thin and sensitive. A quick patch test now saves you from a bigger reaction later. This is general beauty caution, not medical advice, so see a professional if you have concerns.
Step 2: Cleanse the Area
Use micellar water on a cotton pad to gently clean your brows. Remove any makeup, oil, or product buildup.
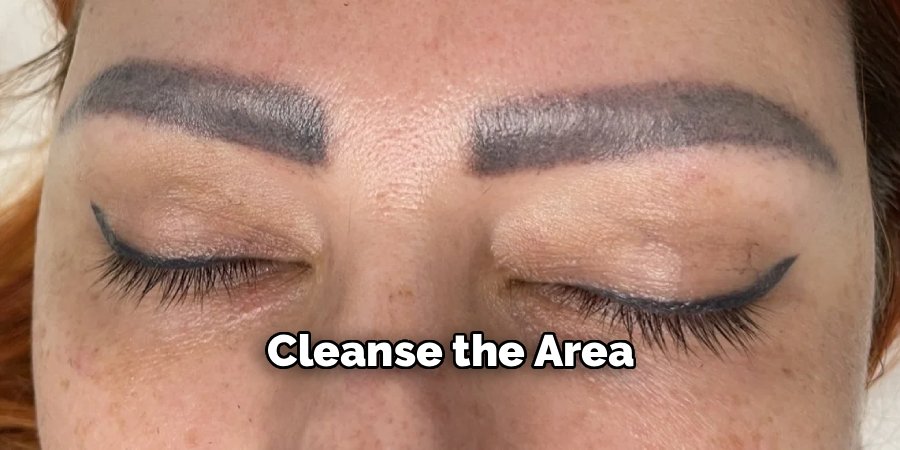
Pat dry with a soft towel. Starting clean helps your fading products work more evenly.
Step 3: Gently Exfoliate
Apply a small amount of gentle exfoliating scrub to the brow area. Using light, circular motions, buff for about 30 seconds, then rinse.
Exfoliation slowly removes the top layers of skin where semi-permanent pigment sits. Do this no more than two to three times a week to avoid over-scrubbing.
Step 4: Try Saline Fading
For fresh, shallow tattoos, dab a little sterile saline solution onto a cotton swab and press it gently over the brow. Saline can help lift pigment upward as the skin renews.
Leave it a few minutes, then rinse with cool water. Don’t scrub or dig, just a soft press-and-release.
Step 5: Soothe and Moisturize
Follow up with a thin layer of aloe vera gel or fragrance-free moisturizer. This calms the skin and prevents it from drying out.
Hydrated skin heals and renews better, which supports the fading process over time.
Step 6: Repeat Consistently
Fading at home is a marathon, not a sprint. Repeat the exfoliation and moisturizing routine over several weeks, watching how your skin responds.
If you see any irritation, stop and let your skin recover fully before trying again. Slow and steady protects the delicate eye area.
Aftercare
However you fade or remove your eyebrow tattoo, aftercare makes or breaks your results. Treat the area kindly and give it time.
- Keep it clean. Gently wash the area with a mild cleanser and avoid harsh rubbing.
- Moisturize daily. A fragrance-free moisturizer keeps skin soft and supports healing.
- Protect from the sun. Apply broad-spectrum sunscreen every day. UV rays can darken pigment and slow fading.
- Let scabs heal naturally. If any scabbing forms, leave it alone. Picking risks scarring and uneven fading.
- Pause on actives. Skip retinoids and strong acids near the treated brow until it’s fully calm.
- Stay hydrated. Drinking water and eating well supports your skin’s natural renewal from the inside.
Give your skin grace here. Brows fade gradually, and consistent gentle care beats aggressive quick fixes every time.
What NOT to Do
The eye and brow area is delicate, so a few wrong moves can cause lasting damage. Steer clear of these.
- Don’t use DIY tattoo removal creams. Many contain harsh acids that can burn, scar, or discolor thin brow skin. The results rarely match the risk.
- Don’t over-exfoliate. Scrubbing daily or too hard breaks the skin barrier and can lead to irritation and scarring instead of clean fading.
- Don’t apply lemon juice or strong acids. These can irritate skin and make it far more sensitive to sunlight, leading to dark spots.
- Don’t pick at scabs. It’s tempting, but picking pulls out healing skin and can leave permanent marks.
- Don’t attempt to “scrape” the ink out. Never use anything sharp near your eyes. This can cause serious injury and infection.
- Don’t skip the patch test. Every product deserves a 24-hour test first. Your future self will thank you.
- Don’t get laser removal from unlicensed providers. Improper laser use can scar or burn the skin around your eyes.
When in doubt, see a licensed removal specialist or dermatologist. Professional guidance is always safer than experimenting near your eyes.
Frequently Asked Questions
Can you fully remove an eyebrow tattoo at home?
Not usually, especially with deeper or permanent ink. At-home methods like gentle exfoliation and saline fading can soften and lighten shallow, semi-permanent tattoos such as microblading over several weeks. But for full removal of a saturated or older tattoo, professional laser treatment is the reliable option. If you try at-home fading, go slowly and protect your skin, because the brow area is thin and easily irritated.
How long does it take to remove an eyebrow tattoo?
It depends on the method and how deep the ink sits. Professional laser removal typically takes several sessions spaced six to eight weeks apart, so the full process can stretch over several months. At-home fading is even slower and works gradually over many weeks, with no guarantee of complete removal. Darker, older, and deeper tattoos always take longer than fresh, shallow ones.
Does microblading fade on its own over time?
Yes, microblading is semi-permanent and naturally fades over one to three years for most people. Because the pigment sits closer to the skin’s surface, sun exposure, exfoliation, and normal skin renewal all help it lighten. If you want to speed things up gently, consistent sunscreen and mild exfoliation can help. Just avoid aggressive scrubbing that could irritate the delicate skin around your brows.
Is eyebrow tattoo removal painful?
Laser removal is often described as a quick, snapping sensation, similar to a rubber band flicking your skin. Most people find brow sessions tolerable since they’re short, and many providers offer numbing options. Gentle at-home fading shouldn’t hurt at all, and if it stings or burns, that’s a sign to stop and rinse right away. Any real pain near your eyes means it’s time to pause and check in with a professional.
Ready to hit reset on your brows? Start with a patch test and a chat with a licensed specialist, then choose the fading path that fits your skin best.
