
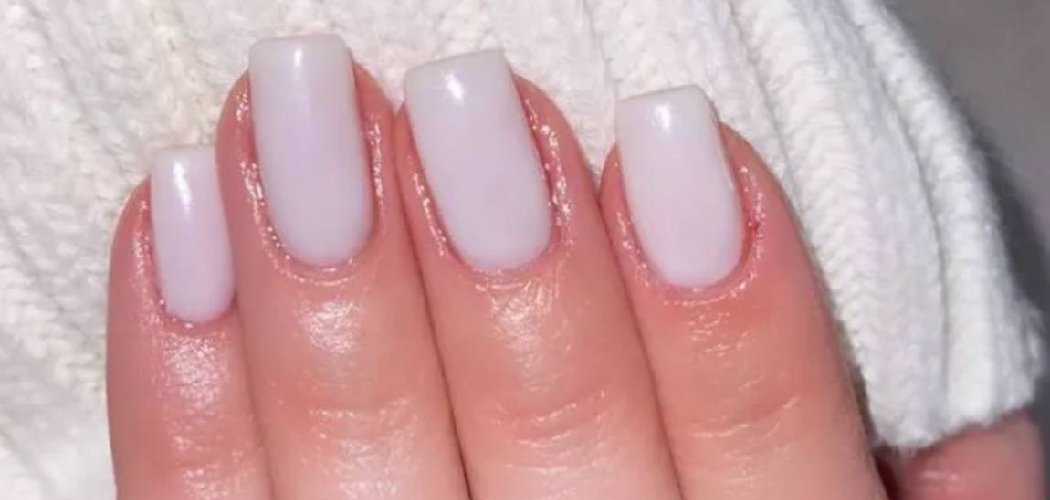
To apply white nail polish smoothly, start with clean, dry nails and a base coat, then build the color in two or three thin coats instead of one thick layer. This prevents streaks and patchiness, which white shades are famous for. Finish with a glossy top coat for an even, opaque white that lasts.
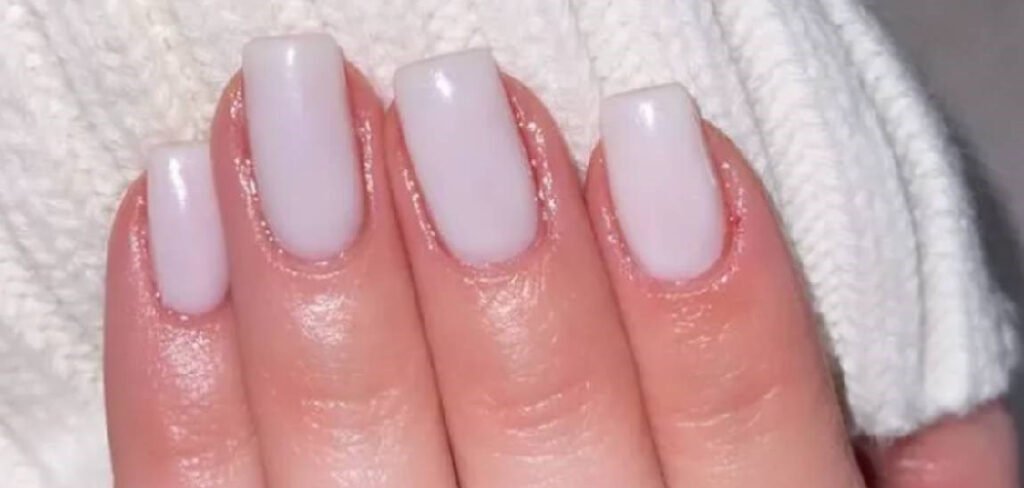
White is one of the trickiest polish colors to nail (pun intended). It shows every streak, every bump, and every missed spot. But once you know the right technique, learning how to apply white nail polish becomes surprisingly easy. It just takes patience and a few smart moves.
In this guide, we’ll walk through everything from prep to top coat. You’ll learn how to layer thin coats, avoid the dreaded streaky finish, and get that crisp, clean white that looks salon-fresh at home.
Why White Polish Is Harder Than Other Colors
Before we dive in, here’s the honest truth: white shows everything. Darker shades hide small mistakes, but white magnifies streaks, ridges, and thin spots.
That’s not a reason to avoid it, though. White is timeless, fresh, and pairs with any outfit. You just need the right approach, which is exactly what you’ll get below.
What You’ll Need
Gather your supplies first so you’re not scrambling mid-manicure. Having everything within reach helps your coats dry evenly and keeps things smooth.
- White cream nail polish — a creamy (non-shimmer) formula gives the most opaque, classic finish
- Base coat — protects your nails and helps polish grip properly
- Glossy top coat — seals in color and adds that high-shine finish
- Nail file and buffer — to shape and smooth the nail surface
- Cuticle pusher — for gently tidying the skin at the base of your nails (the cuticle)
- Nail polish remover — for cleanup and correcting mistakes
- Cotton pads and swabs — for prepping nails and fixing edges
- A thin cleanup brush — a small angled brush dipped in remover, perfect for sharpening edges
- Hand cream or cuticle oil — to hydrate skin after you’re done
A quick note on formulas: creamy white polishes cover better than sheer or jelly ones. If your goal is a solid, opaque white, skip the sheer bottles.
9 Step-by-Step: How to Apply White Nail Polish
Follow these steps in order for the cleanest results. Don’t rush the drying time between coats. That patience is the real secret here.
Step 1: Prep and Shape Your Nails
Start with clean, bare nails. Remove any old polish and wash your hands to get rid of oils and lotion.
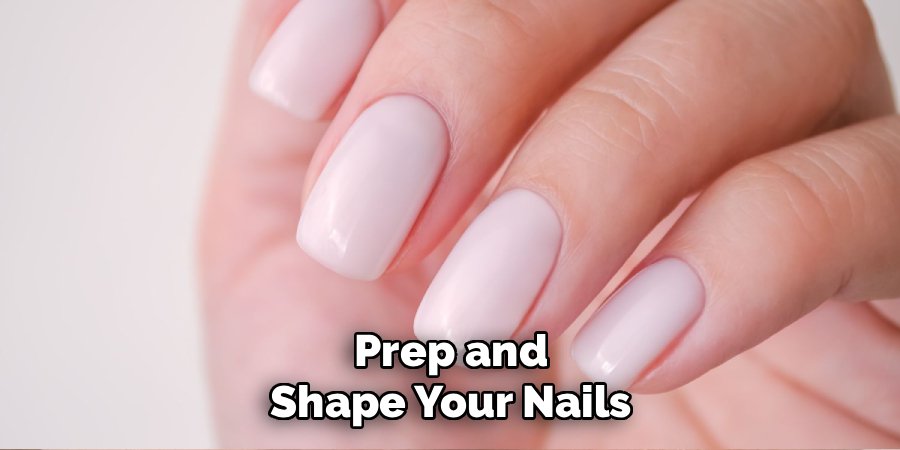
File your nails into your preferred shape and gently buff the surface. Buffing smooths ridges so white polish sits evenly, without highlighting bumps. Then gently push back your cuticles with the cuticle pusher for a neat canvas.
Step 2: Wipe Nails Clean
Swipe each nail with a cotton pad dipped in a little polish remover. This removes any leftover oil, dust, or buffing residue.
Oil is the enemy of a long-lasting manicure. A clean, dry surface helps everything stick better and last longer.
Step 3: Apply a Thin Base Coat
Brush on a single thin layer of base coat. This clear layer protects your nails from staining and gives the color something to grip.
Let it dry fully before moving on, usually a minute or two. Skipping this step is a common reason polish chips early.
Step 4: Apply Your First Thin Coat of White
Here’s where technique matters most. Wipe excess polish off the brush against the bottle’s neck so you’re working with a thin, controlled amount.
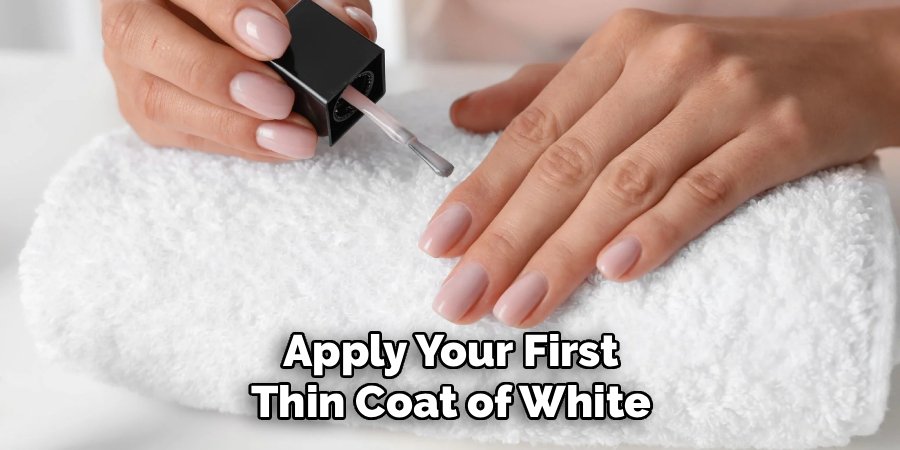
Place the brush a little below your cuticle, then push it up gently and pull down to the tip. Do one stroke in the center, then one on each side. This first coat will look patchy and thin, and that’s completely normal. Resist the urge to fix it now.
Step 5: Let It Dry, Then Add a Second Coat
Wait until the first coat is dry to the touch, around two to three minutes. Rushing here causes dragging and streaks.
Apply your second thin coat the same way: center stroke first, then the sides. You’ll see the white start to look solid and bright. Thin coats build a smoother, more even finish than one thick glob.
Step 6: Add a Third Coat If Needed
Check your coverage. If you can still see nail through the color, add one more thin coat.
Most white polishes need two to three coats for full opacity (that solid, no-see-through look). Just keep each layer thin and let it dry between coats.
Step 7: Clean Up the Edges
Dip your thin cleanup brush (or a cotton swab) in remover and trace around your cuticles and sidewalls. This wipes away any polish that landed on your skin.
Crisp edges are what separate a home manicure from a messy one. This small step makes a big difference.
Step 8: Seal With a Glossy Top Coat
Once your color is dry, brush on one thin layer of top coat. Sweep it over the tip of each nail too, which is called “capping” the free edge and helps prevent chipping.
Top coat adds shine and locks in your color. Let everything dry completely before touching anything.
Step 9: Hydrate Your Cuticles
After your manicure is fully set, massage in a drop of cuticle oil or hand cream. This softens the skin and gives your nails a healthy, finished look.
Hydrated cuticles also help your manicure look neater for longer. It’s the perfect final touch.
Pro Tips for a Flawless White Manicure
These little tricks separate a good white manicure from a great one. Keep them in mind next time you reach for that bottle.
- Shake gently, don’t roll. Roll the bottle between your palms instead of shaking it hard. Shaking creates air bubbles that show up on your nails.
- Thin coats always win. It feels slower, but two or three thin layers dry faster and look smoother than one thick coat.
- Warm up thick polish. If your white has gone gloopy, sit the bottle in warm water for a minute to loosen the formula.
- Use a ridge-filling base coat. If your nails are uneven, a ridge-filling base creates a smoother surface so white doesn’t cling to bumps.
- Wait between coats. Patience prevents dragging. Give each layer real drying time before adding the next.
Common Mistakes to Avoid
Even seasoned polish fans slip up with white. Here’s what to watch for so your manicure stays crisp and clean.
- Applying one thick coat. This is the number-one cause of streaks and long drying times. Thin layers are the fix.
- Skipping the base coat. Without it, white can stain your nails yellow over time and chip faster.
- Overloading the brush. Too much polish pools near the cuticle and floods your skin. Wipe the brush before each nail.
- Touching up wet coats. Going back over a half-dry layer drags the polish and creates streaks. Let it dry, then fix.
- Rushing the top coat. Applying top coat before the color is dry can cause smudging and bubbling. Give it time.
- Ignoring bubbles. Shaking the bottle hard introduces air. Roll it gently instead.
A Quick Safety Note
Nail care should feel good, never painful. Don’t push or cut your cuticles too aggressively, since that skin protects your nail from bacteria and infection.
If polish or remover irritates your skin, or you notice redness or peeling around your nails, stop and give them a break. This is general beauty-routine caution, not medical advice, so check with a professional if you have ongoing concerns. Always use polish and remover in a well-ventilated space.
Frequently Asked Questions
Why does white nail polish always look streaky?
White polish looks streaky mostly because of how it’s applied, not the polish itself. When you use one thick coat or overload the brush, the formula drags and dries unevenly. The fix is simple: build color in two or three thin coats, letting each one dry before the next. A creamy (non-sheer) formula and a smooth base coat also help a lot.
How many coats of white nail polish do I need?
Most white polishes need two to three thin coats for full opacity, meaning a solid finish with no nail showing through. Sheer or jelly formulas may need even more, which is why creamy whites are easier to work with. Always keep each coat thin and let it dry in between. This builds smoother, brighter coverage than piling on thick layers.
How do I keep white polish from turning yellow?
To prevent yellowing, always use a base coat before applying your white. The base creates a barrier between your nail and the pigment, which helps stop staining. A good top coat also protects the surface from discoloration. Try to avoid heavy sun exposure and staining foods right after painting, and give your nails an occasional polish-free break.
What’s the best way to fix mistakes when applying white polish?
The easiest fix is a thin cleanup brush or cotton swab dipped in nail polish remover. Trace it around your cuticles and the sides of your nails to erase any polish that landed on your skin. For streaks within a coat, wait until it’s fully dry, then add another thin layer rather than reworking a wet one. Clean edges instantly make the whole manicure look more polished.
Ready to rock that crisp, fresh white? Grab your creamy polish and a good top coat, take it slow with thin coats, and enjoy your salon-worthy manicure at home.
