
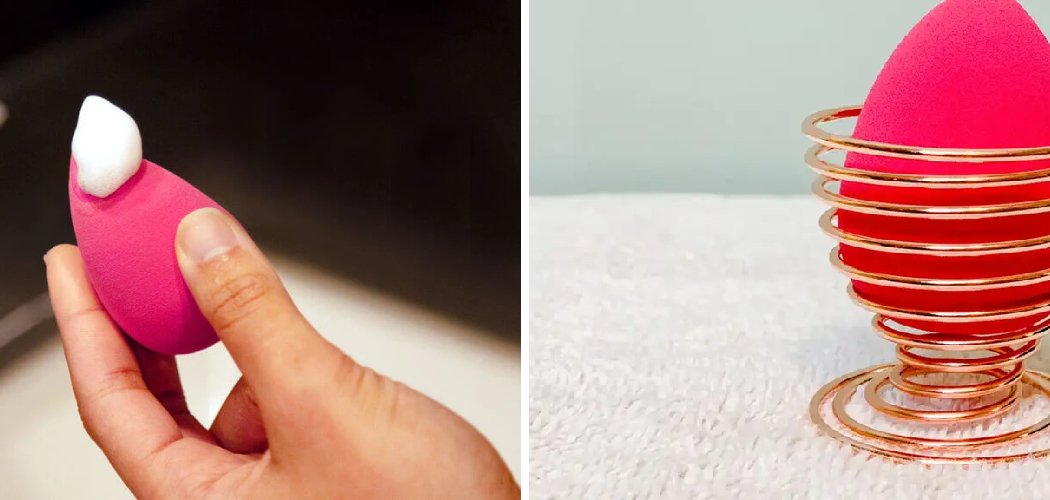
How to clean makeup sponges, wet the sponge, work in a gentle soap or dedicated cleanser, then squeeze and rinse under warm water until it runs clear.
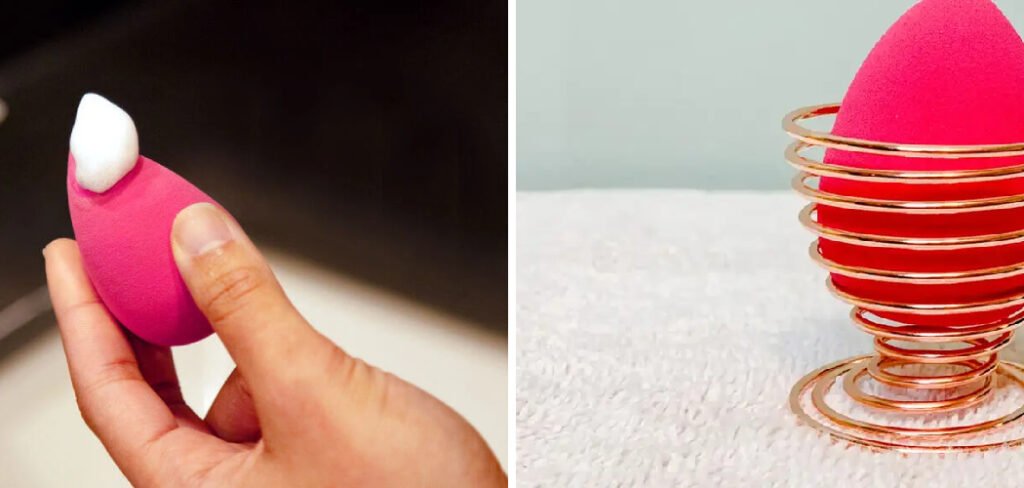
You should deep-clean your sponge at least once a week, but the fastest daily fix is a quick swirl in soapy water after each use. A clean sponge means smoother foundation, fewer breakouts, and a tool that lasts far longer.
Why Cleaning Your Makeup Sponge Actually Matters
Your makeup sponge lives a hard life. It soaks up foundation, concealer, moisturizer, and every bit of oil and dead skin from your face, then sits in a warm bathroom until the next use.
That combo makes it a cozy home for bacteria. Pressing a dirty sponge onto your skin can clog pores and lead to breakouts, so regular cleaning is more of a skin-health habit than a chore.
There’s a bonus, too. A clean, properly cared-for sponge applies makeup much more evenly. Product-caked sponges drag and streak, while a fresh one bounces color on smoothly. Keeping yours clean also stretches its lifespan, which saves you money over time.
What You’ll Need
You don’t need fancy gear to get your sponge sparkling. Chances are you already own most of this. Here are the essentials worth having on hand.
- Gentle bar or liquid soap — A mild, fragrance-free option is kind to the sponge and your skin.
- Dedicated makeup sponge cleanser — Formulated to break down foundation and oils fast.
- Solid brush and sponge cleaning soap — A firm bar that doubles for brushes and sponges.
- Micellar water — Great for spot-cleaning and lifting stubborn product.
- A textured cleaning mat or glove — The little silicone bumps help scrub product out of the sponge’s pores.
- A clean towel — For pressing out excess water and air-drying.
- A bowl — Handy for the soak method when you’re cleaning several sponges at once.
If you only buy one thing, grab a dedicated makeup sponge cleanser. It cuts through greasy foundation faster than regular soap and rinses out clean.
How to Clean Makeup Sponges: 7 Step-by-Step
Follow these steps for a deep clean that lifts out even set-in foundation. The whole process takes about five minutes, plus drying time.
Step 1: Rinse Under Warm Water
Hold your sponge under warm running water until it’s fully soaked. A wet sponge swells up, which opens its tiny pores and makes it easier to release trapped product.

Give it a few gentle squeezes as it fills. You’ll probably see cloudy, tinted water run out already — that’s the makeup starting to loosen.
Step 2: Apply Your Cleanser
Squeeze a small amount of makeup sponge cleanser or a swipe of gentle soap directly onto the stained areas. If you’re using a solid cleaning soap bar, rub the damp sponge right onto the bar to pick up the product.
You only need a little. Too much soap takes forever to rinse out later.
Step 3: Work It Into a Lather
Massage the sponge between your fingers to build up a foam. This lather is what pulls the oils and pigment out of the sponge.
Focus on the base of the sponge, since that’s where most foundation collects. Keep squeezing and releasing to push the suds deep into the center.
Step 4: Scrub on a Textured Surface
For a deeper clean, press and swirl the sponge against a silicone cleaning mat or the palm of your hand. The bumps and ridges work like a mini scrub brush, dislodging product from the pores you can’t reach with fingers alone.
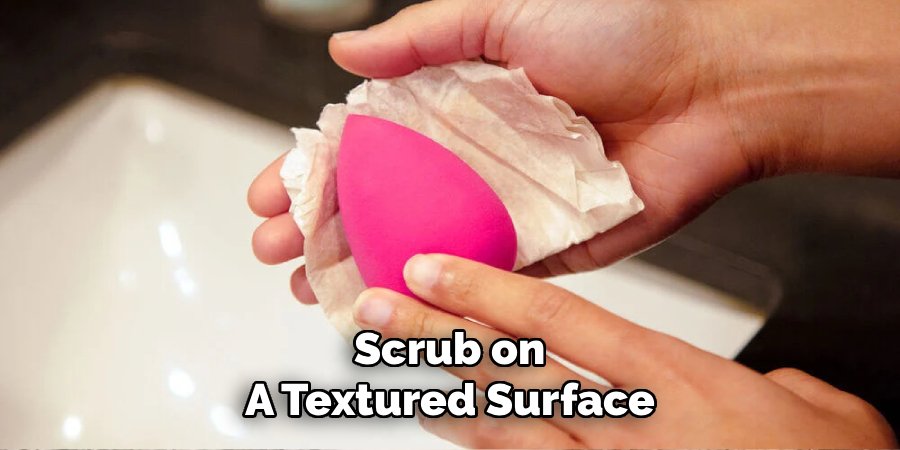
Move the sponge in small circles. You’ll watch the stains lift and the foam turn the color of your foundation.
Step 5: Rinse Until the Water Runs Clear
Hold the sponge back under warm water and squeeze repeatedly. Keep going until no more soap or color comes out and the water runs completely clear.
This is the step people rush most. Leftover soap can dry out and stiffen the sponge, so be patient and rinse thoroughly.
Step 6: Give It a Final Squeeze
Gently press the sponge in a clean towel to push out excess water. Never wring or twist it hard — that can tear the soft material and shorten its life.
Roll it in the towel and squeeze softly instead. The goal is damp, not dripping.
Step 7: Air-Dry Completely
Set the sponge in an open, airy spot to dry fully before you store or use it again. A windowsill or a spot near a fan works well.
Make sure it dries in the open air, not sealed in a drawer or makeup bag. Trapped moisture is exactly what bacteria and mildew love, so airflow is your best defense.
How Often Should You Do This?
Here’s the honest answer most people don’t want to hear: your sponge needs cleaning more often than you think.
- After every use — Give it a quick soapy swirl if you use it daily. This stops product buildup before it hardens.
- A full deep clean once a week — This is the minimum for anyone who wears makeup regularly.
- Two to three times a week — Ideal if you have acne-prone or sensitive skin, since bacteria buildup affects you faster.
Think of it like a toothbrush. A rinse after each use helps, but it doesn’t replace a proper, thorough clean on a regular schedule.
The Quick Method for When You’re Short on Time
Some mornings you just don’t have five minutes to spare. When that happens, this express method keeps your sponge usable without a full wash.
- Grab your micellar water. This is a gentle cleansing liquid that lifts makeup without rinsing.
- Pour a little into a small bowl or soak a cotton pad with it.
- Press the sponge into the liquid several times, squeezing to draw the micellar water through it.
- Blot on a clean towel to remove the loosened product.
- Let it air-dry for a few minutes before use.
This won’t replace a deep clean, but it buys you a day or two in a pinch. Just make sure you do a proper wash by the end of the week.
There’s also the microwave hack you may have seen online: soak the sponge in soapy water in a mug and microwave it for a minute. It can work, but the water gets scalding hot, so handle the mug with care and let everything cool before touching it. Treat this as an occasional shortcut, not your main routine.
Signs It’s Time to Replace vs. Keep Cleaning
Even the best-cared-for sponge won’t last forever. Cleaning extends its life, but at some point a swap is the healthier choice for your skin. Here’s how to tell the difference.
Keep cleaning if your sponge:
- Bounces back to its full shape after you squeeze it
- Rinses back to a mostly clean color after washing
- Still feels soft and springy when damp
- Has no odd smell once dry
Replace it if your sponge:
- Won’t come clean. Deep stains that stay even after a thorough wash mean product is permanently embedded.
- Feels stiff or crumbly. When the material stops bouncing back or starts breaking apart, it’s done.
- Smells musty or sour. Any lingering odor is a sign of trapped bacteria or mildew — toss it right away.
- Has tears or chunks missing. A damaged sponge applies makeup unevenly and harbors germs in the cracks.
As a general guide, most makeup sponges last three to four months with regular cleaning. If you spot mold or a persistent smell before then, don’t try to salvage it — replace it. This is basic beauty hygiene, not a strict rule, but your skin will thank you for it.
Frequently Asked Questions
How do you clean makeup sponges without a special cleanser?
You don’t need a dedicated product to get a clean sponge. A mild bar soap, gentle liquid hand soap, or even a fragrance-free baby shampoo works well. Wet the sponge, work the soap into a lather, scrub it against your palm or a textured mat, then rinse until the water runs clear. Some people also use a drop of dish soap for greasy buildup, though a gentler option is kinder to the soft material over time.
Can you clean a makeup sponge in the washing machine?
It’s not recommended. The tumbling and spinning of a washing machine can tear the delicate material and wear it out fast. Sponges also hold water, so they may not dry properly afterward, which invites bacteria. Hand-washing is gentle, quick, and gives you far more control. If you want a hands-off method, a soak in warm soapy water is a much safer bet than the machine.
Why does my makeup sponge still look stained after washing?
Light staining is normal and usually harmless, especially with darker foundations that dye the material. As long as the sponge rinses back to a mostly clean color, still feels soft, and has no smell, a faint tint is fine. If it stays heavily caked with product no matter how much you scrub, that’s a sign the buildup is embedded deep in the pores, and it’s time for a fresh sponge.
Is it bad to use a dirty makeup sponge?
Yes, using a dirty sponge isn’t great for your skin. Old product, oil, and dead skin cells create a breeding ground for bacteria, which can transfer back to your face and contribute to clogged pores and breakouts. A grimy sponge also applies makeup unevenly, leaving streaks and a patchy finish. Regular cleaning keeps both your skin and your makeup application looking their best.
Give your sponge a proper wash tonight, then set a weekly reminder — your skin and your foundation finish will both look better for it.
