
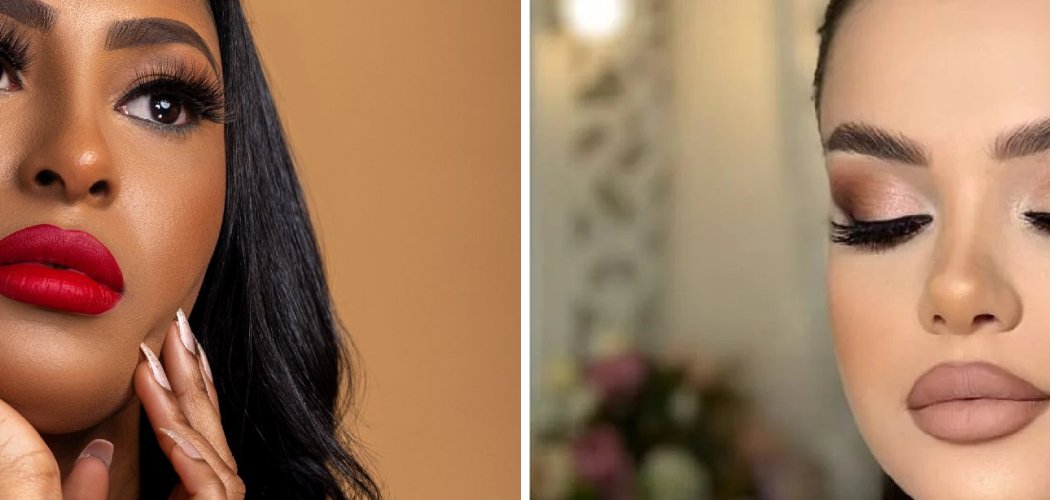
Learning how to do Latina makeup is all about warm, glowing skin, defined brows, sculpted cheeks, and a bold lip that ties it all together. The quick version: start with a radiant base, add rich bronze and warm neutrals to your eyes, sculpt your face with bronzer and blush, then finish with a lined, statement lip.
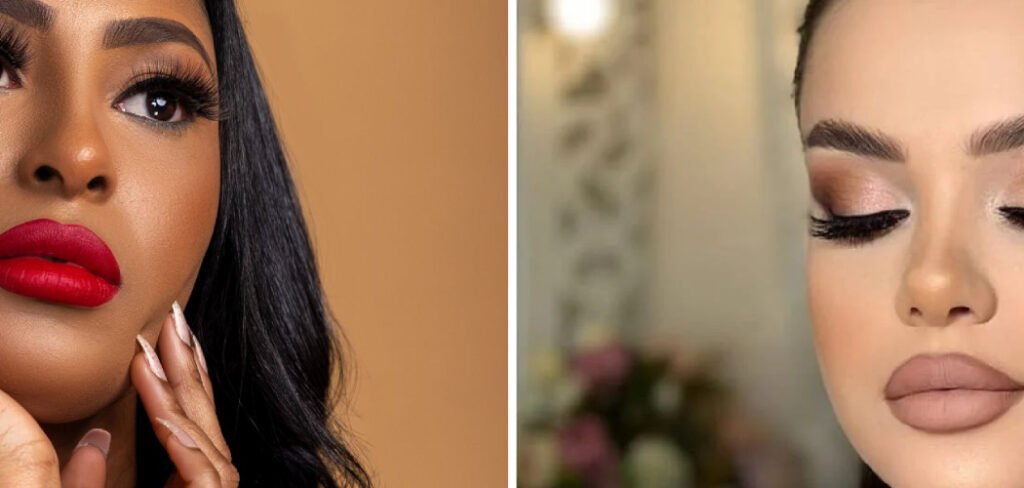
This look celebrates sun-kissed, glowy skin and confident, glamorous features. Below you’ll find every product you need, a full step-by-step tutorial, and pro tips to help you nail that beautiful, luminous look at home.
What Makes This Look So Iconic
The Latina beauty aesthetic leans into warmth and glow. Think dewy, radiant skin, deep bronzed tones, and lips that make a statement.
It’s less about hiding your features and more about celebrating them. Warm undertones, strong brows, and a healthy flush all play a starring role.
You don’t need a pro kit to recreate it. Once you know the order and a few key techniques, the whole look comes together quickly.
What You’ll Need
Pull these together before you start. You probably own several already, and you can always swap in products you love.
- Hydrating primer — Preps your skin and helps your base last while keeping that glow.
- Warm-toned foundation — Match it to your neck, not the back of your hand, for a seamless finish.
- Creamy concealer — Brightens under the eyes and covers any spots.
- Loose setting powder — For “baking,” which means letting powder sit to lock concealer in place.
- Warm bronzer — The heart of this look, used to add sun-kissed warmth.
- Cream or powder blush — A warm rose, terracotta, or peachy shade adds life to your cheeks.
- Liquid highlighter — For that lit-from-within glow on the high points of your face.
- Neutral eyeshadow palette — Warm bronzes, browns, and golds work best.
- Brown or black eyeliner — For definition along your lash line.
- Volumizing mascara — Or lashes, if you want extra drama.
- Brow pencil or pomade — To shape and fill full, defined brows.
- Lip liner — A brown, brick, or berry tone to sculpt and define your lips.
- Bold lipstick or gloss — A statement shade to finish the look.
- Makeup sponge and fluffy brushes — For blending everything seamlessly.
Quick safety note: before trying any new product on your face, dab a little on your inner arm and wait a day to check for irritation. This patch test matters most with foundations, lip products, and anything you haven’t used before.
How to Do Latina Makeup: 10 Step-by-Step
Take it slow the first time. These techniques get faster once your hands know the routine.
Step 1: Prep With a Glowy Primer
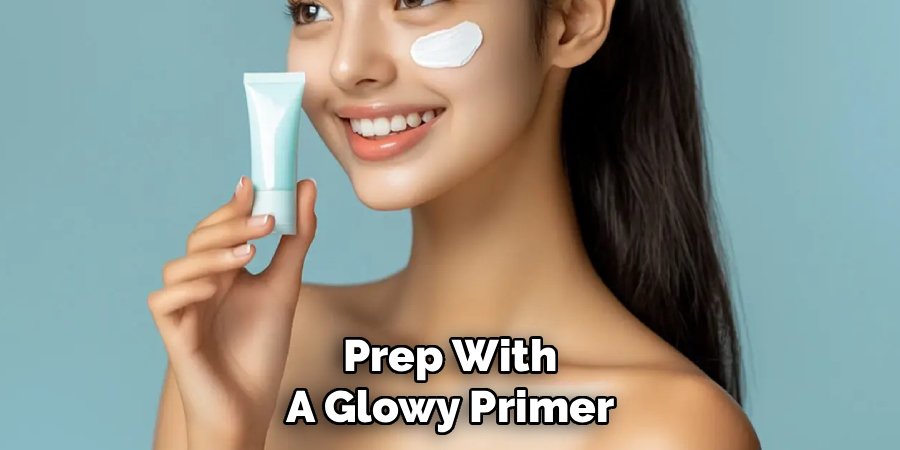
- Start with clean, moisturized skin so everything sits smoothly.
- Apply a thin layer of hydrating primer across your whole face.
- Let it sink in for about a minute before moving on.
Primer is your foundation’s best friend. It grips your makeup, smooths texture, and keeps that dewy finish going all day.
Step 2: Build a Radiant Base
- Apply your warm-toned foundation using a damp makeup sponge.
- Bounce the sponge over your skin rather than dragging it, so the finish looks natural.
- Build coverage only where you need it, keeping the glow intact.
The goal here is skin that looks like skin, just more even and luminous. Avoid piling on too many layers.
Step 3: Conceal and Bake
- Dab creamy concealer under your eyes, on any blemishes, and down the center of your nose.
- Blend the edges with your sponge, leaving the center bright.
- Press loose setting powder over the concealer and let it “bake” for a few minutes.
Baking simply means letting the powder sit so your body heat sets the concealer. Dust off the excess and you’ll have a crease-free, bright base.
Step 4: Sculpt With Bronzer
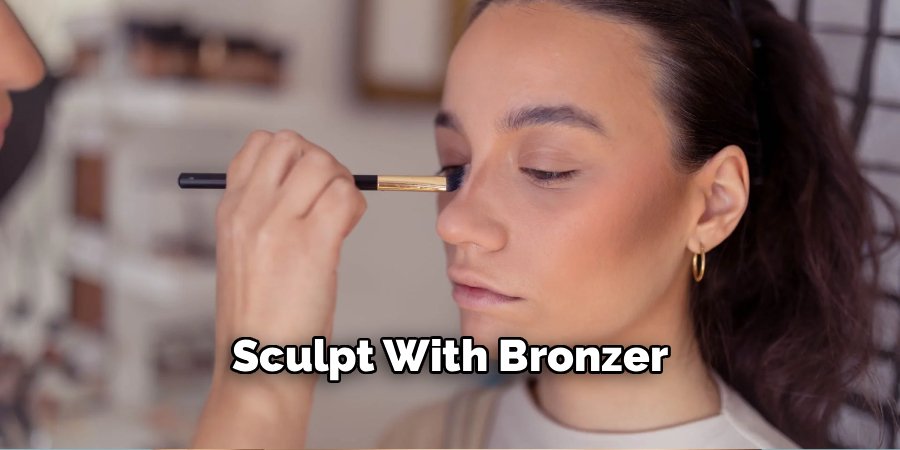
- Swirl a fluffy brush in your warm bronzer.
- Sweep it along your cheek hollows, temples, jawline, and the sides of your nose.
- Blend upward and outward so there are no harsh lines.
This is the step that gives the look its signature warmth. Think of bronzer as painting sunlight back onto your face.
Step 5: Add a Warm Flush
- Smile to find the apples of your cheeks (the round part that pops up).
- Apply your blush there and blend it slightly up toward your temples.
- A terracotta, peach, or warm rose shade suits this glowy vibe best.
Cream blush melts into the skin for a fresh finish, while powder gives a bit more color payoff. Either works beautifully.
Step 6: Shape Full, Defined Brows
- Use light strokes with your brow pencil or pomade to fill any sparse spots.
- Follow your natural shape and keep the tails clean and defined.
- Brush the hairs up and outward for a fuller, lifted look.
Strong brows frame the whole face and balance a bold lip. Aim for defined but still natural.
Step 7: Warm Up Your Eyes
- Sweep a warm bronze or brown from your neutral eyeshadow palette across your lids.
- Blend a slightly deeper shade into your crease (the fold above your eyelid).
- Add a touch of gold or shimmer to the center of the lid to catch the light.
Keep the eyes warm and glowy to match the rest of the look. You want cohesion, not competition with your lips.
Step 8: Line and Coat Your Lashes
- Line your upper lash line with brown or black eyeliner, keeping it close to the lashes.
- Try tightlining too, which means pressing liner into the gaps between your lashes so no skin shows.
- Curl your lashes and finish with two coats of volumizing mascara or add falsies.
This defines your eyes without overpowering them. A subtle flick at the outer corner adds a little lift if you like.
Step 9: Highlight the High Points
- Dab liquid highlighter on your cheekbones, brow bones, and the tip of your nose.
- Add a touch to your cupid’s bow (the dip above your top lip).
- Tap it in gently with a finger or damp sponge for a natural glow.
Highlighter is what makes the skin look lit from within. Focus it where the light would naturally hit.
Step 10: Finish With a Bold Lip
- Line your lips with lip liner, following your natural shape or slightly overlining for fullness.
- Fill in the whole lip lightly with the liner so color lasts longer.
- Top with your bold lipstick or gloss and blot for a longer-wearing finish.
The lip is the exclamation point of this look. A defined brick, berry, or deep nude ties everything together.
Pro Tips for a Flawless Finish
A few small adjustments can take your look from good to unforgettable.
- Match your undertone. This aesthetic loves warmth, so lean into golden and peachy tones across your base, bronzer, and blush.
- Layer cream, then powder. Cream products under powder ones give a longer-lasting, more dimensional glow.
- Don’t bury the glow. Set only your T-zone and under-eyes with powder, and leave your cheeks dewy.
- Overline gently. If you want fuller lips, stay just barely outside your natural line so it still looks believable.
- Blend, then blend again. Warm bronzer and blush look best when there’s no visible edge. A clean fluffy brush is your secret weapon.
Common Mistakes to Avoid
Even a fun, glamorous look has a few easy traps. Here’s what to watch for.
Choosing a foundation that’s too light. A base that’s paler than your neck creates an obvious line. Match to your jaw and neck in natural light instead.
Going too matte. This look thrives on glow. Powdering your whole face flattens that radiant finish, so keep powder to the areas that get oily.
Skipping the lip liner. A bold lip without liner tends to bleed and fade unevenly. Liner sharpens the shape and helps color last.
Harsh bronzer stripes. Applying bronzer without blending leaves muddy lines. Build it slowly and diffuse the edges with a clean brush.
Overpowering both eyes and lips. Balance is key. Let your statement lip shine while keeping the eyes warm and defined rather than heavy.
Frequently Asked Questions
What kind of foundation works best for a warm, glowy Latina makeup look?
Reach for a foundation with warm or golden undertones and a natural to dewy finish. Match it to your neck and jaw, not your hand, so there’s no visible line. Apply it with a damp sponge for a skin-like result, and build coverage only where you need it. Keeping the base radiant rather than matte is what gives this look its signature glow.
How do you get that sun-kissed bronzed effect?
The secret is warm bronzer, layered gradually. Sweep it along your cheek hollows, temples, jawline, and the sides of your nose, then blend thoroughly so there are no harsh lines. Add a warm blush on the apples of your cheeks and a touch of highlighter on the high points. Together these create a warm, lit-from-within finish that mimics real sunlight.
What lip colors suit this makeup style best?
Bold, warm-leaning shades work beautifully here. Think brick reds, deep berries, terracotta nudes, and rich browns, all defined with a matching lip liner. Line and lightly fill your lips first so the color lasts and stays crisp. If you prefer something softer, a warm glossy nude still keeps the look polished and glowy.
How can I make this makeup last all day?
Start with a hydrating primer and set your T-zone and under-eyes with a light dusting of powder through baking. Choose long-wear or waterproof formulas for your base and mascara, and lock your lip color in by filling your lips with liner before applying lipstick. A quick spritz of setting spray at the end melts everything together and helps it stay put.
Ready to Glow?
Grab your bronzer and your boldest lip, and have fun building that warm, radiant look. With a little practice, this glowy, confident style will become your go-to in no time.
