
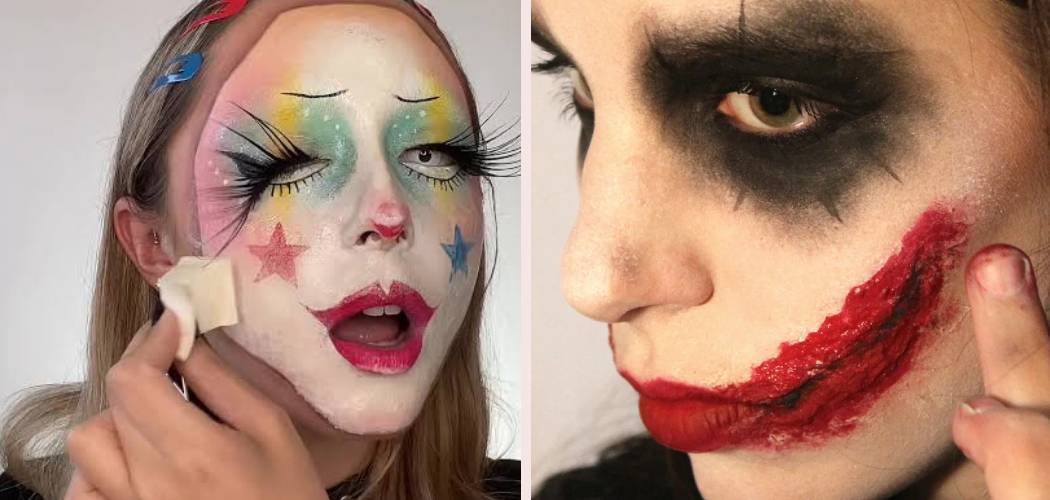
Want to know how to use liquid latex makeup? Start with clean, hair-free skin, apply thin layers of latex with a sponge or brush, let each layer dry fully, then build texture, wrinkles, or wounds before painting over it with makeup. It’s the go-to product for creating fake wounds, aged skin, and peeling special effects at home.
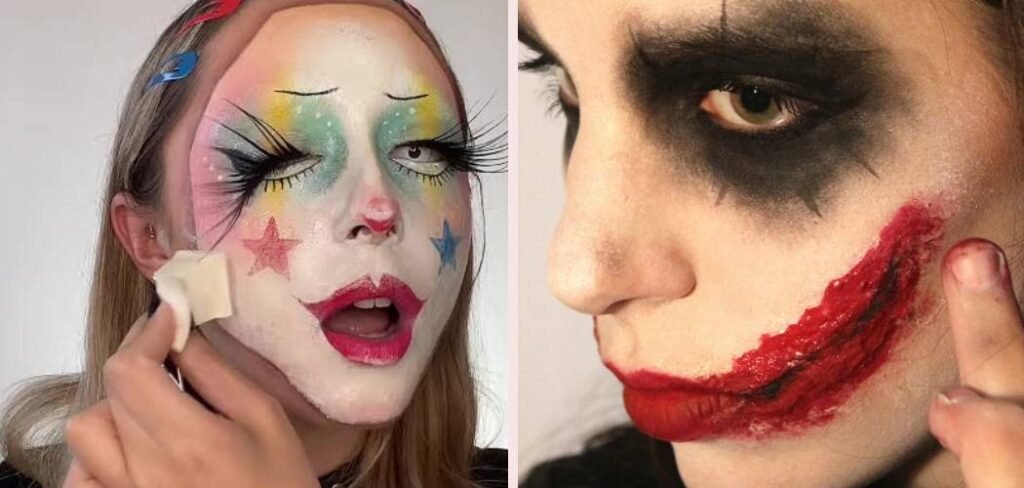
Liquid latex is a makeup lover’s secret weapon for Halloween, cosplay, and stage looks. It dries into a flexible, skin-like film you can sculpt, tear, and paint. And while it looks intimidating, it’s honestly one of the easiest special effects (SFX) products to work with once you know the basics.
Let’s walk through it together.
What You’ll Need
Grab your supplies before you start. Having everything ready makes the process way less stressful, especially when latex dries fast. Here’s your kit:
The essentials:
- Liquid latex — the star of the show, usually sold in bottles or tubs
- Makeup sponges — disposable wedge sponges work best for applying and dabbing
- Cotton balls or tissue — for building raised texture and peeling effects
- Small makeup brushes — for detail work and tight spots
For color and finishing:
- Cream or liquid face paint — to color your latex creation
- Fake blood — for wounds and gory looks
- Setting powder — stops tacky latex from sticking to itself
- Bruise wheel or eyeshadow palette — for realistic shading
Prep and removal:
- Spirit gum remover or oil-based cleanser — for easy takeoff
- Moisturizer — to soothe skin afterward
Patch-test note: Liquid latex contains ammonia and natural rubber, which can trigger allergies. Before your first use, dab a small amount on your inner forearm and wait 24 hours. If you notice redness, itching, or swelling, don’t use it. Never apply latex over eyebrows, eyelashes, or hairlines, since it grips hair and hurts to remove.
How to Apply Liquid Latex Makeup Step by Step
Follow these steps in order, and don’t rush the drying stages. Patience is what separates a convincing SFX look from a peeling mess.
1. Prep Your Skin
Start with clean, dry skin. Wash the area and pat it completely dry, since latex won’t stick well to oily or damp skin.
If the spot has any fine hairs, know that latex will cling to them. For less painful removal later, apply a thin layer of moisturizer or a barrier cream first, especially on hairy areas.

2. Do Your Test and Shake the Bottle
Give the bottle a good shake to mix the latex evenly. The pigment and rubber can separate as it sits, so this keeps the texture smooth.
If you skipped the patch test earlier, now’s your last chance. Trust me, testing beats an allergic reaction mid-look.
3. Apply the First Thin Layer
Pour a little latex onto a plate or directly onto your sponge. Dab it onto your skin in a thin, even coat using a stippling motion.
“Stippling” just means tapping the sponge up and down instead of dragging it. This builds an even texture and helps the latex grip your skin.
Keep this first layer thin. Thick layers take forever to dry and crack more easily.
4. Let It Dry Completely
This is the step everyone wants to skip, and it’s the most important. Let the layer dry fully before adding anything else.
You’ll know it’s ready when it turns from milky white to clear and feels dry to a light touch. Air-drying takes a few minutes, or you can speed it up with a cool setting on a hair dryer held at a distance.
5. Build Your Texture
Now comes the creative part. Depending on your look, build up the latex to create the effect you want:
- For a peeling or burned look: Lay small pieces of torn tissue or cotton onto a wet layer, then latex over the top. Once dry, you can peel and lift edges for a flaky, damaged texture.
- For a raised wound or scar: Stack several thin layers, letting each dry between coats, until you get the height you want.
- For aged, wrinkled skin: Stretch and pinch your skin taut, apply latex over the stretched area, dry it, then release. The latex wrinkles as your skin relaxes.
Build slowly and dry between every layer.
6. Cut or Sculpt Your Effect
For wounds and gashes, use the rounded tip of a makeup spatula or the back of a brush to gently part the dried latex down the center. This creates the illusion of open, torn skin.
Go slow and don’t dig into your actual skin. You’re only shaping the latex layer here.
7. Set the Latex
Dust setting powder over the dried latex. “Setting” means using powder to remove the tackiness so the surface isn’t sticky.
This matters because tacky latex sticks to itself and to your makeup. A light dusting gives you a matte, paintable surface.
8. Add Color and Details
Now paint your creation to life. Use cream or liquid face paint as your base color, then layer on shading with a bruise wheel or eyeshadow.
For realistic wounds, follow this order:
- Base the raised skin in a shade close to your natural tone.
- Add reds and purples inside any cuts or openings.
- Deepen the center with dark browns or blacks for depth.
- Blend the edges into your real skin so there’s no obvious border.

9. Finish With Blood or Gloss
Drip or dab fake blood into wounds for that fresh, wet look. A little goes a long way, so build gradually.
Want extra shine on a wound? A dot of clear gloss or glycerin keeps it looking wet and gross in the best way.
Pro Tips for Working With Liquid Latex
A few tricks make a huge difference between a look that lasts and one that flakes off:
- Always work in thin layers. Thin coats dry faster, adhere better, and crack less than one thick blob.
- Keep a hair dryer handy. A cool-air setting speeds up drying between layers so you’re not standing around forever.
- Powder is your best friend. Setting powder kills the stickiness that makes latex fold in on itself. Keep it close.
- Avoid hairy areas. Latex bonds to hair and rips it out on removal. Steer clear of brows, hairlines, and arm hair, or coat those spots in moisturizer first.
- Do a full trial run. If it’s for an event, practice the whole look a few days ahead so you’re not troubleshooting last minute.
Common Mistakes to Avoid
Even experienced SFX fans slip up. Dodge these common pitfalls:
- Skipping the patch test. Latex allergies are real and can be serious. Never skip this, especially on your face.
- Applying too thick. Thick layers stay wet inside, crack on the surface, and peel off early. Thin and layered wins every time.
- Rushing the drying. Adding color or texture to wet latex ruins the whole thing. Let each layer fully dry.
- Forgetting to powder. Un-set latex feels sticky and grabs onto everything, including your fingers and clothes.
- Using it near your eyes. Latex should never go on eyelids, lash lines, or brows. The fumes and grip make it dangerous for delicate eye areas.
- Peeling it off too aggressively. Ripping latex off can irritate or tear your skin. Loosen it gently with remover first.

How to Remove Liquid Latex Safely
When you’re done, don’t just yank it off. Removing latex the right way protects your skin.
Peel gently from the edges, working slowly. If it resists, dab a little oil-based cleanser, spirit gum remover, or even coconut oil along the edge to loosen the bond. Once it’s off, wash the area and apply moisturizer to soothe your skin.
Frequently Asked Questions
Is liquid latex safe to use on your face?
For most people, yes, liquid latex is safe on the face as long as you patch-test first and avoid the eye area, brows, and lips. Because it contains ammonia and natural rubber, some people are allergic, so testing 24 hours ahead is essential. Never apply it to broken skin, and keep it well away from your eyes and nostrils.
How do you get liquid latex to dry faster?
The quickest way is a hair dryer set to cool air, held about a foot away from your skin. Applying thin layers also speeds things up dramatically, since thick coats trap moisture inside and take much longer. Whatever you do, wait until the latex turns clear and feels dry before adding your next layer.
Can you use liquid latex without setting powder?
You can, but you probably won’t want to. Without setting powder, dried latex stays tacky and sticks to itself, your makeup, and anything it touches. A light dusting of powder gives you a smooth, matte surface that’s far easier to paint and won’t fold in on itself.
What can I use instead of liquid latex if I’m allergic?
If you’re sensitive to latex, look for latex-free alternatives like gelatin-based SFX products, silicone prosthetics, or specially made “liquid latex free” formulas. These give similar wound and texture effects without the natural rubber that triggers reactions. Always patch-test any new product, even the latex-free ones.
Ready to Create Your First SFX Look?
Now that you know how to use liquid latex makeup, it’s time to grab your supplies and start experimenting. Have fun with it, take your time between layers, and get ready to seriously impress everyone with your gory, gorgeous creations.
