
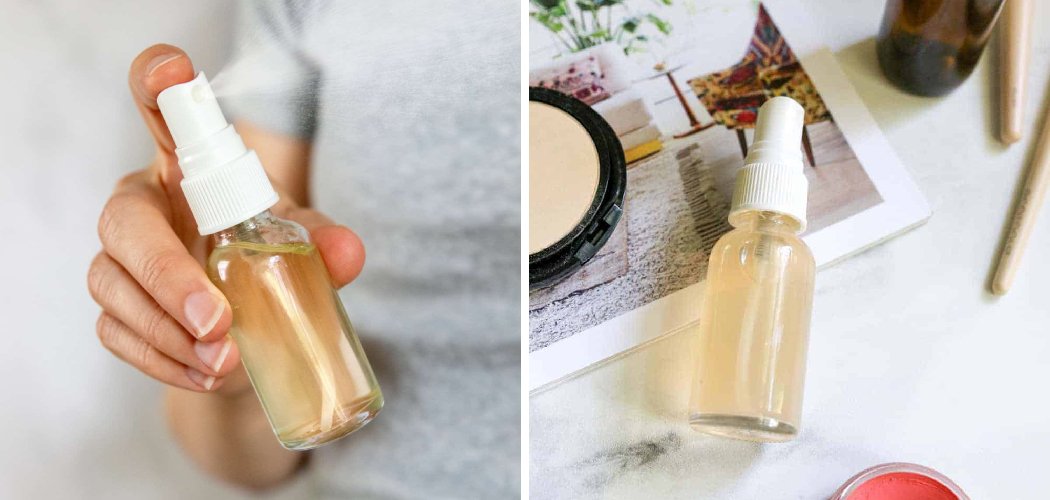
Want your makeup to last all day without buying a pricey bottle from the store? Learning how to make setting spray at home is easier than you think, and it costs a fraction of the drugstore price. With just a few simple ingredients you probably already own, you can whip up a fresh mist that locks your look in place and keeps you glowing from morning to night.
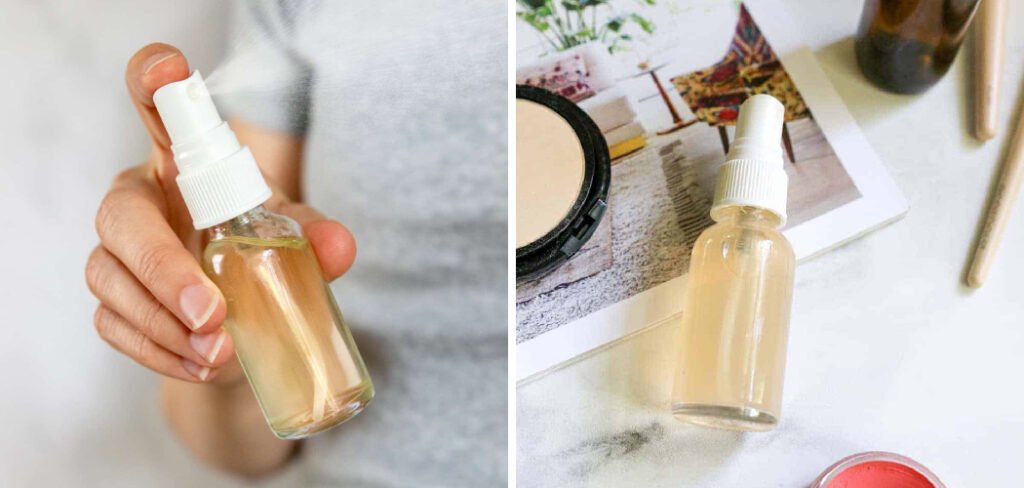
Let’s dig into why a homemade version is worth trying, what you’ll need, and exactly how to make it.
Why Make Your Own Setting Spray?
A setting spray is the final step in your makeup routine. It’s a light mist you spritz over your face to “set” everything in place, meaning your foundation, blush, and eyeshadow stay put instead of sliding off by lunchtime.
Store-bought bottles can run anywhere from $10 to $35 each. Making your own version brings a few big perks:
- It’s budget-friendly. A DIY batch costs just a couple of dollars and lasts a long time.
- You control the ingredients. No mystery chemicals or harsh alcohols. You choose exactly what touches your skin.
- It’s fully customizable. Want a dewy finish? A calming scent? A formula built for oily skin? You can tailor every drop to your needs.
Once you see how simple this is, you may never go back to the store version.
Ingredients You’ll Need
Here’s the beauty of a homemade fixing mist: the base recipe uses only a few things. Below are the core ingredients, plus easy swaps if you’re missing something.
- Distilled water (about ½ cup). This forms the base of your spray. Use distilled rather than tap water since tap contains minerals and bacteria that can spoil your mixture faster. Substitute: rose water or witch hazel for extra skincare benefits.
- Vegetable glycerin (½ to 1 teaspoon). Glycerin is a natural humectant, which means it pulls moisture into your skin and helps makeup cling nicely. Substitute: a teaspoon of aloe vera gel works well too.
- Aloe vera gel (1 teaspoon). This soothes skin and adds a light hold. Substitute: skip it if you have very oily skin, or double the glycerin instead.
- A few drops of essential oil (optional). This adds a pleasant scent and a touch of skincare power. Lavender, chamomile, or tea tree are popular picks. Substitute: leave it out entirely for a fragrance-free version.
- Witch hazel (1 teaspoon, optional). Great for oily or acne-prone skin since it helps control shine. Substitute: skip for dry skin, as it can feel drying.
A quick safety note: Always do a patch test before spraying anything new on your face. Dab a small amount on your inner arm and wait 24 hours to check for redness or irritation. This is especially important with essential oils, which can be strong. If anything stings or itches, rinse it off and skip that ingredient.
Tools and Containers
You don’t need fancy equipment here. Gather these basics:
- A small fine-mist spray bottle (2 to 4 ounces works great). A fine mist gives even coverage without soaking your makeup.
- A clean measuring spoon
- A small funnel (handy but not required)
- A clean bowl or cup for mixing
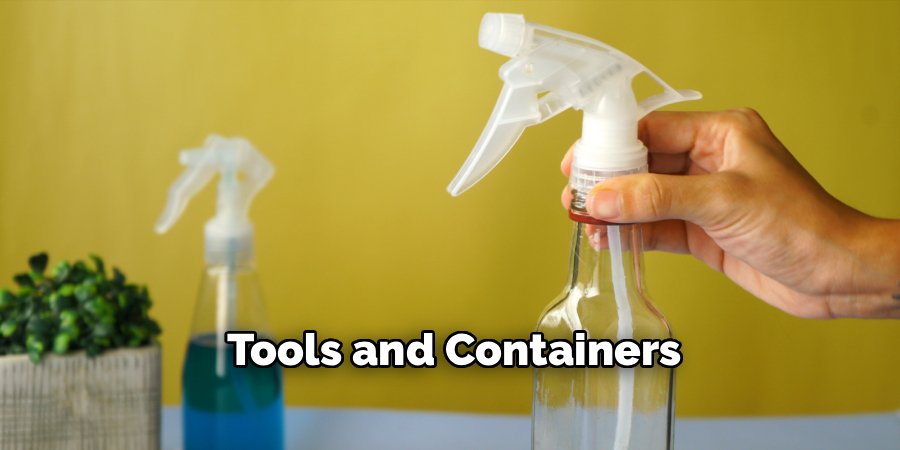
Make sure everything is sparkling clean. Wash your bottle with hot, soapy water and let it dry completely before you start. Clean tools help your spray last longer and keep bacteria out.
Step-by-Step Guide on How to Make Setting Spray
Ready to mix your first batch? Follow these easy steps.
- Sanitize your bottle. Rinse your spray bottle with hot water and let it air dry fully. Any leftover residue or moisture can shorten your spray’s shelf life.
- Measure your water. Pour ½ cup of distilled water into your mixing bowl. This is your base, so start here.
- Add the glycerin. Stir in ½ to 1 teaspoon of vegetable glycerin. Start with less if you have oily skin and more if your skin runs dry.
- Mix in the aloe vera. Add 1 teaspoon of aloe vera gel and stir until it blends smoothly with the water.
- Include your optional extras. If you’re using witch hazel, add it now. This step is where you tailor the formula to your skin type.
- Add essential oils last. Drop in 2 to 4 drops of your chosen oil, if using. A little goes a long way, so don’t overdo it.
- Stir well. Mix everything together until it looks uniform and slightly cloudy.
- Pour into your bottle. Use your funnel to transfer the liquid into your spray bottle. Screw the top on tightly.
- Shake before use. Give it a good shake each time, since natural ingredients can separate. Hold the bottle about 8 to 10 inches from your face and spritz two or three times in an “X” and “T” motion for even coverage.
Let your face air dry for a minute, and you’re done. Your makeup should feel locked in and look fresh.
Customization Ideas
The best part of a DIY mist is making it your own. Here are some fun ways to tweak the formula.
For Scent
- Calming: Add lavender or chamomile essential oil for a relaxing vibe.
- Fresh and clean: Try a drop of peppermint or eucalyptus for a cooling spritz.
- Fragrance-free: Simply leave oils out. This is the safest choice for sensitive skin.
For Finish
- Dewy glow: Add an extra ½ teaspoon of glycerin or a splash of rose water for that radiant, lit-from-within look.
- Matte finish: Increase the witch hazel slightly to cut down on shine. This is ideal if your skin gets oily by midday.
- Natural finish: Stick with the base recipe for a balanced, no-fuss result.
For Skin Type
- Dry skin: Boost the aloe vera and glycerin, and skip the witch hazel entirely.
- Oily skin: Lean on witch hazel and go light on glycerin.
- Sensitive skin: Keep it minimal. Distilled water, a touch of aloe, and no essential oils is your safest bet.
Play around with small batches until you find your perfect blend. Jot down what you use so you can recreate your favorite version.
Storage and Shelf Life

Because homemade sprays skip the preservatives found in store-bought bottles, they don’t last forever. Here’s how to keep yours fresh and safe.
- Store it in the fridge. The cool temperature slows bacteria growth and gives you a refreshing chilled mist. Bonus: a cold spritz feels amazing on hot days.
- Use it within 1 to 2 weeks. Without preservatives, natural ingredients spoil quickly. Making small batches means you always have a fresh supply.
- Watch for warning signs. Toss your spray right away if you notice:
- A funky or sour smell
- Cloudiness or floating bits (beyond the normal light haze)
- Any sign of mold or slime
- Keep it out of sunlight. Store your bottle in a cool, dark spot when it’s not in the fridge. Heat and light break down the ingredients faster.
- Label your bottle. Write the date you made it right on the container. That way you’ll never guess whether it’s still good.
When in doubt, throw it out and mix a fresh batch. It only takes a few minutes, and your skin will thank you.
Frequently Asked Questions
Can I make setting spray without alcohol?
Absolutely. This recipe is naturally alcohol-free, which makes it gentler on your skin. Many drugstore sprays use alcohol to speed up drying, but it can be harsh and drying over time. Your homemade version relies on glycerin and aloe instead, so it hydrates while it holds your makeup in place.
How long does homemade setting spray last on your face?
A DIY mist typically keeps your makeup fresh for four to six hours, though this varies with your skin type and the weather. If you have oily skin or live somewhere humid, you may want to reapply midday. Adding a bit more glycerin can improve the staying power for most people.
Is DIY setting spray safe for sensitive skin?
It can be, as long as you keep the formula simple and skip potential irritants like essential oils. Stick to distilled water and a little aloe vera for the gentlest blend. Always patch test first, and stop using it if you notice any redness, itching, or discomfort.
What can I use instead of a setting spray?
If you’re out of mist, a light dusting of translucent setting powder helps hold your makeup in place. A quick spritz of plain rose water can also refresh your look in a pinch. Still, a proper fixing spray gives the longest-lasting results, so it’s worth mixing up a batch.
Final Thoughts
Making your own setting spray puts you in control of your beauty routine, your budget, and exactly what goes on your skin. Start with the simple base recipe, then experiment with scents and finishes until you land on your signature blend.
Grab a spray bottle, mix up your first batch today, and enjoy makeup that stays fresh from your morning coffee to your evening plans.
