
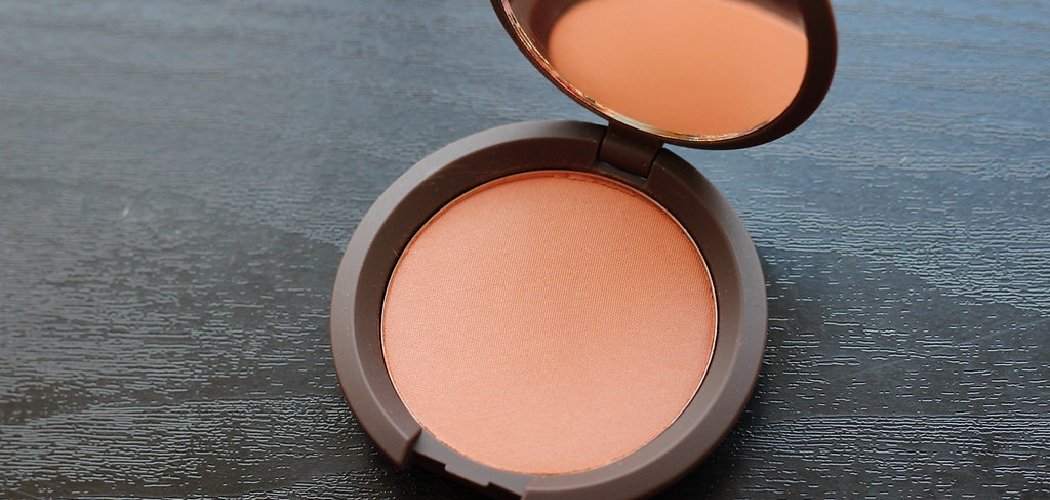
Learning how to apply powder blush is simple: smile, sweep the color onto the apples of your cheeks (the round parts that lift when you grin), then blend upward toward your temples. Use a fluffy brush, tap off any excess, and build the color slowly for a natural flush. That’s the quick version—but if you want that lit-from-within glow that actually lasts all day, keep reading.
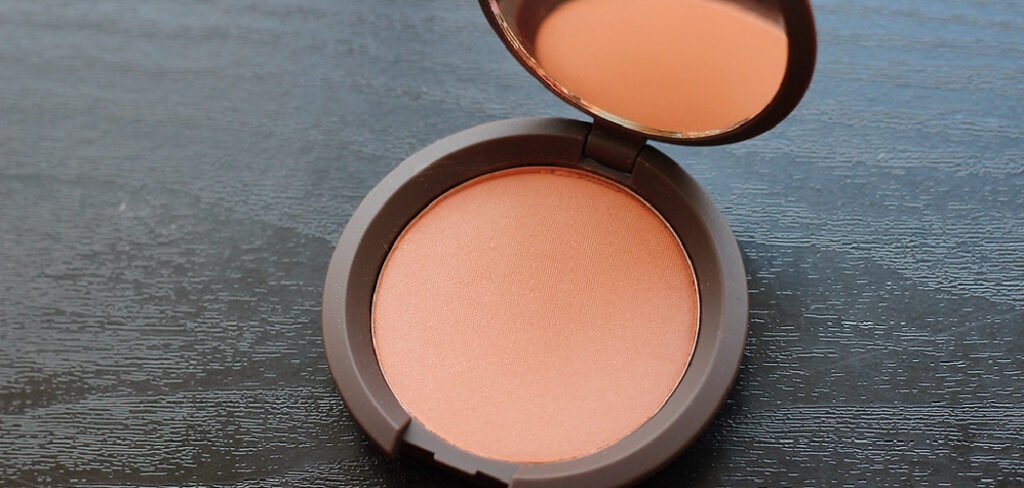
Powder blush is one of the easiest ways to instantly look more awake and healthy. It works for beginners and makeup lovers alike, and once you nail the placement, you’ll wonder how you ever skipped it. Let’s break it down step by step.
What You’ll Need
Before you start, gather a few basics. Good tools make a huge difference here—a proper brush is honestly half the battle.
- Powder blush — pick a shade that matches your natural flush. Pinks and peaches suit most skin tones, while berries and bricks flatter deeper complexions.
- Fluffy blush brush — a soft, dome-shaped brush gives the most seamless, diffused finish.
- Angled blush brush (optional) — great for more precise, sculpted placement along the cheekbones.
- Setting powder — helps blush grip and last, especially on oily skin.
- Setting spray — a light mist locks everything in and melts away any powdery look.
- Mirror with good lighting — natural daylight is your best friend for checking color.
A quick tip: you don’t need every item on this list. A single blush and one decent brush will get you 90% of the way there.
8 Step-by-Step: How to Apply Powder Blush
Step 1: Prep Your Skin
Blush always looks better on a smooth base. Apply your usual foundation or tinted moisturizer first, then let it settle for a minute.
If you have oily skin, dust a little setting powder over your cheeks. This gives the blush something to hold onto and stops it from sliding off by lunchtime.
Step 2: Choose the Right Shade
Match your blush to the color your cheeks turn naturally when you’re flushed—after a workout or a good laugh. That shade will always look believable on you.
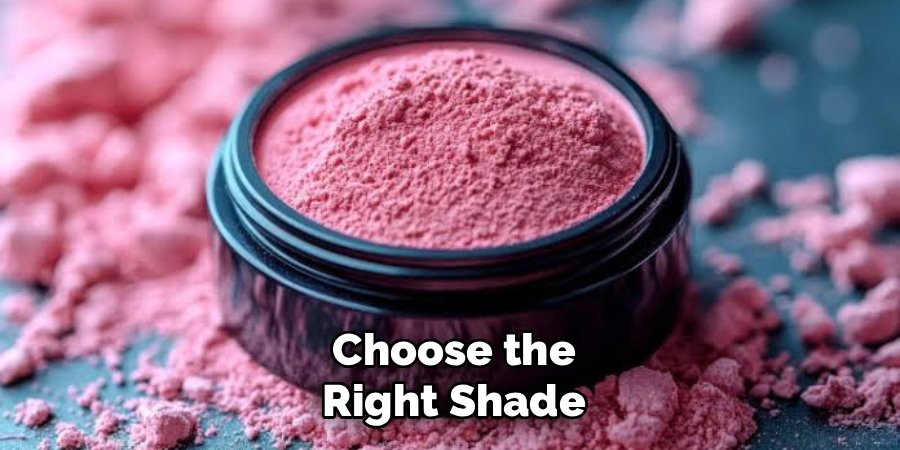
Fair skin tones glow with soft pinks and peaches. Medium tones can handle warm corals and rosy hues. Deeper skin looks stunning in rich berries, bricks, and terracotta shades.
Step 3: Load Your Brush Correctly
Swirl your fluffy brush lightly into the blush. You want just a little product—less than you think.
Now tap the brush handle against the edge of your sink or a tissue to knock off the excess. This one move prevents those harsh clown-cheek stripes we’ve all done at least once.
Step 4: Find the Apples of Your Cheeks
Smile in the mirror. See those round, raised parts of your cheeks? Those are the “apples,” and they’re your starting point.
Placing color here gives you that youthful, healthy flush. Don’t overthink it—your face literally shows you where to go when you smile.
Step 5: Apply With Light, Sweeping Motions
Gently sweep the brush onto the apple of your cheek, then blend the color upward and back toward your temple (the flat area beside your eye).
Use soft, feathery strokes rather than pressing hard. Think of it as painting with a whisper, not a paint roller.
Step 6: Build the Color Gradually
Start light, then add more if you want. It’s far easier to layer on extra color than to scrub off too much.
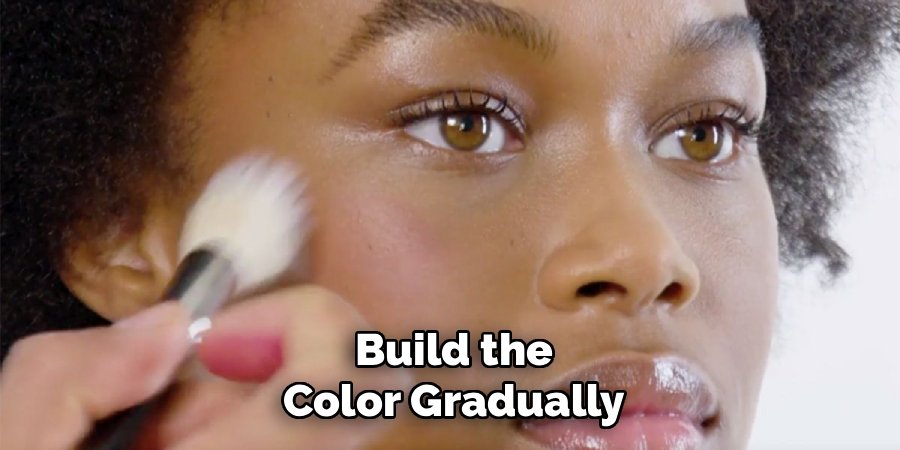
Apply one thin layer, check it in the mirror, and repeat if needed. Two soft passes almost always look better than one heavy one.
Step 7: Blend Out Any Hard Edges
Take whatever product is left on your brush (or a clean fluffy brush) and buff gently around the edges of the color. You’re looking for a smooth fade with no visible lines.
Blending is what separates “I know what I’m doing” from “I got dressed in the dark.” Take your extra ten seconds here—it’s worth it.
Step 8: Set and Finish
Once you’re happy with both cheeks, mist a little setting spray over your face to lock everything in. “Setting” just means helping your makeup stay put longer.
Let it dry naturally instead of fanning or touching it. Now step into good light and admire that fresh, glowy flush.
Pro Tips for a Flawless Flush
These little tricks take your blush from fine to genuinely flattering:
- Warm up your brush first. Swirl it on the back of your hand before touching your face. This distributes the powder evenly and prevents patchy application.
- Match blush to your blush technique. For a lifted look, angle the color slightly up toward your temples rather than dragging it down toward your jaw.
- Layer blush over cream products. If you use a cream blush underneath, a powder blush on top makes the color last dramatically longer.
- Mind your undertone. Cool-toned skin loves blue-based pinks and berries, while warm-toned skin glows with peachy and coral shades.
- Less is more in photos. Cameras can wash out color, but it’s still safer to build slowly than to overdo it and regret it later.
Common Mistakes to Avoid
Even simple steps can go sideways. Here are the slip-ups that trip people up most often—and how to dodge them.
Using too much product at once. Overloading your brush is the number one blush mistake. Always tap off the excess before it touches your skin.
Placing blush too low. Color applied near your jawline or too far down can drag your face down visually. Keep it on the apples and cheekbones, sweeping upward.
Skipping the blend. A harsh stripe of color looks unfinished. Always buff the edges for a soft, natural fade.
Choosing the wrong shade. A blush that’s too bright or the wrong undertone can look muddy or unnatural. When in doubt, go softer and warmer.
Applying before foundation dries. If your base is still wet, the blush will grab unevenly and look blotchy. Give your foundation a moment to set first.
Frequently Asked Questions
Where exactly should you apply powder blush?
Apply it to the apples of your cheeks—the rounded parts that lift when you smile—then blend upward and back toward your temples. This placement gives the most natural, lifted, and youthful effect. Avoid going too low near your jaw, as that can pull your features down.
Do you apply powder blush before or after foundation?
Apply powder blush after your foundation and concealer, since powder products layer best over a finished base. If you’re using a cream or liquid blush, that goes on before setting powder, and powder blush can then be layered on top to boost longevity.
How do you make powder blush last all day?
Start with a smooth, set base, then layer your powder blush over a cream blush for extra staying power. Finish with a light mist of setting spray to lock the color in. Choosing a long-wear or buildable blush formula also helps the color survive a full day.
How much powder blush should you use?
Use less than you think you need. Load a small amount onto your brush, tap off the excess, and build the color in thin layers. It’s always easier to add more than to remove a heavy application, so start light and go slowly.
Ready to glow? Grab your favorite blush and brush, and give your cheeks that fresh, healthy flush today.
