
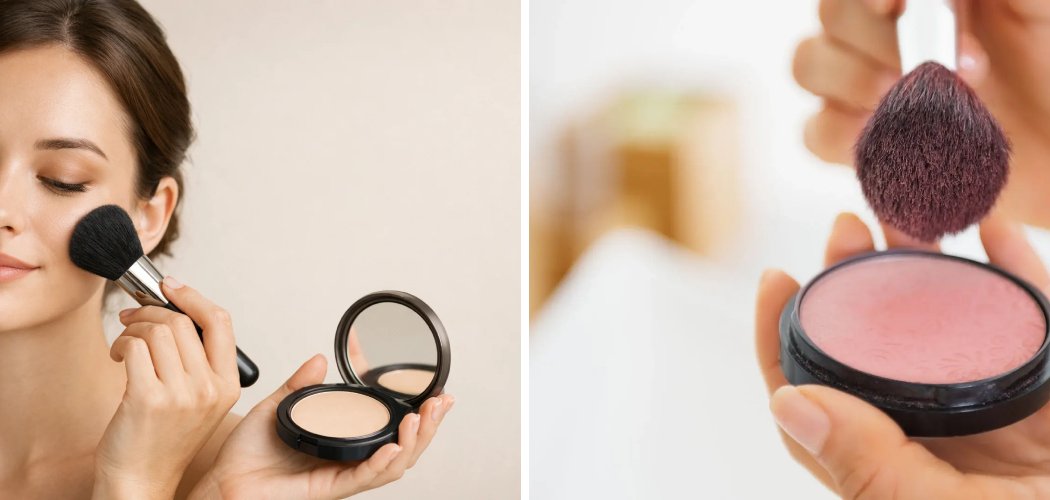
Want to know how to apply compact powder the right way? Press the powder onto your skin with a puff or brush, focus it where you get oily, and always start with a light layer you can build up. Done well, compact powder sets your makeup, cuts shine, and leaves a smooth, natural finish that lasts all day.
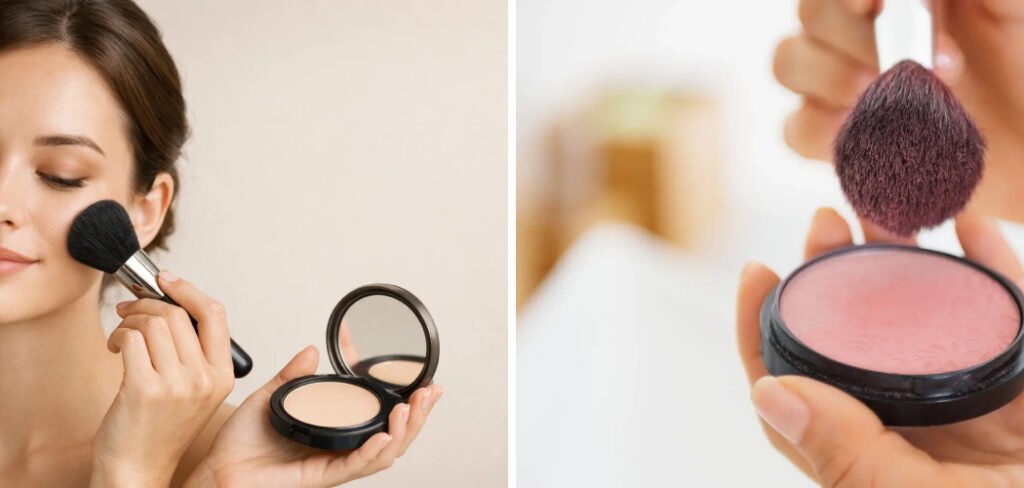
Below, I’ll walk you through it step by step, like a friend showing you the tricks over coffee. No confusing pro talk, just the moves that actually work.
Why Compact Powder Matters in Your Routine
Compact powder is a pressed powder that comes in a handy little case, usually with a mirror and a puff. It “sets” your makeup, meaning it locks liquid products like foundation in place so they don’t slide or smudge.
It also mattifies, which just means it soaks up excess oil to stop that midday shine. Whether you use it over foundation or on bare skin, the technique makes all the difference between a flawless look and a cakey one.
What You’ll Need
Gather these before you start. You don’t need everything, but a good powder and one application tool are the essentials.
- Compact Powder — pick a pressed powder that matches your skin tone; shade “translucent” (colorless) works for setting without adding coverage
- A Powder Puff — the soft round pad often tucked inside the compact, best for pressing powder in
- A Fluffy Powder Brush — big and soft, for a lighter, sheer application
- A Damp Makeup Sponge — optional, for the smoothest, most skin-like finish
- A Setting Spray — a fine mist that melts powder into the skin and stops it looking dry
- A Small Fluffy Brush — for dusting off any excess at the end
- A Clean Tissue or Blotting Paper — to remove extra oil before you powder
Keep a hand mirror nearby too, especially if your compact’s built-in one is tiny.
How to Apply Compact Powder: 8 Step-by-Step
Follow these in order. Each step builds on the last, so try not to skip ahead.
1. Prep Your Skin First
Start with clean, moisturized skin. If you wear foundation or concealer, apply that first and let it settle for a minute.
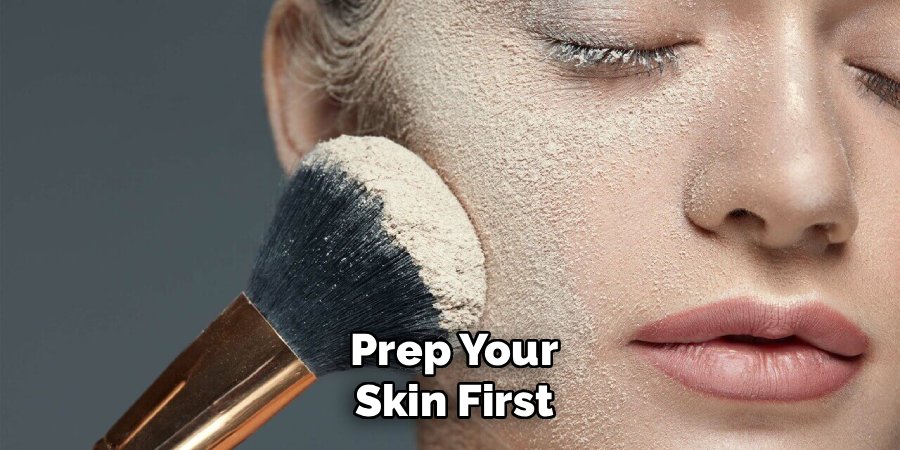
Powder always goes on top of your liquid or cream products, never under them. Putting it over damp foundation helps it grab on and stay put.
If your skin looks very shiny, gently press a tissue or blotting paper over your face to soak up oil before you begin.
Safety note: If you’re trying a new compact powder, do a quick patch test first. Dab a little on your inner arm or jaw and wait 24 hours to check for any redness or irritation, especially if you have sensitive skin. This is general beauty caution, not medical advice.
2. Tap the Right Amount Onto Your Tool
Swirl your powder puff or fluffy powder brush gently across the surface of the compact. Pick up a small amount, then tap off the excess on the edge of the case or the back of your hand.
Less is always more here. It’s far easier to add another layer than to scrub off a chalky, overloaded one.
Load the puff evenly so you don’t end up with one super-powdered patch.
3. Press, Don’t Sweep, in the T-Zone
Your T-zone is the strip across your forehead and down your nose and chin, the area that usually gets oiliest.
Press the powder onto this zone using a gentle rolling or patting motion. Pressing pushes the powder into the skin and sets your makeup better than sweeping, which can drag foundation around and leave streaks.
Work the puff softly and let the powder cling where you need it most.
4. Lightly Dust the Rest of Your Face
For your cheeks and the outer edges of your face, switch to a light touch. These areas usually stay drier, so they need less product.
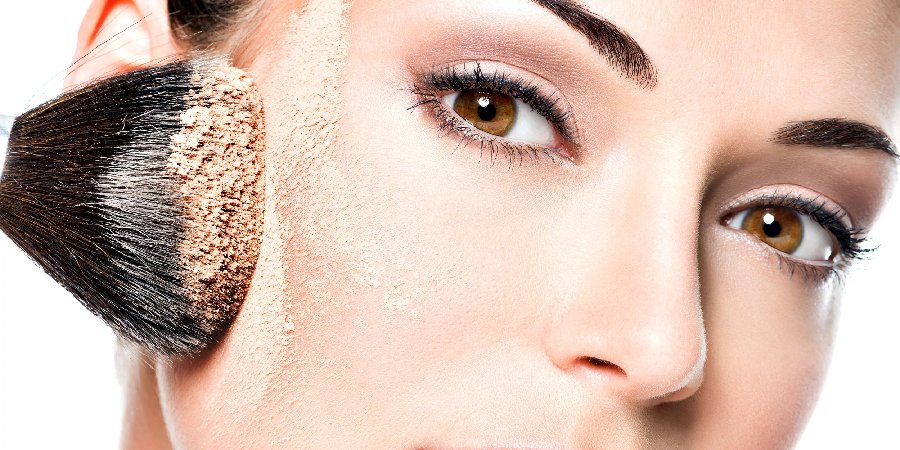
If you loaded a brush, sweep it in soft downward strokes. Downward motions lie the tiny facial hairs flat, keeping your skin looking smooth rather than fuzzy.
Go easy around the eyes and any dry patches, since powder can settle into fine lines there.
5. Set Under-Eye Concealer Gently
If you wear concealer under your eyes, tap a tiny bit of powder there with your puff or a small brush. This stops it creasing (folding into little lines) throughout the day.
Use the smallest amount you can. This skin is thin and delicate, so heavy powder here can look dry and emphasize wrinkles.
A quick, light press is all you need.
6. Check and Blend in Good Light
Step over to a window or bright mirror and take a proper look. Turn your head side to side to catch any powdery patches or lines.
If you spot uneven spots, buff them out with a clean small fluffy brush using tiny circular motions. This melts everything together for a seamless finish.
Natural daylight shows the truth far better than dim bathroom bulbs.
7. Dust Off Any Excess
Take a clean, dry brush and lightly flick away any leftover powder sitting on the surface. This removes that heavy, flat look and brings back a bit of your skin’s natural glow.
Pay attention to the sides of your nose and your hairline, where powder loves to build up.
Your face should feel soft, not dusty.
8. Mist With Setting Spray to Finish
Hold your setting spray about eight inches from your face and mist once or twice in an X and T shape.
This melts the powder into your skin so it looks like skin again, not a mask. It also helps everything last longer without fading.
Let it dry on its own rather than fanning or touching your face. You’re done.
Pro Tips for a Flawless Finish
Little tweaks make a big difference. Keep these handy.
- Match your finish to your skin type. Oily skin loves a mattifying powder, while dry skin looks better with a light dusting of translucent powder and plenty of setting spray afterward.
- Warm the powder with your puff. Press the puff into the powder and rub it against itself for a second. This picks up product more evenly and helps it blend into the skin.
- Use a damp sponge for extra-smooth results. A slightly damp makeup sponge pressed lightly over powder gives the most natural, second-skin look, perfect for photos or events.
- Carry your compact for touch-ups. That’s the whole point of the little case. A quick press over shiny spots at lunchtime keeps you fresh without redoing your makeup.
- Blot before you powder, not after. Soaking up oil with a tissue first means you’ll need way less powder, which prevents that cakey buildup.
Common Mistakes to Avoid
Even a great powder can go wrong with these slip-ups. Here’s what to watch for.
- Using too much product. This is the number one cause of a heavy, cakey look. Always tap off the excess and build in thin layers.
- Sweeping instead of pressing. Dragging the puff can move your foundation and leave streaks. Press and roll for the best set.
- Powdering dry patches. Powder clings to flaky skin and makes it more obvious. Skip or barely touch those areas, and moisturize well beforehand.
- Applying to bare, unprepped skin. Without a little moisturizer or foundation underneath, powder can look dusty and sit unevenly.
- Ignoring the under-eye area’s limits. Too much powder here settles into lines and ages the look. A whisper of product is plenty.
- Skipping setting spray. That final mist is what turns a powdery finish into a natural, skin-like one. Don’t leave it out if you have it.
Frequently Asked Questions
Do you apply compact powder before or after foundation?
Always after. Foundation and concealer are liquid or cream products that go on first, then compact powder sets them on top so they stay put and don’t get shiny. If you’re skipping foundation, you can wear compact powder on its own over moisturized skin for light coverage.
How do I apply compact powder without it looking cakey?
Use a small amount, tap off the excess, and press it in rather than sweeping. Focus the powder on your oily T-zone and go light everywhere else. Finish with a setting spray to melt it into your skin, and dust off any leftover powder with a clean brush for a natural result.
Is it better to apply compact powder with a brush or a sponge?
It depends on the finish you want. A puff or sponge presses powder in for stronger staying power and fuller coverage, great for oily skin. A fluffy brush gives a lighter, sheerer dusting that suits dry or mature skin. Many people keep both and switch based on the day.
How often can I touch up with compact powder during the day?
As often as you need, though blotting away oil with a tissue first means you’ll use less each time. One or two light presses over shiny areas is usually enough. Piling on more powder without blotting first is what leads to buildup by the afternoon.
Ready to Set Your Look
That’s the whole formula: prep, press, dust off, and mist. Grab your compact and try it tomorrow morning, and enjoy that smooth, shine-free finish all day long.
