
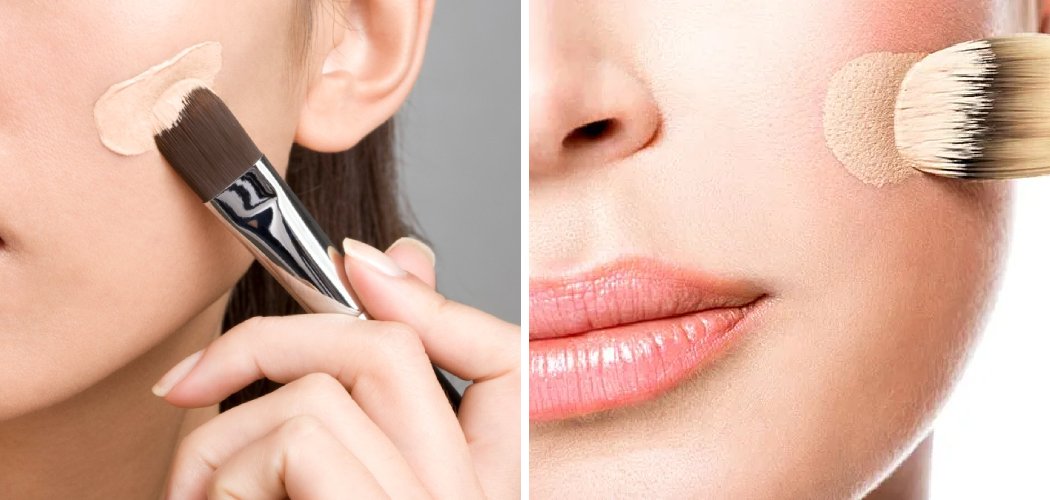
To apply liquid foundation, start with clean, moisturized skin and a thin layer of primer, then dot small amounts of foundation across your face and blend outward using a damp makeup sponge or brush. Build coverage in thin layers, set with powder, and you’ll have a smooth, natural finish that lasts all day.
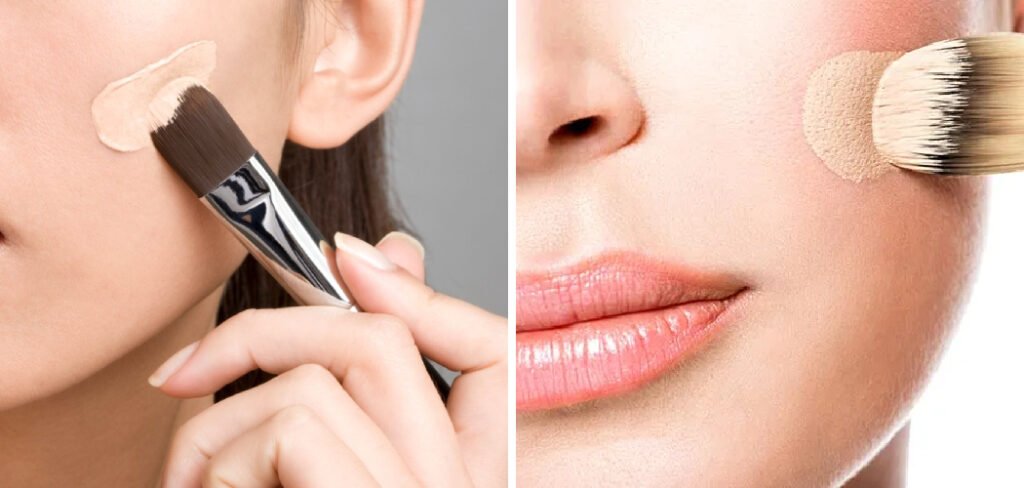
Getting that flawless base isn’t about caking on product — it’s about technique. Once you nail the right steps, liquid foundation becomes one of the easiest parts of your routine. Let’s walk through exactly how to apply liquid foundation.
Why Liquid Foundation Is Worth Mastering
Liquid foundation is the most versatile base out there. It suits nearly every skin type, comes in a huge shade range, and can be sheer or full coverage depending on how you apply it.
But here’s the thing — the same bottle can look glowy and natural or heavy and patchy. The difference comes down to prep, product amount, and the tools you use. Master those, and you’ll wonder why you ever struggled.
The good news? You don’t need pro-level skills. You just need the right approach and a little practice.
What You’ll Need
Before you start, gather your tools and products. You don’t need everything on this list, but each one helps you get a smoother result.
- Facial moisturizer — hydrated skin helps foundation glide on evenly instead of clinging to dry patches.
- Face primer — a thin base layer that smooths texture and helps makeup last longer.
- Liquid foundation — pick a shade that matches your jawline and a finish (matte, dewy, or natural) that suits your skin type.
- Beauty blender (makeup sponge) — a soft, egg-shaped sponge that gives an airbrushed, skin-like finish.
- Foundation brush — a flat or buffing brush for fuller coverage and faster application.
- Setting powder — a fine powder that “sets” your foundation so it doesn’t slide or crease.
- Setting spray — a light mist that locks everything in place at the end.
- Concealer — optional, for extra coverage under the eyes or over blemishes.
A quick note on tools: sponges give a natural, sheer look, while brushes build heavier coverage. Many people keep both on hand and switch depending on the day.
How to Apply Liquid Foundation: 9 Step-by-Step
Follow these steps in order for the smoothest, longest-lasting base. Don’t rush the prep — it makes all the difference.
Step 1: Start With Clean, Prepped Skin
Wash your face and pat it dry. Starting with a clean canvas stops foundation from mixing with oil or leftover product and looking patchy.
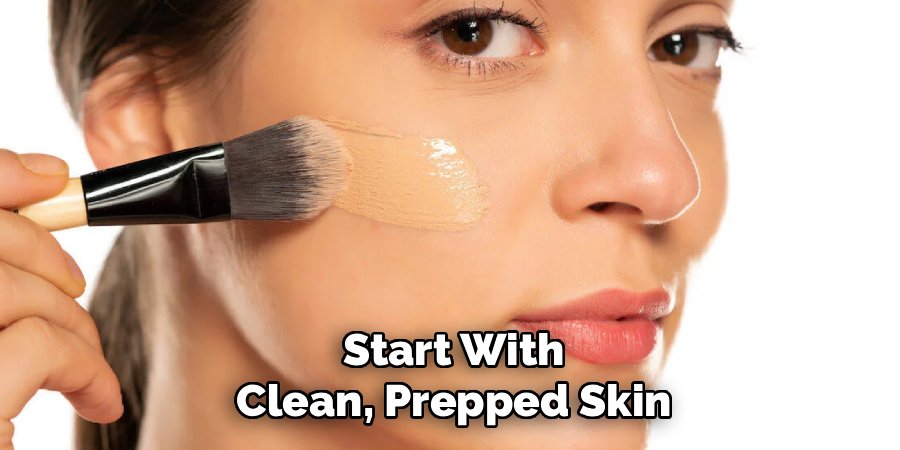
Give your skin a minute to settle before moving on. A fresh base is the foundation of a flawless finish (pun intended).
Step 2: Moisturize and Let It Absorb
Apply a light layer of facial moisturizer and wait a few minutes for it to sink in. Even oily skin needs hydration — skipping this step is why foundation often looks dry or flaky.
If you apply foundation over wet moisturizer, it’ll slide around and won’t grip properly. Patience here pays off.
Step 3: Apply Primer
Smooth a pea-sized amount of face primer over your face, focusing on your T-zone (forehead, nose, and chin) and any areas with visible pores or fine lines.
Primer creates a grippy, smooth surface so your foundation lasts longer and blends more easily. Let it set for about a minute before the next step.
Patch-test caution: Trying a new foundation or primer? Dab a small amount on your inner wrist or jaw and wait 24 hours to check for redness, itching, or irritation. This is general beauty guidance only — if you have sensitive skin or a known allergy, skip that product and check with a professional if irritation persists.
Step 4: Dot Foundation Across Your Face
Shake your liquid foundation well, then dispense a small amount — about the size of a coin — onto the back of your hand. Using clean fingers or a brush, dot it in small spots across your forehead, cheeks, nose, and chin.
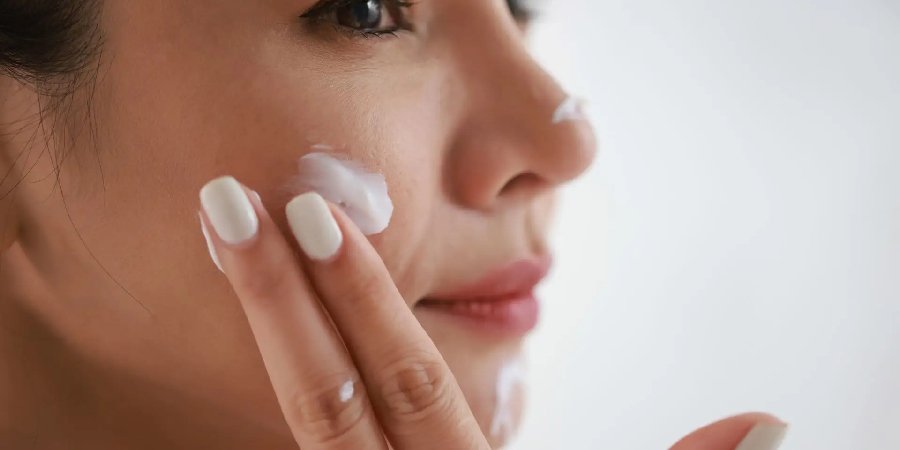
Placing it in sections helps you spread it evenly instead of dumping it all in one spot. Start with less than you think you need. You can always add more.
Step 5: Blend With a Damp Sponge or Brush
If you’re using a beauty blender, dampen it with water and squeeze out the excess so it’s bouncy, not soggy. Bounce it gently over your skin using a light stippling (dabbing) motion — don’t drag or wipe.
Prefer a foundation brush? Use short buffing strokes in circular motions to press the product into your skin. Either way, blend outward from the center of your face toward your hairline and jaw.
Step 6: Blend Down Your Neck
Extend the foundation lightly down toward your jawline and the top of your neck. This prevents that harsh line where your face color stops and your neck color begins.
You don’t need extra product here — just use what’s left on your sponge or brush. A seamless transition looks the most natural.
Step 7: Build Coverage Where Needed
Look in the mirror and add a second thin layer only where you want more coverage, like over redness or blemishes. Layering thin amounts always looks better than one thick coat.
For spots that need extra help, dab on a little concealer and blend the edges with your sponge. Focus coverage where you need it rather than all over.
Step 8: Set With Powder
Lightly dust setting powder over your T-zone and any areas that get oily or crease, like under the eyes. Use a fluffy brush and a light hand — too much powder can look cakey.
Setting your foundation keeps it from sliding, especially if you have oily skin or a long day ahead.
Step 9: Lock It In With Setting Spray
Finish with a few spritzes of setting spray, holding the bottle about eight inches from your face. This melts the powdery finish into your skin and helps everything stay put.
Let it dry naturally without touching your face. Now your base is complete and ready for the rest of your makeup.
Pro Tips for a Flawless Finish
Small tweaks can take your foundation from good to genuinely flawless. Keep these in mind:
- Match your shade in natural light. Test foundation on your jawline, not your hand or wrist. Your face and neck should look like one seamless color, and store lighting can trick you.
- Warm the product first. A quick dot on the back of your hand lets the foundation warm slightly, which helps it blend more smoothly onto your skin.
- Keep your sponge damp, not wet. A properly dampened sponge absorbs less product and gives that coveted airbrushed look. A dry sponge soaks up too much foundation.
- Layer thin, build slowly. Full coverage comes from multiple thin layers, not one heavy application. This keeps your skin looking like skin.
- Choose your finish by skin type. Dewy formulas suit dry skin, while matte or oil-control formulas work best for oily skin. The right formula does half the work for you.
Common Mistakes to Avoid
Even seasoned makeup lovers slip up sometimes. Watch out for these common foundation fails:
- Skipping skincare prep. Applying foundation on dry, unmoisturized skin makes it flake and settle into fine lines. Always moisturize first.
- Using too much product. More foundation doesn’t mean better coverage — it just looks heavy and cakey. Start small and build.
- Ignoring your neck. A face that’s noticeably lighter or darker than your neck is a dead giveaway. Blend down and out.
- Dragging your sponge or brush. Wiping motions move product around and leave streaks. Bounce and buff instead.
- Applying powder everywhere. Setting powder belongs on oily zones, not your whole face. Over-powdering flattens that natural glow.
- Forgetting to shake the bottle. Liquid foundation can separate, so a good shake ensures even color and texture.
Frequently Asked Questions
What is the best way to apply liquid foundation for a natural look?
The most natural finish comes from a damp makeup sponge used with a light bouncing motion. Start with well-moisturized, primed skin, dot on a small amount of foundation, and blend it in thin layers rather than one heavy coat. A damp sponge sheers out the product and presses it into your skin, giving that soft, skin-like glow instead of a mask effect. Build coverage only where you need it, and finish with a light dusting of powder just on oily areas.
Should you apply liquid foundation with a brush or a sponge?
It depends on the look you’re after. A sponge gives a lighter, dewy, airbrushed finish because it absorbs some product and blends it seamlessly into your skin. A brush, on the other hand, deposits more product for fuller, longer-lasting coverage and works faster. Many people use a brush to apply and a damp sponge to blend and refine — the best of both worlds. Try each and see which feels right for your skin and routine.
How much liquid foundation should you use on your face?
Less than you probably think. A coin-sized amount is usually enough to cover the whole face, since layering thin amounts looks far better than one thick application. If you need more coverage in certain spots, add small amounts only where necessary rather than piling it on everywhere. Using too much is the fastest way to end up with a cakey, heavy finish that settles into lines.
Do you put liquid foundation on before or after concealer?
In most cases, foundation goes on first, then concealer. Applying foundation first evens out your overall skin tone, which often means you need less concealer afterward. Once your base is down, spot-conceal any areas that still need extra coverage, like under the eyes or over blemishes, and blend the edges gently. This layered approach keeps your makeup looking light and natural rather than overdone.
Ready to nail that flawless base? Grab your favorite foundation and give this step-by-step a try — your smoothest skin days start now.
