
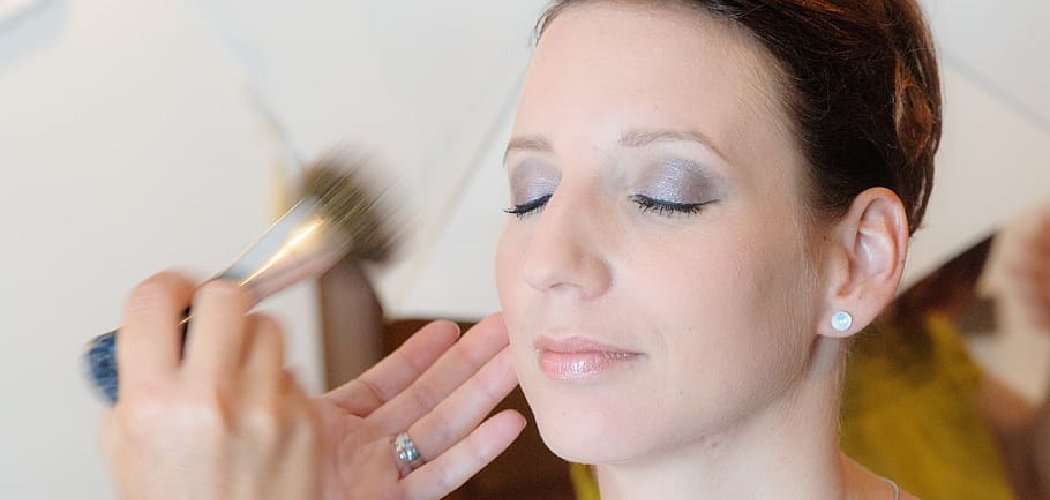
To apply liquid highlighter, dab a few small dots onto the high points of your face — the tops of your cheekbones, brow bones, and the bridge of your nose — then blend gently with a damp sponge or your fingertip until it melts into your skin. The goal is a soft, lit-from-within glow, not obvious streaks. Work in thin layers and build up slowly for the most natural, radiant finish.
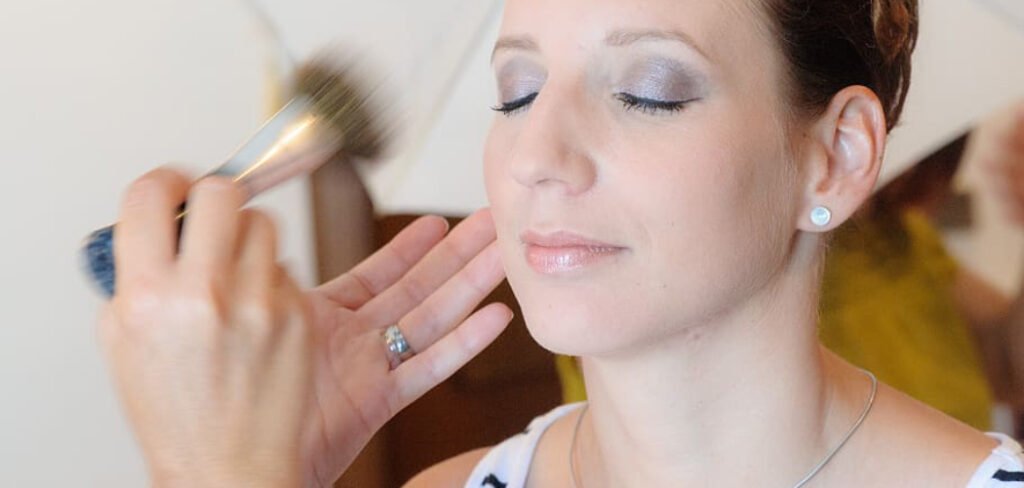
Liquid highlighter is one of the easiest ways to add a fresh, dewy glow to your makeup routine. Unlike powder, it blends right into your skin for a look that reads more like healthy radiance than shimmer sitting on top. Once you learn where to place it and how to apply liquid highlighter, you’ll reach for it every single day. Let’s break it all down step by step.
What You’ll Need
You don’t need a huge kit to nail this look. Here’s everything that’ll make application smooth and easy.
- Liquid highlighter — pick a shade that flatters your skin tone (more on shade choices below).
- A damp makeup sponge — a Beautyblender-style sponge is perfect for pressing highlighter into the skin seamlessly.
- A small fluffy blending brush — a fan brush or a small highlighter brush gives you precise placement.
- Your fingertips — the warmth of your fingers helps melt liquid highlighter right into your skin.
- A hydrating primer (optional) — a glow primer creates a smooth canvas and boosts radiance.
- Setting spray (optional) — a light mist locks everything in without dulling the shine.
- Liquid or cream foundation — liquid highlighter layers best over creamy, dewy bases.
Keep your tools clean and, if you’re using a sponge, dampen it before you start. A slightly damp sponge blends liquid products far better than a dry one.
How to Apply Liquid Highlighter: 8 Step by Step
Follow these steps in order for a glow that looks effortless. Don’t rush the blending — that’s where the magic happens.
Step 1: Prep Your Skin
Start with a clean, moisturized face. Well-hydrated skin helps liquid highlighter glide on smoothly instead of clinging to dry patches.
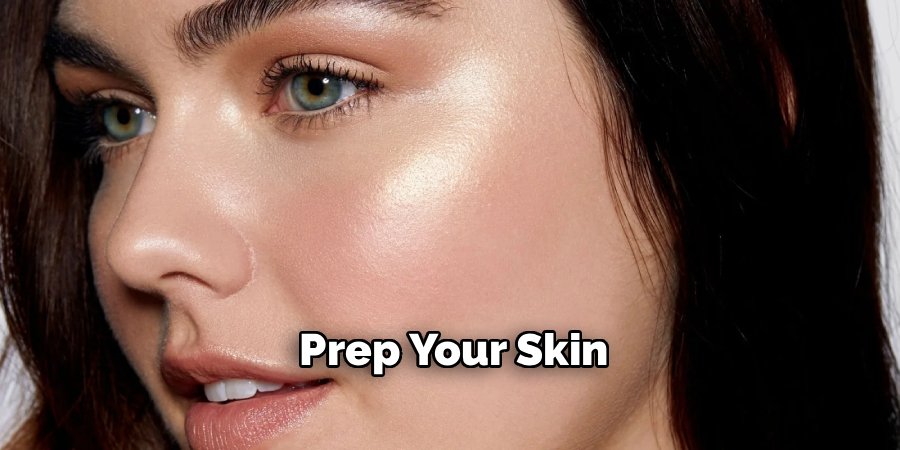
If you like, apply a hydrating or glow primer over your moisturizer. This gives the highlighter something to hold onto and makes the finish last longer.
Step 2: Apply Your Base First
Put on your foundation and concealer before you highlight. Liquid highlighter works best layered over a complexion product, not bare skin.
Choose a liquid or cream foundation if you can. These creamy formulas blend beautifully with liquid highlighter, while heavy powder bases can grab the product and look patchy.
Step 3: Find Your High Points
The high points are the areas where light naturally hits your face. Highlighting these spots creates a lifted, glowing effect.
Focus on these key areas:
- Tops of your cheekbones
- Brow bones (just under the arch of your eyebrows)
- The bridge and tip of your nose
- Cupid’s bow (the little dip above your upper lip)
- Inner corners of your eyes
You don’t have to hit every single spot. Start with your cheekbones and build from there.
Step 4: Dot the Product On
Squeeze or tap a tiny amount of highlighter onto the back of your hand first. This lets you control how much you use.

Using your fingertip, sponge, or brush, place small dots along the tops of your cheekbones. A little goes a long way, so start with less than you think you need.
Step 5: Blend With a Damp Sponge
Take your damp makeup sponge and gently press — don’t drag — over the dots of highlighter. Pressing pushes the product into your skin for a seamless, skin-like glow.
Use light bouncing motions until the edges disappear. If you drag or wipe, you’ll lift your foundation underneath and create streaks.
Step 6: Layer the Other Areas
Once your cheekbones look great, move on to the rest of your high points. Dab a tiny bit onto your brow bones, the bridge of your nose, and your cupid’s bow.
Blend each spot with your sponge or fingertip. Keep the amount small in these areas — a subtle touch looks more natural than a heavy stripe.
Step 7: Build Up Slowly
If you want more shine, add a second thin layer rather than piling on a lot at once. Thin layers blend better and prevent that cakey, obvious look.
Step back and check your glow in natural light near a window. This helps you see the true intensity before you add more.
Step 8: Set It (Optional)
If your skin tends to get oily or you want extra staying power, finish with a light mist of setting spray. Hold the bottle at arm’s length so you get a fine, even mist.
Let it dry naturally. Avoid touching your face while it sets, so you don’t smudge that fresh glow.
Safety note: When applying highlighter near your eyes or inner corners, use a clean tool and go gently. If you’re trying a new product, do a quick patch test on your inner arm and wait 24 hours to check for irritation. This is general beauty guidance only — if anything stings or causes redness, wash it off and stop using it.
Pro Tips for a Flawless Glow
These little tricks make a big difference in how your highlighter looks and lasts.
- Warm the product with your fingers. For the most natural finish, tap highlighter on with your ring finger. Your body heat helps it melt right into your skin.
- Match your shade to your skin tone. Pearl and champagne tones flatter fair skin, gold and peach suit medium tones, and bronze or rose-gold looks stunning on deep skin. The right shade looks like a natural glow rather than a frosty stripe.
- Mix it into your foundation. For an all-over lit-from-within effect, blend a drop or two of liquid highlighter into your foundation before applying. Instant radiance.
- Layer over cream, not powder. Liquid highlighter grabs onto powder and can look patchy. If you use setting powder, apply your highlighter first, then dust powder only where you need it.
- Less is more. You can always add more, but removing excess without ruining your base is tricky. Build gradually for the best result.
Common Mistakes to Avoid
A few easy slip-ups can turn a gorgeous glow into a greasy mess. Here’s what to watch for.
Using too much product. Liquid highlighter is concentrated, so a big blob quickly becomes overwhelming. Start with a tiny dot and build up.
Applying it over powder. Layering liquid over a powdery base leads to a patchy, uneven finish. Always use liquid highlighter on a creamy or bare base.
Dragging instead of pressing. Wiping the product around lifts your foundation and creates streaks. Press and bounce with a damp sponge instead.
Highlighting the wrong spots. Placing highlighter on areas that don’t catch light — like the apples of your cheeks or your jaw — can look odd. Stick to the natural high points.
Skipping the blend. Unblended dots and lines look harsh in person and even worse in photos. Take a few extra seconds to soften every edge.
Choosing the wrong shade. A highlighter that’s too light or too frosty for your skin tone will sit on top rather than glow from within. Pick a tone that complements your complexion.
Frequently Asked Questions
Where should you apply liquid highlighter on your face?
Apply liquid highlighter to the high points of your face — the areas where light naturally hits. These include the tops of your cheekbones, your brow bones, the bridge and tip of your nose, your cupid’s bow, and the inner corners of your eyes. Start with your cheekbones, then add small amounts to the other spots as needed. Keeping it on these natural high points creates a lifted, radiant look instead of an all-over shine.
Do you apply liquid highlighter before or after foundation?
Apply liquid highlighter after your foundation and concealer in most cases. It’s a complexion product that layers best over a creamy base, so building your foundation first gives it something to hold onto. If you want an all-over glow, you can also mix a drop of liquid highlighter into your foundation before applying, or use it as a base underneath for a subtle luminous effect. Just avoid layering it over powder, which can look patchy.
Can you use liquid highlighter without foundation?
Yes, you can wear liquid highlighter on bare or moisturized skin for a quick, fresh glow. Just dab a small amount onto your high points and blend it in with your fingertip or a damp sponge. Since there’s no foundation to grip it, use a light hand and press gently so you don’t disturb the product. This is a great option for a natural, no-makeup makeup look on busy days.
How do you make liquid highlighter last all day?
To help your highlighter last, start with well-moisturized skin and a smooth base. Layer it over cream products rather than powder, and build in thin layers so it doesn’t slide around. Finish with a light mist of setting spray to lock everything in without dulling the shine. If your skin gets oily, a quick dab of translucent powder in your T-zone (forehead, nose, and chin) can help, but keep it away from the highlighted areas.
Grab your favorite liquid highlighter and give these steps a try — your glowiest, most radiant skin is just a few dabs away.
