
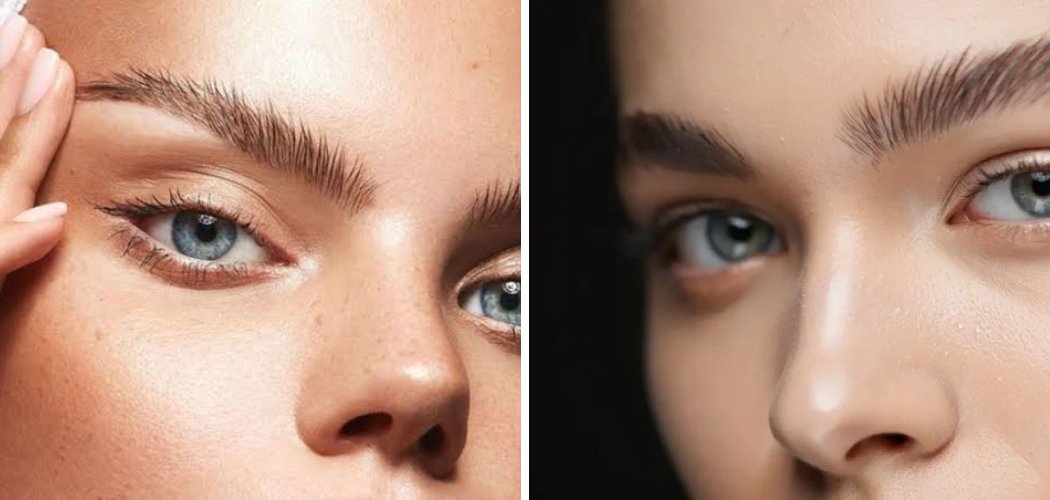
Learning how to use brow soap is easy: spritz your spoolie with a little water, swirl it into the soap to pick up product, then brush your brows up and outward to lock the hairs in a fluffy, feathered shape. As the soap dries, it sets your brows in place for a full, brushed-up look that lasts all day. In about a minute, you can turn sparse or unruly brows into the fluffy, laminated finish everyone’s after.
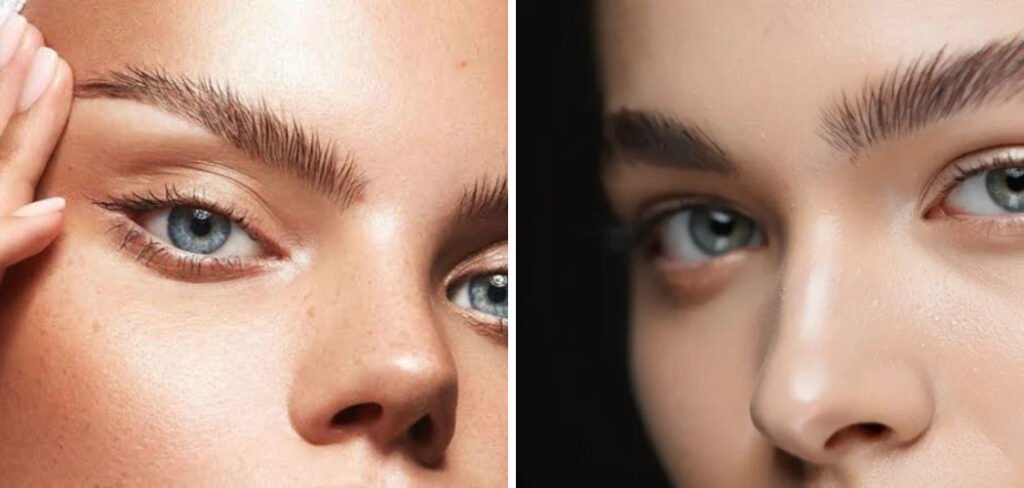
Brow soap has quietly become a beauty-bag staple, and for good reason. It fakes that pricey brow lamination look without the salon visit or the commitment. Below, you’ll find the exact steps, the tools that make it foolproof, and every fix for the little mistakes people run into.
What You’ll Need
Gather your kit first so you can work quickly while your spoolie is still damp. Here’s everything that makes the process smoother:
- Brow soap — the hero product. Look for a clear brow styling soap (sometimes labeled “soap brows” or “brow wax bar”) that comes in a small tin or pot.
- Spoolie brush — a clean spoolie (mascara-style wand) is what you’ll load the soap onto and brush through your brows.
- Spray bottle — a fine-mist water spray bottle for lightly dampening your spoolie. A few drops from a clean fingertip work too.
- Brow pencil — a fine-tip brow pencil to fill any gaps before you set the shape.
- Angled brush — an angled eyebrow brush if you want to add pomade or powder for extra definition.
- Concealer — a lightweight concealer to clean up the edges and sharpen your shape.
- Cotton swabs — handy for wiping away any stray product.
- Mirror — a magnifying makeup mirror so you can see exactly where each hair sits.
A quick heads-up on formula: since brow soap sits right near your eyes, patch-test a new product first. Dab a little on the inside of your wrist, wait a few minutes, and make sure your skin doesn’t react before brushing it near your eye area.
9 Step-by-Step: How to Use Brow Soap
Follow these in order and work while your spoolie stays damp. The soap sets as it dries, so once it’s locked in, reshaping gets tricky.
Step 1: Start With Clean, Dry Brows
Make sure your brows are free of oil, leftover makeup, or heavy moisturizer. Soap grips best on a clean surface, and any residue can keep it from holding.
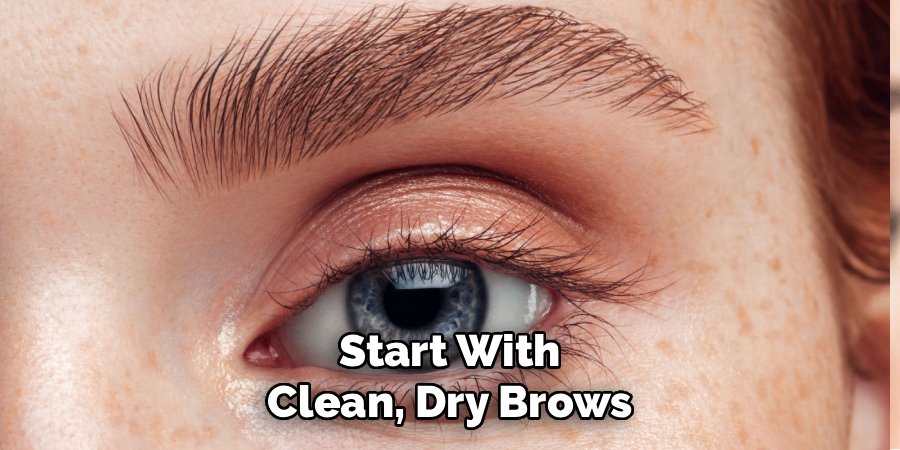
If you’ve just finished your skincare, give your brow area a minute to fully absorb. A dry base means a longer-lasting set.
Step 2: Brush Through With a Dry Spoolie
Before you touch the soap, run a dry spoolie through your brows. Brush upward and outward to see your natural shape and spot any thin areas.
This quick pass shows you where product actually needs to go. Sometimes your brows are fuller than you think and just need a good comb-through.
Step 3: Fill In Gaps First (Optional)
If you have sparse spots, use a fine-tip brow pencil to add light, hair-like strokes. Keep them short and feathery so they blend right in.
Skip this step if your brows are already full and you only want that fluffy set. Brow soap alone does wonders on naturally thick brows.
Step 4: Dampen Your Spoolie
Lightly mist your spoolie with water, or run it under the tap and shake off the excess. You want it damp, not dripping.
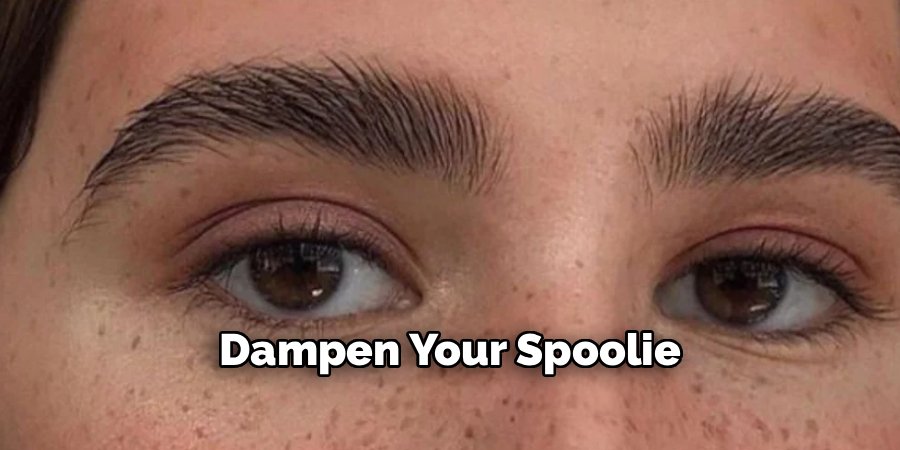
Too much water turns the soap into a runny, patchy mess. A little moisture is all it takes to activate the product.
Step 5: Swirl the Spoolie Into the Soap
Press and swirl the damp spoolie across the top of the soap a few times to load it up. You’ll see a thin, slightly cloudy film build on the bristles.
Aim for a light, even coat. If the spoolie looks caked or gloppy, wipe some off before it hits your brows.
Step 6: Brush Up and Outward
Starting at the inner corner, brush the soap through your brows in short upward strokes. Follow the direction your hair naturally grows.
As you reach the tail, angle the strokes outward toward your temple. This shapes and sets your brow in one smooth motion, giving that lifted, brushed-up effect.
Step 7: Shape, Fluff, and Feather
Once the whole brow is coated, use the spoolie tip to comb the outer hairs into a neat, tapered point. Keep sweeping the front hairs straight up for that trendy laminated look.
Work fast here, since the soap begins to set within seconds. If you want a softer finish, let the hairs fall a little more naturally instead of pushing them fully vertical.
Step 8: Clean Up the Edges
Dip a cotton swab or small brush in a little concealer and trace along the top and bottom edges of your brows. This sharpens the shape and makes the fluff really stand out.
Blend the concealer out gently so there’s no harsh line. It’s optional, but it takes the finish from good to polished.
Step 9: Let It Set and Check
Give the soap a full minute to dry down before you touch anything. Resist the urge to press or rub while it sets.
Once dry, check both brows in the mirror. If a stray hair pops up, press it back with a clean fingertip or lightly re-brush with your spoolie.
Safety note: Your brows sit right above your eyes, so keep the soap out of your actual eye. If any gets in, rinse gently with cool water. Stop using a formula if you notice stinging, redness, or itching, and always patch-test a new product first. These are general beauty tips, not medical advice.
Pro Tips
A few small tricks that take your brows from fine to flawless:
- Control your water. Damp beats wet every time. If your brows look streaky or the soap won’t grip, you’ve likely used too much water — wipe the spoolie and try a lighter mist.
- Layer over pencil or pomade for staying power. Fill first, then set with soap on top. The soap locks your fill product in and stops it smudging through the day.
- Push straight up for maximum lamination. For that bold, fluffy salon look, brush every hair vertically and hold for a few seconds before it dries.
- Warm the soap if it’s firm. If your soap is hard and won’t transfer, a couple of extra swirls or a slightly warmer room softens it up.
- Keep a spare spoolie on hand. A clean backup wand lets you blend and tame brows on the go without dragging the whole tin around.
Common Mistakes to Avoid
These slip-ups are easy to make and just as easy to fix once you know them.
Using too much water. A soaking-wet spoolie makes the soap runny and patchy, so it slides right off. Keep the wand just barely damp.
Loading up too much product. Over-swirling leaves a white, cakey film that flakes as it dries. Build a thin, even coat instead.
Brushing against hair growth. Combing the wrong way looks messy and can expose gaps. Always brush up and out, following the natural direction.
Skipping the dry-brush step. Jumping straight to soap without seeing your shape means you miss where product needs to go. Brush first, then set.
Applying over oily or damp skin. Moisturizer and oil stop the soap from gripping, so it fades fast. Start with a clean, dry base every time.
Touching before it dries. Rubbing wet soap drags the hairs out of place and ruins your shape. Give it a full minute to lock in.
Frequently Asked Questions
How do you use brow soap for beginners?
Start by lightly dampening a clean spoolie, then swirl it into the soap until you pick up a thin, cloudy film. Brush your brows upward and outward in short strokes, following the way your hair naturally grows.
Let everything dry for about a minute without touching it, then check your shape in the mirror. The key for beginners is keeping the spoolie just damp, not wet — that’s the number-one thing that makes or breaks the look. Practice on a low-key day first so you can find your ideal water-to-soap balance.
Do you use brow soap wet or dry?
You use it with a damp spoolie, not a soaking one. A little water activates the soap so it transfers onto the bristles and grips your brow hairs.
If the spoolie is bone-dry, the soap won’t pick up properly. If it’s dripping wet, the product turns runny and patchy. Aim for lightly misted — think barely-damp, and you’ll get that clean, fluffy set.
Is brow soap better than brow gel?
They do slightly different jobs, so it depends on the look you want. Brow soap gives a stronger, more sculpted hold and that fluffy, laminated finish, making it ideal for brushed-up styles.
Brow gel, especially a tinted one, adds color and a softer, more everyday set. Many people actually use both — pencil or gel for color, then soap on top for that extra fluff and lift. If your goal is a bold, feathered brow, soap wins.
How long does brow soap last on your brows?
A good brow soap applied to clean, dry brows typically holds for 8 to 12 hours, easily lasting through a full day. The stronger hold is part of why the laminated look stays put so well.
Humidity, oily skin, and rubbing your brows can shorten the wear. If a few hairs lift by the afternoon, a quick pass with a dry spoolie usually smooths them back into place.
Ready to fake that fluffy, laminated brow at home? Grab your soap, dampen your spoolie, and brush up and out for brows that stay perfectly in place all day.
