
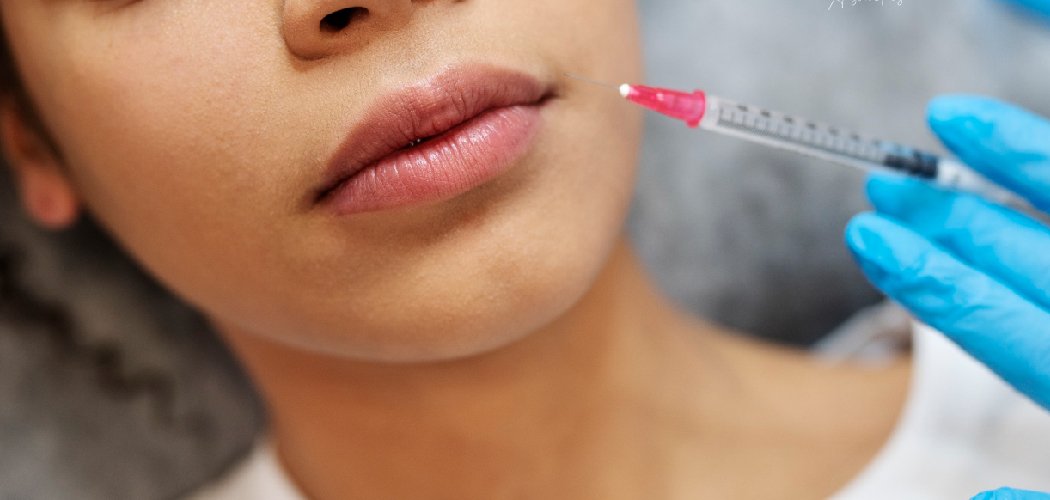
Want fuller-looking lips without spending a fortune on store-bought tubes? Learning how to make lip plumper at home is easier than you’d think, and it puts you fully in charge of what goes on your lips. A DIY lip plumper uses gentle ingredients like peppermint or cinnamon to boost blood flow, giving your pout a soft, temporary fullness.
The best part is the price. A single tube of designer plumper can cost more than $20, while a homemade batch uses pantry-friendly ingredients you might already own. You can whip up several containers for a fraction of that.
There’s also the ingredient control. When you make your own, you skip the mystery chemicals and pick exactly what suits your skin. Sensitive lips? Swap in something milder. Love a bit of shine? Add a glossy base. This guide walks you through the whole process, plus fun ways to customize it.
Why Make Your Own Lip Plumper
Store-bought plumpers often pack synthetic fragrances and additives that can irritate delicate lip skin. Making your own means you know every single thing in the mix.
Here’s why a DIY version is worth the small effort:
- Cost savings — a handful of cheap ingredients makes multiple tubes.
- Full ingredient control — no hidden nasties or harsh chemicals.
- Easy customization — tweak the tint, shine, or tingle to your liking.
- Great for gifting — cute little pots make thoughtful, personal presents.
Ingredients You’ll Need
Gather these before you start. Most are affordable and easy to find, and I’ve added swaps for anyone with sensitive skin.
- Petroleum jelly or shea butter base — this is your foundation. Petroleum jelly gives a smooth, glossy feel, while shea butter is more nourishing. For sensitive lips, shea butter or cocoa butter is the kinder pick.
- Peppermint essential oil — the main plumping agent. It creates a gentle tingle that boosts circulation. Use sparingly. Sensitive skin? Try a single drop or skip it for a milder menthol option.
- Cinnamon powder — another natural plumper that warms and stimulates lips. A tiny pinch is plenty. Ground cinnamon from your spice rack works fine, but leave it out if your skin reacts easily.
- Vitamin E oil — soothes and conditions so lips stay soft. You can substitute a few drops of jojoba or sweet almond oil if that’s what you have.
- Clear lip gloss base — optional, for an extra-shiny finish. If you don’t have one, a bit more petroleum jelly does the job.
A quick note on essential oils: a little goes a long way. Peppermint is potent, so never pour it in freely. Two to three drops per small batch is the sweet spot.
Tools and Containers
You don’t need anything fancy here. Chances are your kitchen already has most of it.
- Small mixing bowl — heat-safe glass or metal works best.
- Spatula or toothpick — for stirring and scraping every last bit.
- Small pot for a double boiler — this means gently melting your base over simmering water instead of direct heat.
- Small lip balm containers or empty gloss tubes — to store your finished plumper. Clean and dry them first.
How to Make Lip Plumper: 8 Step-by-Step
Follow these steps in order and take your time. The whole process takes about 15 minutes, plus cooling.
Step 1: Set Up Your Double Boiler
Fill a small pot with an inch or two of water and bring it to a gentle simmer. Place your heat-safe bowl on top so it rests above the water, not in it.
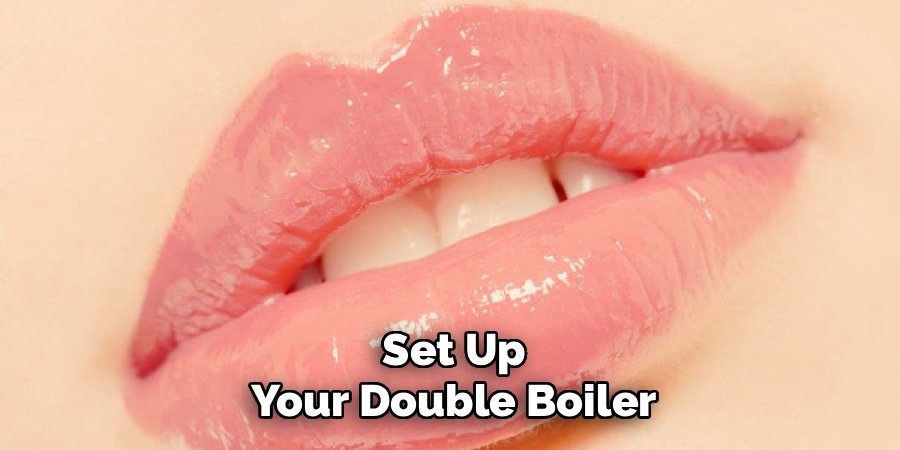
This slow, indirect heat melts your base without scorching it. Direct heat can burn oils and butters, so the double boiler method keeps things smooth.
Step 2: Melt the Base
Add about two tablespoons of your petroleum jelly or shea butter base to the bowl. Stir gently with your spatula as it melts into a liquid.
Keep the heat low. You just want it fully melted and pourable, not bubbling.
Step 3: Add the Plumping Agents
Once melted, remove the bowl from the heat. Now stir in two to three drops of peppermint essential oil and a small pinch of cinnamon powder.
Mix well so the cinnamon spreads evenly and doesn’t clump. This is where the gentle tingle comes from, so resist adding more than a pinch.
Step 4: Mix in the Vitamin E
Add three or four drops of vitamin E oil to the blend. This conditions your lips and helps counter any dryness from the plumping ingredients.
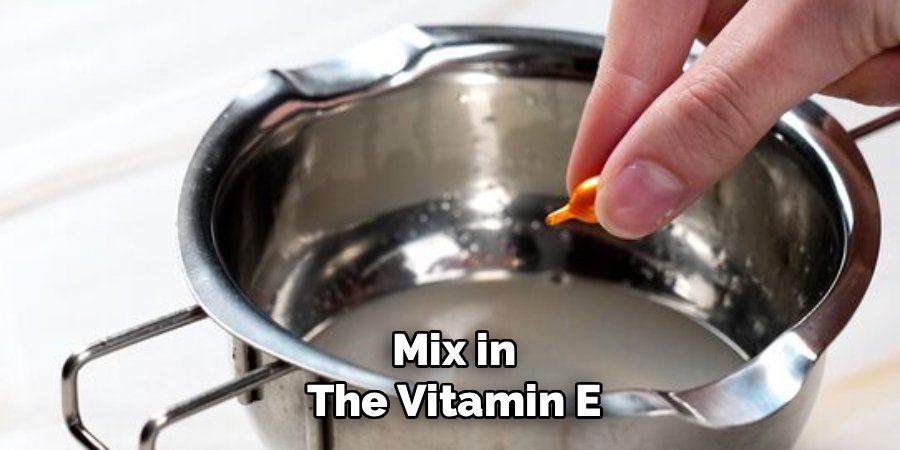
Stir everything together until it looks glossy and uniform. If you’re using a clear lip gloss base, fold it in now for extra shine.
Step 5: Do a Quick Consistency Check
Dip your toothpick in and let a drop cool on the back of your hand. Too firm? Stir in a touch more oil. Too runny? Add a bit more base and remelt briefly.
Getting this right now saves you from a plumper that’s either rock-hard or too slippery.
Step 6: Pour into Containers
While still warm and liquid, carefully pour or spoon the mixture into your clean lip balm pots or gloss tubes. Work quickly, since the base starts to set as it cools.
A small funnel or the tip of your spatula helps guide it in without spills.
Step 7: Cool and Set
Leave your containers open at room temperature for about an hour, or pop them in the fridge for 20 minutes to speed things up. Don’t seal the lids until the plumper is fully firm.
Once set, cap them, label with the date, and you’re ready to go.
Step 8: Patch Test Before Full Use
Before slathering it on your lips, dab a tiny bit on the inside of your wrist or the corner of your mouth. Wait 24 hours to check for redness, itching, or irritation.
This step matters because peppermint and cinnamon can be too strong for some people. If it stings badly or feels raw, rinse it off and adjust your recipe with less of the plumping agents. This is general beauty guidance, not medical advice, so check with a professional if you have ongoing lip concerns.
Customization Ideas
The beauty of a homemade plumper is how easily you can make it your own. Try these fun twists.
Tinted plumper. Scrape a little bit off an old lipstick or add a pinch of natural mica powder while mixing. Stir until the color spreads evenly for a subtle wash of shade.
Extra-glossy finish. Increase the amount of clear lip gloss base or petroleum jelly. This gives your lips a wet, high-shine look on top of the plumping effect.
Menthol boost. Swap peppermint for a drop of menthol crystals dissolved into your base, or use a stronger mint oil. This ramps up the cooling tingle for people who love that fresh sensation.
Sensitive skin version. Skip the cinnamon and peppermint entirely. Lean on shea butter, vitamin E, and a single drop of a mild oil like jojoba. You’ll get a nourishing balm with a very light plumping feel and far less risk of irritation.
Storage and Shelf Life
Because DIY beauty products skip preservatives, they don’t last as long as store-bought ones. Here’s how to keep yours fresh and safe.
- Shelf life: A homemade lip plumper made with oils and butters typically lasts two to three months.
- How to store: Keep it in a cool, dry spot away from direct sunlight. Storing it in the fridge can extend its life and adds a refreshing chill.
- Keep it clean: Use a clean fingertip or a small applicator rather than dipping used tools back in. This prevents bacteria from creeping in.
Watch for signs it’s time to toss it. If your plumper smells off or rancid, changes color, or develops any spots or texture changes, throw it out right away. When in doubt, make a fresh batch. Putting spoiled product on your lips can cause irritation, so don’t take the risk.
Frequently Asked Questions
Does homemade lip plumper actually work?
Yes, in a gentle and temporary way. Ingredients like peppermint and cinnamon create mild irritation that boosts blood flow to your lips, making them look a little fuller and rosier for a short while. The effect is subtle and fades after a bit, so don’t expect dramatic, long-lasting volume. A DIY version gives you that soft, natural plumped look without the strong chemicals found in some commercial products.
Is cinnamon safe to put on lips?
Cinnamon is generally safe in tiny amounts, which is why we only use a small pinch. It’s a natural plumping agent that warms the skin and encourages circulation. That said, cinnamon can irritate sensitive skin, so a patch test is essential before you use it on your lips. If you notice burning, swelling, or redness, rinse it off and switch to the sensitive skin version that leaves cinnamon out entirely.
How long does DIY lip plumper last?
A homemade batch usually keeps for two to three months when stored properly in a cool, dry place. Since it has no preservatives, its life is shorter than a store-bought tube. Keep it away from heat and sunlight, use clean fingers or an applicator, and always check for changes in smell, color, or texture before applying. If anything seems off, make a fresh batch rather than risk using spoiled product.
Can I make lip plumper without essential oils?
Absolutely. If you’d rather skip peppermint or find essential oils too harsh, you can build a gentler plumper around shea butter, vitamin E, and a mild carrier oil like jojoba or sweet almond. You’ll lose some of the tingling plumping effect, but you’ll gain a super nourishing balm that’s kind to sensitive lips. You can also try a single drop of a food-grade mint flavoring for a hint of tingle without the intensity.
Ready to give your lips a natural boost? Grab your ingredients, whip up a batch tonight, and enjoy soft, fuller-looking lips made entirely by you.
