
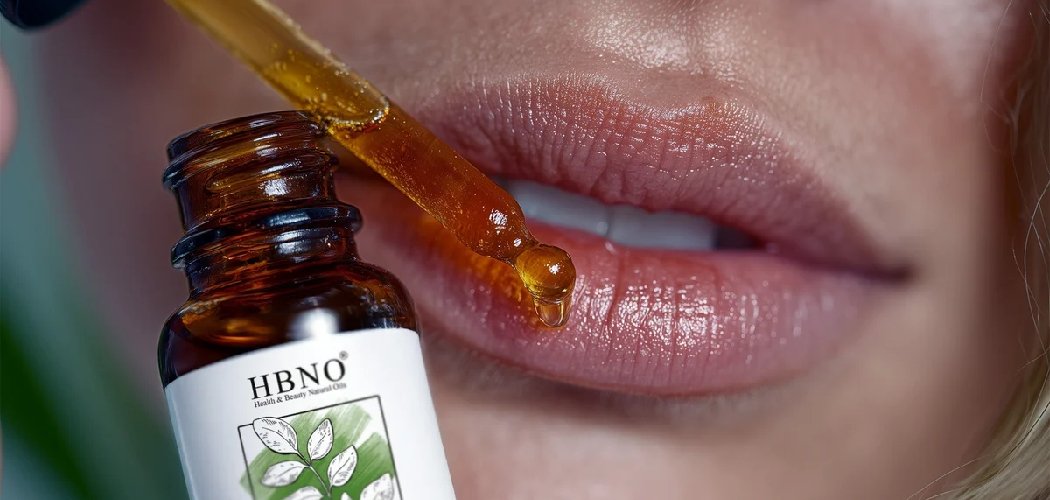
Learning how to make lip balm with Vaseline is one of the easiest beauty projects you can try at home. With just a few pantry-friendly ingredients and a small container, you can whip up a soft, nourishing balm in minutes. Best of all? You control exactly what goes on your lips.
Store-bought lip balms can get pricey, especially the “natural” ones with fancy labels. When you make your own, you save money and skip the mystery ingredients. Plus, you get to pick the flavor, scent, and finish that suits you.
Vaseline (petroleum jelly) is a classic base because it seals in moisture and creates a smooth, protective layer. Pair it with a few extras, and you’ve got a custom balm that rivals anything on the shelf. Let’s get into it.
Why Make Your Own Vaseline Lip Balm?
There are three big reasons DIY beats buying:
- Cost: A tub of Vaseline plus a couple of add-ins can make dozens of balms for a few dollars.
- Ingredient control: No hidden fragrances, dyes, or fillers. You decide what touches your lips.
- Customization: Want a hint of color, a vanilla scent, or extra shine? You call the shots.
It’s also a fun little project to make with kids or gift to friends. Once you nail the basic recipe, you’ll want to experiment with every variation.
Ingredients You’ll Need
Here’s the good news: the base recipe needs just two things. Everything else is optional but adds a nice touch.
- Vaseline (petroleum jelly) — the main base. Any plain, unscented version works. This is your moisture-sealing hero.
- Coconut oil — adds softness and a subtle glide. Swap with olive oil, almond oil, or jojoba oil if that’s what you have.
- Honey (optional) — a natural humectant that pulls moisture to your lips. Skip it if you want a longer shelf life or a vegan option.
- Beeswax pellets (optional) — for a firmer, balm-like texture. Use candelilla wax as a vegan swap.
- Vitamin E oil (optional) — helps condition lips and acts as a natural preservative. You can snip open a vitamin E capsule if you don’t have the bottle.
- Essential oils (optional) — for scent and flavor, like peppermint, lavender, or sweet orange. A few drops go a long way.
- A small amount of lipstick or mica powder (optional) — for a tinted balm.
Substitution Notes
If you don’t have coconut oil, any skin-safe carrier oil will do. For a thicker balm, add more beeswax. For a glossier, softer finish, lean on oils instead of wax. Keep it simple your first time, then build from there.
Tools and Containers
You don’t need fancy equipment. Chances are you already own most of this:
- A small heat-safe bowl (glass or metal)
- A microwave or a small saucepan for a double boiler
- A spoon or small whisk for stirring
- A dropper or pipette for essential oils
- Small lip balm tins or pots — clean, empty containers with lids. Recycled clean cosmetic jars work too.
- Lip balm tubes if you prefer the twist-up style
Make sure your containers are clean and completely dry before you fill them. Any leftover water can lead to spoilage down the line.
How to Make Lip Balm with Vaseline: 8 Step-by-Step
Follow these steps for a smooth, ready-to-use balm. The whole process takes about 15 minutes, plus cooling time.
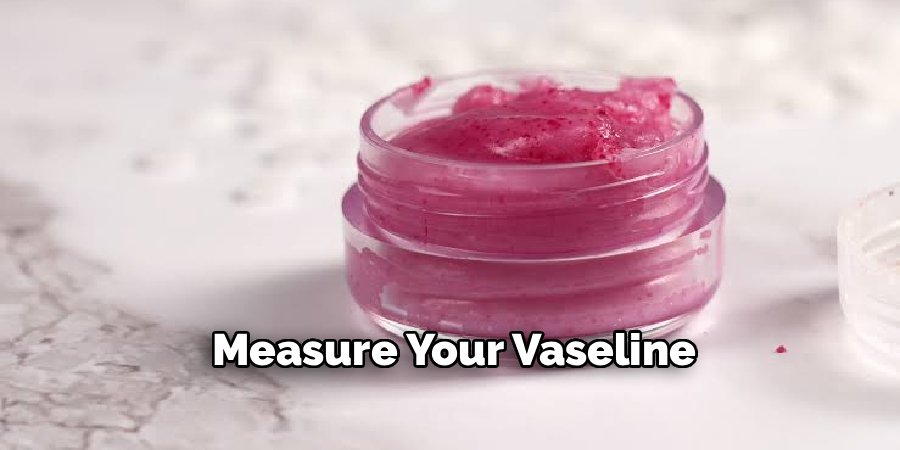
Step 1: Measure Your Vaseline
Scoop about 2 tablespoons of Vaseline into your heat-safe bowl. This makes enough for a couple of small pots or tubes. Adjust up or down depending on how much you want to make.
Step 2: Add Your Oils
Add 1 teaspoon of coconut oil (or your chosen carrier oil) to the Vaseline. If you’re using honey, add about half a teaspoon now. These extras boost the moisturizing power.
Step 3: Melt Everything Down
Melt the mixture gently so it blends evenly. You have two easy options:
- Microwave: Heat in 15-second bursts, stirring between each, until fully melted.
- Double boiler: Place your bowl over a pot of simmering water and stir until smooth.
Go slow here. Overheating can scorch the oils and affect the finish.
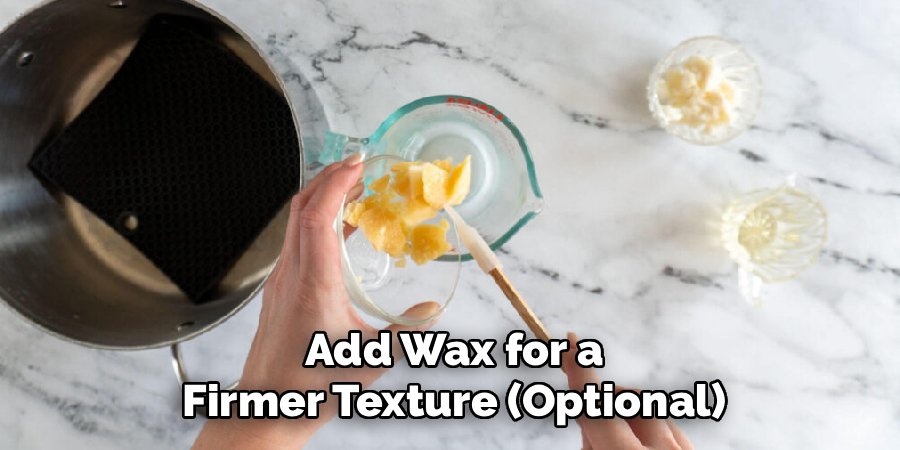
Step 4: Add Wax for a Firmer Texture (Optional)
If you want a solid, balm-like consistency, stir in 1 teaspoon of beeswax pellets while the mixture is still warm. Keep stirring until the wax fully melts and combines. Skip this step for a softer, more spreadable balm.
Step 5: Stir in Vitamin E and Scent
Once your mixture is melted and slightly cooled, add a few drops of vitamin E oil and essential oil if you’re using them. Stir well. Essential oils can lose potency in high heat, so wait until the mixture cools a bit before adding.
Step 6: Add Color (Optional)
For a tint, mix in a tiny shaving of lipstick or a pinch of mica powder. Stir until the color spreads evenly. Add a little at a time — you can always deepen it, but you can’t take it back.
Step 7: Pour Into Containers
Carefully pour or spoon the warm mixture into your clean tins or tubes. Work quickly, since the balm starts to set as it cools. A small funnel or dropper helps with tubes.
Step 8: Let It Set
Leave your balm to cool at room temperature for about 30 minutes, or pop it in the fridge for 10–15 minutes to speed things up. Once firm, cap it, and it’s ready to use.
Patch-test first: Before slathering your new balm on your lips, dab a small amount on the inside of your wrist and wait 24 hours. This helps you catch any reaction to essential oils, honey, or added color before it reaches your lips.
Customization Ideas
This is where the fun really starts. Once you’ve got the basic method down, tweak your balm to match your mood, season, or skin needs.
Scent and Flavor
- Peppermint for a fresh, tingly feel
- Sweet orange or lemon for a bright, citrusy lift
- Vanilla extract for a warm, cozy scent (a drop or two is plenty)
- Lavender for a calming, soft aroma
Keep essential oils to just a few drops. Lips are sensitive, and a little goes a long way.
Finish Options
- Glossy finish: Use more oil and skip the wax for a shiny, dewy look.
- Matte-ish balm: Add extra beeswax for a firmer, less shiny result.
- Tinted balm: Mix in mica or a bit of your favorite lipstick for a hint of color.
For Different Skin Types
- Very dry or chapped lips: Add extra honey and vitamin E for a richer, more nourishing balm.
- Sensitive skin: Keep it fragrance-free and stick to plain Vaseline plus one gentle oil.
- Oily preference: Go lighter on the oils and add a touch more wax for a less greasy feel.
Label each batch if you make several. It’s easy to forget which pot is peppermint and which is vanilla.
Storage and Shelf Life
Homemade lip balm doesn’t have the heavy preservatives found in store-bought versions. That means a little care goes a long way in keeping it fresh.
How to Store It
- Keep your balm in a cool, dry spot away from direct sunlight.
- Always close the lid tightly to keep out air and moisture.
- Store it in the fridge during hot weather to prevent melting.
How Long Does It Last?
- A plain Vaseline-and-oil balm can last 6 to 12 months.
- Balms with honey or fresh add-ins have a shorter life, usually 2 to 3 months.
- Vitamin E oil helps extend freshness naturally.
Watch for Spoilage
Toss your balm if you notice any of these signs:
- An off or rancid smell
- A change in color or texture
- Any spots of mold (usually a sign moisture got in)
To avoid mold, always use clean, dry fingers or a small spatula when scooping. Double-dipping with wet fingers can introduce bacteria. When in doubt, make a fresh batch — it only takes a few minutes.
Frequently Asked Questions
Is Vaseline good for making lip balm?
Yes, Vaseline works well as a lip balm base because it seals in moisture and forms a protective barrier on your lips. It’s affordable, gentle, and easy to blend with other ingredients. For the best results, pair it with a nourishing oil like coconut or almond oil so your balm feels soft rather than just waxy.
Can I make lip balm with only Vaseline?
You can, but adding a carrier oil and a little vitamin E gives you a smoother, more conditioning balm. Plain Vaseline mostly seals moisture in rather than adding it. Mixing in a few extras helps hydrate your lips while still keeping that protective layer.
How long does homemade Vaseline lip balm last?
A simple Vaseline lip balm typically lasts 6 to 12 months when stored in a cool, dry place with the lid closed tightly. If you add fresh ingredients like honey, the shelf life drops to around 2 to 3 months. Always check for changes in smell, color, or texture before using an older batch.
Do I need beeswax to make lip balm with Vaseline?
No, beeswax is completely optional. It’s mainly there to firm up the texture if you want a solid, twist-up style balm. If you prefer a softer, more spreadable balm in a pot, you can skip the wax entirely and rely on Vaseline and oils.
Now that you know how to make lip balm with Vaseline, grab your ingredients and give it a go. Once you’ve made your first batch, you’ll never look at store-bought balms the same way again. Have fun mixing, scenting, and tinting your way to the perfect pout.
