
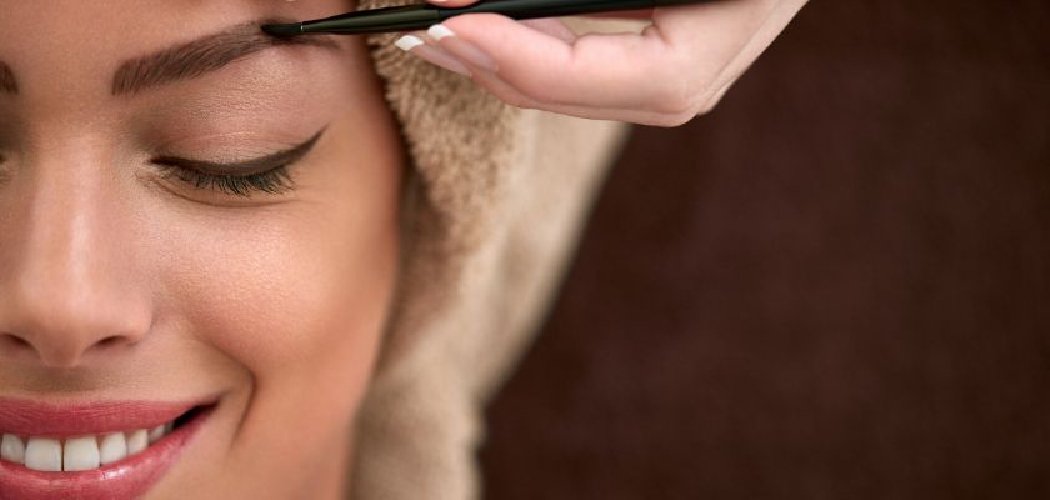
To use brow gel, brush the wand through your eyebrows in short upward and outward strokes, following your natural hair growth. This coats each hair, adds a hint of color or hold, and sets your brows in place for a fuller, groomed look that lasts all day. Start light, comb through evenly, and let it dry before touching your face.
Brow gel is the fastest way to go from sparse, messy eyebrows to polished, put-together ones in under a minute. Whether you want a natural everyday finish or bold, brushed-up brows, this little product does the heavy lifting. Once you learn the right technique, you’ll wonder how to use brow gel. Let’s walk through everything step by step.
What You’ll Need
You don’t need much to get gorgeous brows. Here’s a simple lineup that covers every finish, from barely-there to full glam.
- Clear brow gel — a see-through formula that grooms and sets without adding color. Perfect for naturally full brows.
- Tinted brow gel — a colored version that fills in gaps and darkens hairs. Choose a shade close to your natural brow color.
- A spoolie brush — the little mascara-style wand (often called a “spoolie”) used to comb and blend. Many gels come with one built in.
- Angled brow brush (optional) — a stiff, slanted brush that helps clean up edges or apply gel with precision.
- Brow pencil or pomade (optional) — for filling in sparse spots before you set with gel.
- A cotton swab — handy for quick cleanups if you go outside the lines.
- Micellar water (optional) — a gentle cleanser that lifts away mistakes without tugging at delicate skin.
Keep your tools clean, especially anything that touches near your eyes. Dirty brushes can carry bacteria, so give reusable ones a wash every week or two.
How to Use Brow Gel: 8 Step by Step
Follow these steps in order for brows that look full, neat, and natural. The whole thing takes just a minute or two once you get the hang of it.
Step 1: Start With Clean, Dry Brows
Make sure your eyebrows are free of oil, moisturizer, or leftover makeup. Gel grips best on a clean, dry surface.
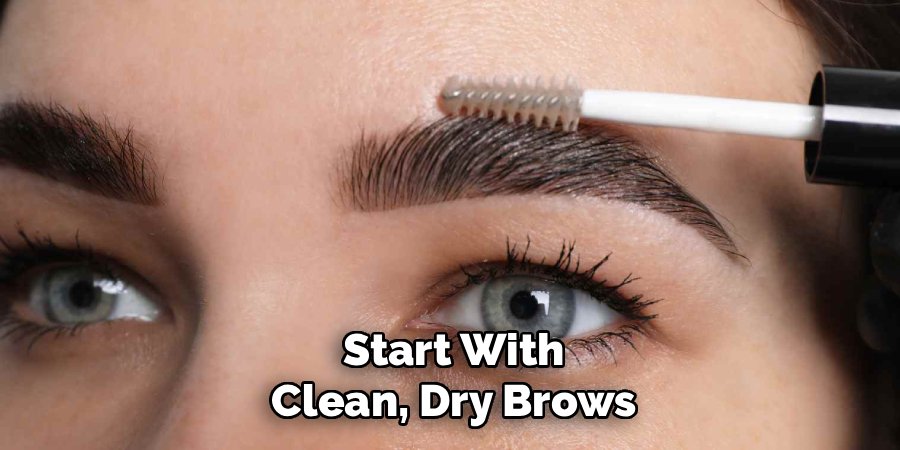
If your brows feel greasy, sweep a little micellar water over them with a cotton pad and let them dry. This helps the formula hold instead of sliding off.
Step 2: Brush Your Brows Into Shape
Before you apply anything, use a clean spoolie to comb your brow hairs. Brush them up and out to see their natural shape and spot any gaps.
This quick step shows you where you actually need product. It also trains the hairs in the direction you want them to sit.
Step 3: Fill in Gaps First (Optional)
If you have sparse areas or want more definition, fill them in with a brow pencil or pomade now. Use short, hair-like strokes so it looks natural, not blocky.
Keep a light hand here. You can always add more, but heavy filling can look harsh once the gel goes on top.
Step 4: Wipe Off Excess Product
Pull the wand out of the tube and gently scrape it against the rim. Too much gel on the brush leads to clumps and crunchy brows.
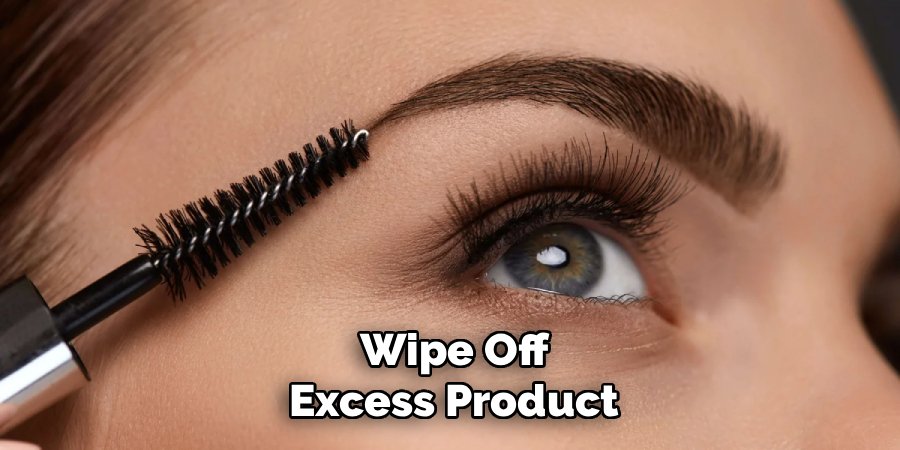
You want a light, even coating on the bristles, not a glob. A little product goes a long way.
Step 5: Apply From the Inner Corner Out
Start at the inner corner of your brow, closest to your nose. Brush the gel upward first to lift the hairs at the front.
Then sweep the wand outward toward your temple, following the natural direction of hair growth. Short, light strokes give you the most control.
Step 6: Coat Every Hair Evenly
Work the wand through the full length of each brow, wiggling gently at the roots to catch stray hairs. Make sure the tail (the thin outer end) gets coated too.
For a bold, brushed-up look, keep sweeping the front hairs straight up. For a softer finish, comb them at a slight angle instead.
Step 7: Shape and Smooth the Edges
Use the tip of the spoolie or an angled brush to tidy the top and bottom lines of your brows. This gives you a clean, defined shape.
If you went a little outside your natural line, grab a cotton swab dipped in micellar water and gently wipe the edge clean.
Step 8: Let It Dry Completely
Give the gel 30 to 60 seconds to set before touching your face or applying more makeup. Brow gel dries fairly quickly, but rushing can smudge it.
Once it’s dry, your brows should feel touchable and stay put. Resist the urge to keep brushing, or you may break up the hold.
Safety note: Brow gel sits right above your eyes, so keep the wand steady and avoid poking near your eyelids or lash line. If you’re trying a new formula, do a quick patch test on your inner arm and wait 24 hours to check for any irritation. This is general beauty guidance only — if the product stings, itches, or causes redness, wash it off and stop using it.
Pro Tips for Perfect Brows
These small tricks make a big difference between “meh” and “wow” brows.
- Choose the right shade. For tinted gel, pick a color one shade lighter than your brow hair if they’re dark, and one shade darker if they’re light. This keeps the result natural rather than harsh.
- Layer clear over tinted. Fill and color with a tinted gel, then add a thin layer of clear gel on top for extra hold on humid days or long events.
- Less product, more strokes. It’s better to build up with a few light passes than to load on one heavy coat. Thin layers prevent that stiff, crunchy feel.
- Set the direction the night before. For very unruly brows, brush them into place and let a tiny bit of clear gel dry while you get ready. Trained hairs style much easier.
- Clean the wand often. Product builds up on the spoolie over time, which leads to clumps. Wipe it on a tissue between uses to keep application smooth.
Common Mistakes to Avoid
A few easy slip-ups can leave your brows looking stiff, patchy, or overdone. Here’s what to watch for.
Using too much product. A loaded wand creates clumps and a crunchy, wet look. Scrape off the excess before you start.
Applying to oily brows. Gel won’t grip skin or hairs that are greasy from moisturizer or sweat. Always start clean and dry.
Brushing against the grain everywhere. While a slight upward lift looks great, forcing every hair the wrong way looks messy. Follow your natural growth for the tail.
Picking the wrong shade. A tinted gel that’s too dark can look painted on. Go lighter than you think, especially if your brows are already full.
Skipping the dry time. Touching or layering makeup too soon smudges the gel and ruins the hold. Give it a full minute to set.
Overfilling before the gel. Heavy pencil or pomade underneath can look blocky once you brush gel on top. Keep any filling light and natural.
Frequently Asked Questions
Do you put brow gel on before or after eyebrow pencil?
Apply brow gel after your eyebrow pencil in most routines. Fill in any sparse spots or shape your brows with pencil or pomade first, then brush the gel on top to set everything in place. The gel locks the filled-in look and blends the product with your natural hairs for a seamless finish. If you have naturally full brows and just want to groom them, you can skip the pencil entirely and use gel on its own.
How long does brow gel last on your face?
A good brow gel typically lasts anywhere from six to twelve hours, depending on the formula and your skin type. Long-wear and waterproof versions hold up best through heat, humidity, and sweat, while lighter clear gels may soften sooner on oily skin. To make it last, start with clean, dry brows and let each layer dry fully before touching your face. Layering a thin coat of clear gel over a tinted one can also boost staying power on long days.
Can you use clear mascara as brow gel?
Yes, clear mascara can work as a stand-in for clear brow gel in a pinch. Both use a similar spoolie wand and a setting formula, so clear mascara will groom and hold your brows in place. The main difference is that dedicated brow gels are often designed for a more flexible, natural finish, while some mascaras dry stiffer. If you use mascara on your brows, wipe off the excess first and apply a light coat so your brows don’t feel crunchy.
How do you use brow gel for a fuller, natural look?
For fuller-looking brows, start by brushing the hairs up and out with a clean spoolie to reveal any gaps. Fill sparse spots lightly with a pencil, then apply a tinted brow gel from the inner corner outward, wiggling the wand at the roots to coat every hair. Sweep the front hairs slightly upward for a lifted effect and follow your natural growth toward the tail. Keep the layers thin and let the gel dry, and you’ll get a soft, full finish that still looks like your own brows.
Grab your favorite brow gel and give these steps a try — beautifully groomed, fuller-looking brows are just one quick brush away.
