
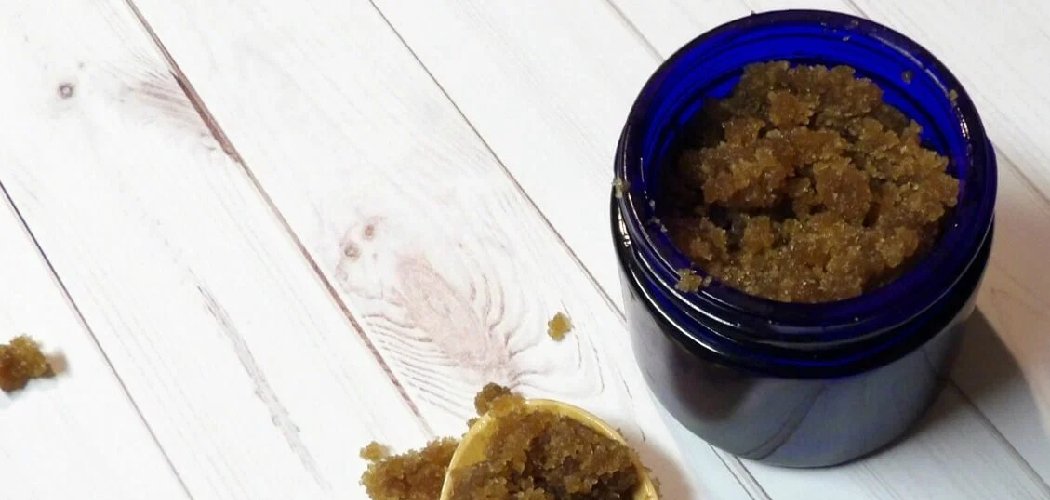
Learning how to make facial scrub at home is one of the easiest ways to treat your skin without emptying your wallet. With a few pantry staples like sugar, oil, and honey, you can whip up a gentle exfoliator that sloughs away dead skin and leaves your face soft and glowing. In about ten minutes, you’ll have a fresh scrub made entirely from ingredients you can actually pronounce.
Let’s dig into why the DIY route beats store-bought, what you’ll need, and exactly how to mix a scrub that suits your skin.
Why Make Your Own Facial Scrub?
Store-bought scrubs can run you $15 to $30 a jar, and the pricey ones aren’t always better. When you make your own, the same ingredients cost pennies per batch and stretch across many uses.
Going homemade also means total control over what touches your skin. No mystery fillers, no harsh microbeads, and no synthetic fragrances that might upset sensitive skin.
Then there’s the customization. Dry, oily, and combination skin all want different care, and a DIY scrub lets you match the recipe to your exact needs.
Here’s the basic idea. A facial scrub is a paste that combines an exfoliant (something slightly gritty that buffs away dead skin cells) with a nourishing base like oil or honey. You massage it in, rinse it off, and reveal smoother skin underneath.
Ingredients You’ll Need
The beauty of a homemade scrub is its short, forgiving ingredient list. Here’s a reliable base recipe, plus easy swaps if you’re missing something.
- Fine sugar (½ cup) — Your exfoliant. Organic cane sugar dissolves gently and suits most skin. Substitution: Brown sugar is softer and kinder to sensitive skin, while finely ground oatmeal works for a super-mild option.
- Carrier oil (¼ cup) — This binds everything and moisturizes as you scrub. Coconut oil smells lovely and feels rich. Substitution: Jojoba oil for a lighter feel, olive oil for extra nourishment, or sweet almond oil for a silky finish.
- Honey (1 tablespoon) — Adds a soothing, slightly sticky quality and helps hold the scrub together. Substitution: Raw honey is ideal, but any honey works. Skip it and add a touch more oil if you prefer.
- Essential oil (3–4 drops, optional) — Adds a light scent and targeted benefits. Lavender oil calms, tea tree oil helps blemish-prone skin, and peppermint oil feels refreshing. Substitution: Leave it out entirely for fragrance-free skin.
- Vitamin E oil (½ teaspoon, optional) — Nourishes skin and helps your scrub stay fresh longer. Substitution: Squeeze out a vitamin E capsule if you don’t have the bottled kind.
A quick word on essential oils: they’re strong, so a few drops go a long way. Too much can irritate rather than pamper your skin.
Tools and Containers You’ll Need
You won’t need anything fancy for this project. Most of it is already sitting in your kitchen.
- A small mixing bowl
- Measuring cups and spoons
- A spoon or small spatula for stirring
- A clean glass jar with a tight-fitting lid (4–8 oz size)
- Optional: a small kitchen scale for precise measuring
Why a glass jar? Glass won’t react with oils or essential oils the way some plastics can, and it’s easy to sanitize between batches. A tight lid keeps air and moisture out, which helps your scrub last longer.
Make sure every tool is spotlessly clean and completely dry before you start. Stray water can invite bacteria and shorten your scrub’s shelf life.
How to Make Facial Scrub: 9 Step-by-Step
Ready to blend your own exfoliator? Follow these steps and you’ll have a finished jar in about ten minutes.
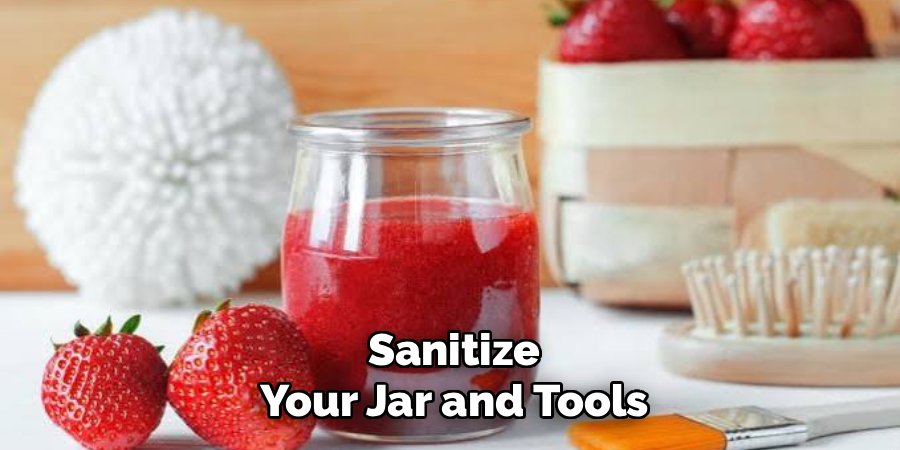
Step 1: Sanitize Your Jar and Tools
Wash your bowl, jar, and utensils in hot soapy water, then rinse well. Let everything air-dry completely, or wipe with a little rubbing alcohol. Clean tools are your best defense against spoilage.
Step 2: Measure Your Sugar
Spoon half a cup of fine sugar into your mixing bowl. This is the exfoliating heart of your scrub, so measure it carefully for the right texture.
Step 3: Pour In the Carrier Oil
Add a quarter cup of your chosen oil to the sugar. If you’re using coconut oil and it’s solid, warm it gently until it turns liquid, then let it cool slightly before mixing.
Step 4: Stir In the Honey
Spoon in a tablespoon of honey. Honey helps bind the scrub and adds a soothing quality, so stir until it starts blending with the oil and sugar.

Step 5: Add Your Optional Extras
If you’re using vitamin E oil, add it now. It nourishes your skin and doubles as a natural preservative to help the batch stay fresh.
Step 6: Drop In Essential Oils
Add your essential oils one drop at a time, counting as you go. Three or four drops total is plenty for a single batch. Stir gently after each drop.
Step 7: Mix Until Combined
Stir everything together until you get a thick, even paste. It should feel gritty but scoopable, not runny. If it’s too dry, add a splash more oil. If it’s too wet, sprinkle in more sugar.
Step 8: Transfer to Your Jar
Spoon the finished scrub into your clean glass jar and press it down gently to remove air pockets. Screw the lid on tight.
Step 9: Label and Patch Test
Write the date and ingredients on a small label so you can track freshness. Then, before using it on your face, do a patch test.
Dab a little scrub on the inside of your wrist or behind your ear and wait 24 hours.
A quick safety note: If you notice redness, itching, stinging, or any irritation during the patch test, rinse it off and leave out whatever caused it. Essential oils and citrus additions are common culprits for sensitive skin. This is general beauty-routine advice, not medical guidance, so check with a professional if you have specific skin concerns.
How to Use Your Facial Scrub
Once your scrub passes the patch test, working it into your routine is simple.
- Splash your face with warm water to loosen dirt and open things up.
- Scoop a small amount onto your fingertips.
- Massage it in gentle circles for about 30 seconds, avoiding the delicate eye area.
- Rinse thoroughly with lukewarm water.
- Pat your skin dry and follow with your usual moisturizer.
Stick to exfoliating just one to three times a week. Scrubbing too often or too hard can leave your skin irritated instead of glowing, so a light touch is always best.
Customization Ideas
Once you’ve nailed the base recipe, the fun begins. Here’s how to tweak your scrub for your skin’s unique needs.
- For dry skin: Lean on richer oils like olive or almond, and add an extra teaspoon of honey for a hydration boost. Brown sugar exfoliates gently without stripping moisture.
- For oily or acne-prone skin: Choose lighter jojoba oil, which won’t clog pores. A drop or two of tea tree oil can help with the occasional breakout.
- For sensitive skin: Keep it simple. Swap sugar for finely ground oatmeal, use gentle almond oil, and skip the essential oils entirely.
- For dull or tired skin: A tablespoon of finely ground coffee adds extra buffing power and a fresh, energizing scent. A drop of peppermint oil boosts that wake-up feel.
- For scent lovers: Play with soothing lavender, uplifting citrus, or warm vanilla. Just stay within that three-to-four-drop essential oil limit.
Keep a little notebook of your blends. When you find the combination that makes your skin glow, you’ll want to recreate it exactly next time.
Storage and Shelf Life
Because your homemade scrub skips the strong preservatives found in commercial products, it won’t last forever. Storing it well keeps it fresh, effective, and safe to use.
- Keep it cool and dry. Store your jar away from sunlight and heat, ideally in a cool cabinet. A fridge works well too, especially for scrubs made with coconut oil.
- Use a clean spoon, not wet fingers. Scooping with dry hands or a small spoon keeps water and bacteria out of the jar, which stretches the shelf life.
- Watch the timeline. A sugar-and-oil scrub typically lasts two to four weeks. Adding vitamin E can nudge that a little longer.
- Know the warning signs. If your scrub smells off, changes color, or shows any fuzzy spots, toss it. When in doubt, throw it out and mix a fresh batch.
Making smaller batches more often is a smart move. Fresh scrub works better, and a little jar only takes minutes to whip up again.
Frequently Asked Questions
Is it cheaper to make your own facial scrub?
Usually, yes. Sugar, oil, and honey are inexpensive pantry staples, and a single batch costs just pennies compared to the $15 to $30 you’d spend on a store-bought jar. Your ingredients also stretch across many batches, so the savings add up quickly over time. You skip paying for fancy packaging and marketing too.
How often should I use a homemade face scrub?
For most skin types, one to three times a week is plenty. Exfoliating removes dead skin cells to reveal a smoother surface, but overdoing it can leave your skin red and irritated. If your skin feels tight or sensitive afterward, scale back to once a week and always use a gentle touch.
Can I use sugar or salt for a facial scrub?
Sugar is the safer pick for your face. Its granules are rounder and dissolve as you scrub, so it’s gentler on delicate facial skin. Salt is coarser and can cause tiny scratches or sting, which makes it better suited to body scrubs than facial ones. If you want an extra-mild option, finely ground oatmeal is a lovely alternative.
How long does homemade facial scrub last?
A sugar-and-oil scrub typically stays fresh for two to four weeks when stored in a cool, dry spot. Keeping water out of the jar and adding a little vitamin E oil can help extend that window. Always trust your senses and toss anything that smells rancid, changes color, or shows signs of mold.
Now that you know how to make facial scrub at home, grab your sugar and oil and mix up a batch made just for your skin — smoother, softer skin is only ten minutes away.
