
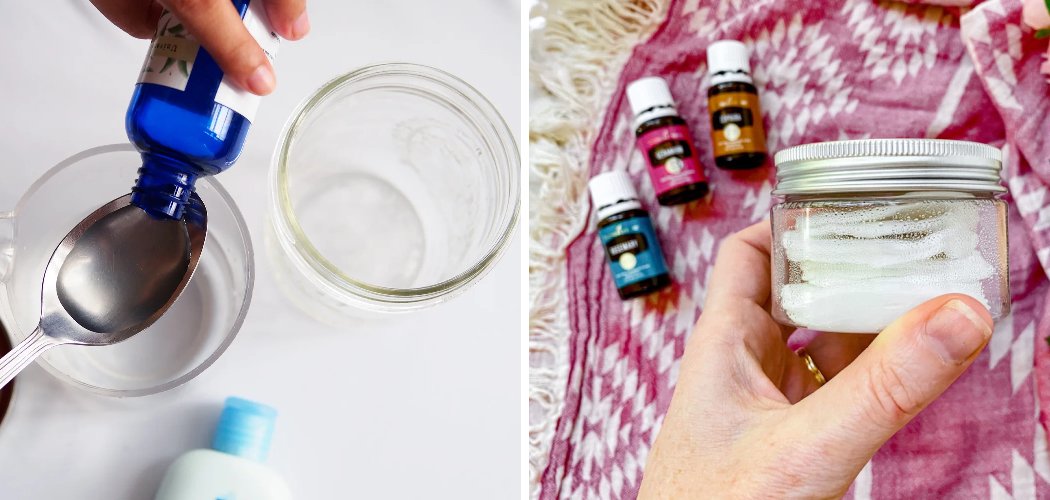
Learning how to make makeup remover wipes at home is a simple swap that saves you money, cuts down on waste, and puts you in charge of exactly what touches your skin. With a few gentle ingredients like distilled water, aloe vera, and a mild cleanser, you can create a batch of soft, effective wipes in about fifteen minutes. They lift away foundation, mascara, and the day’s grime without the price tag or the mystery ingredients of store-bought packs.
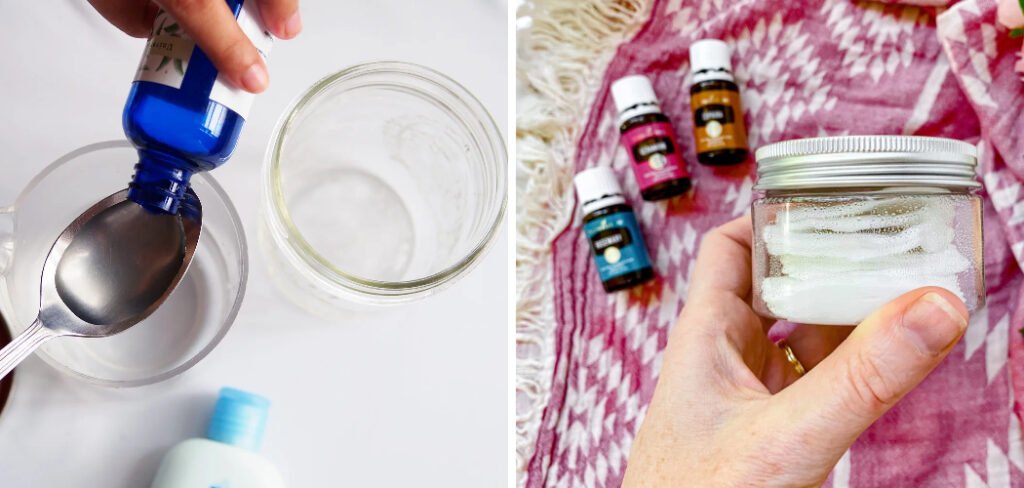
Let’s walk through why the DIY route wins, what you’ll need, and exactly how to mix up your own wipes.
Why Make Your Own Makeup Remover Wipes?
Disposable wipes add up fast, both in cost and clutter. A single pack can run $5 to $10, and if you reach for one every night, that’s a steady drain on your wallet month after month.
There’s also the waste factor. Most single-use wipes aren’t recyclable and can take years to break down, so a reusable version is far kinder to the planet.
Then there’s the ingredient control. When you mix your own solution, you skip the harsh preservatives and synthetic fragrances that can leave sensitive skin feeling tight or irritated.
Best of all, you can customize everything. Different skin types want different care, and a homemade blend lets you match the recipe to your exact needs — right down to the scent.
Ingredients You’ll Need
The magic of a DIY wipe solution is its short, gentle ingredient list. Here’s a reliable base recipe, plus easy swaps if you’re missing something.
- Distilled water (1 cup) — The base of your solution. Distilled water is free of minerals and impurities, so it keeps your wipes fresher for longer. Substitution: Boiled-then-cooled water works in a pinch, though it won’t last quite as long.
- Micellar water (2 tablespoons) — This does the heavy lifting, gently dissolving makeup and dirt. Bioderma Sensibio Micellar Water is a popular gentle pick. Substitution: Witch hazel works well for oily or blemish-prone skin, though it can feel slightly more astringent.
- Aloe vera gel (1 tablespoon) — Soothes and hydrates as it cleans. Look for pure aloe vera gel with no added color or alcohol. Substitution: A teaspoon of glycerin adds similar moisture if you’re out of aloe.
- Gentle castile soap or baby wash (½ teaspoon) — A tiny amount adds cleansing power. Dr. Bronner’s Baby Unscented Castile Soap is a mild, fragrance-free favorite. Substitution: A tear-free baby wash is just as gentle and easy to find.
- Vitamin E oil (¼ teaspoon, optional) — Nourishes skin and helps your solution stay fresh a little longer. Substitution: Squeeze out a vitamin E capsule if you don’t have the bottled kind.
- Essential oil (2–3 drops, optional) — Adds a light scent and targeted benefits. Lavender oil calms, while chamomile oil soothes. Substitution: Leave it out entirely for fragrance-free wipes.
A quick word on castile soap: a little goes a long way. Too much can leave a filmy residue, so stick to that half-teaspoon measure.
Tools and Containers You’ll Need
You won’t need anything fancy for this project. Most of it is probably already in your bathroom or kitchen.
- A clean mixing bowl
- Measuring cups and spoons
- A spoon or small whisk for stirring
- Reusable cotton rounds (a soft, washable option) or a roll of sturdy paper towels
- An airtight jar or container with a tight-fitting lid
- Optional: a small funnel if you’re using a narrow-neck container
Why airtight? A tight seal keeps air and bacteria out, which helps your wipes last longer and stay damp. Glass or BPA-free plastic both work well.
If you’re going the reusable route, choose cotton rounds or soft cloth squares you can toss in the wash. They’re the eco-friendly heart of this whole project.
Make sure every tool and container is spotlessly clean and completely dry before you start. Stray grime can invite bacteria and shorten your wipes’ shelf life.
How to Make Makeup Remover Wipes: 10 Step-by-Step
Ready to mix your own? Follow these steps and you’ll have a finished jar in about fifteen minutes.
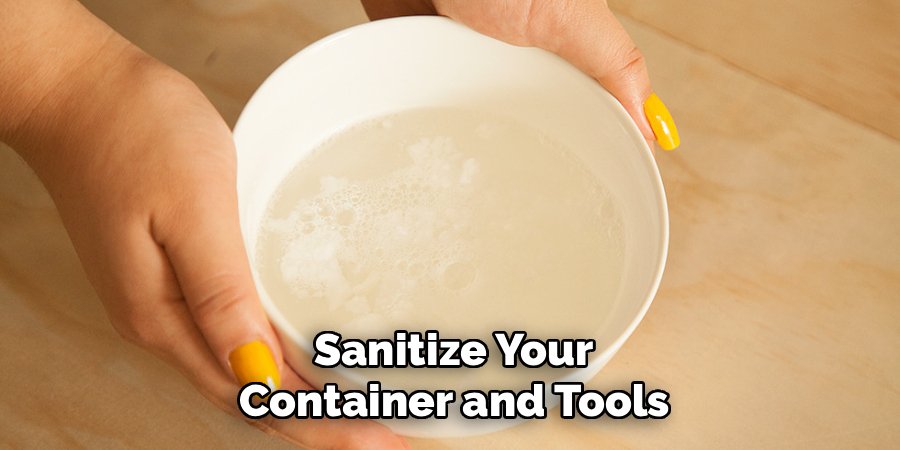
Step 1: Sanitize Your Container and Tools
Wash your bowl, jar, and utensils in hot soapy water, then rinse well. Let everything air-dry completely, or wipe with a little rubbing alcohol. Clean gear is your best defense against mold.
Step 2: Measure the Distilled Water
Pour one cup of distilled water into your mixing bowl. This gentle, mineral-free base makes up the bulk of your solution.
Step 3: Add the Micellar Water
Stir in two tablespoons of micellar water. Micellar water contains tiny cleansing molecules called micelles that grab onto makeup and oil, so this is your main makeup-lifting ingredient.
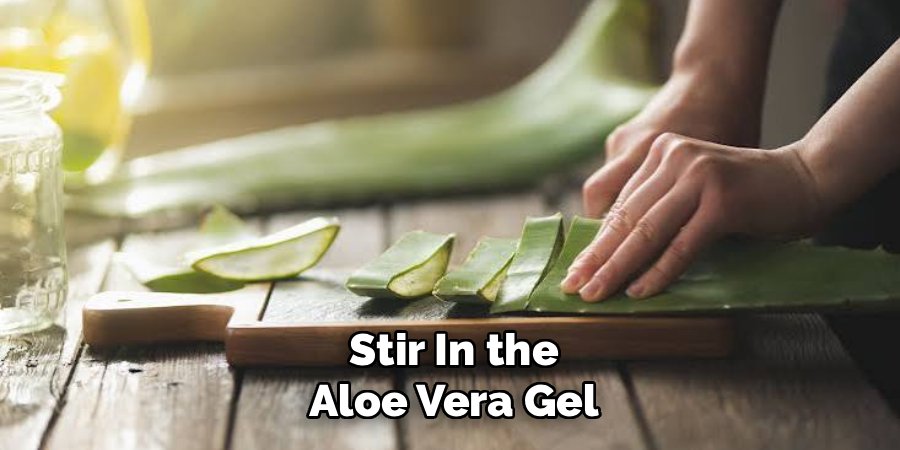
Step 4: Stir In the Aloe Vera Gel
Add a tablespoon of aloe vera gel and mix until it dissolves into the water. Aloe soothes and softens skin while you cleanse, balancing out anything drying.
Step 5: Add the Castile Soap or Baby Wash
Drop in just half a teaspoon of gentle castile soap or baby wash. Stir slowly to avoid whipping up a mountain of bubbles.
Step 6: Mix In the Optional Extras
If you’re using vitamin E oil, add it now for a nourishing boost that also helps preserve the batch. Then add your essential oils one drop at a time, counting as you go — two or three drops is plenty.
Step 7: Stir Until Well Combined
Give everything a gentle stir until the solution looks even and slightly cloudy. It should feel light and watery, not sudsy or thick.
Step 8: Prepare Your Wipes
If you’re using paper towels, cut the roll in half with a sharp knife so it fits your container, and pull out the cardboard tube. For reusable cotton rounds, simply stack them neatly inside your clean jar.
Step 9: Pour and Soak
Slowly pour the solution over your wipes, letting it soak in evenly. Give it a few minutes so every wipe drinks up its share. If any spots stay dry, tilt the jar to redistribute.
Step 10: Seal, Label, and Patch Test
Screw the lid on tight and write the date on a small label so you can track freshness. Then, before wiping your face, do a patch test.
Dab a little solution on the inside of your wrist or behind your ear and wait 24 hours.
A quick safety note: If you notice redness, itching, stinging, or any irritation during the patch test, rinse it off and leave out whatever caused it. Essential oils are a common culprit for sensitive skin. This is general beauty-routine advice, not medical guidance, so check with a professional if you have specific skin concerns.
How to Use Your Makeup Remover Wipes
Once your wipes pass the patch test, using them is a breeze.
- Pull out one wipe and gently press it over your closed eye for a few seconds to loosen mascara and eyeliner.
- Wipe outward in slow, soft strokes — never tug at the delicate eye area.
- Work across the rest of your face, folding to a clean section as needed.
- Follow with your usual cleanser or moisturizer to lock in hydration.
For reusable rounds, toss the used ones into a small laundry bag and wash them with your regular load. They’ll be ready for the next batch in no time.
Customization Ideas
Once you’ve nailed the base recipe, the fun begins. Here’s how to tweak your wipes for your skin’s unique needs.
- For dry skin: Double the aloe vera gel and add an extra few drops of vitamin E oil. This extra hydration keeps your skin from feeling stripped after cleansing.
- For oily or acne-prone skin: Swap some of the distilled water for witch hazel, which helps control excess oil. A single drop of tea tree oil can help with occasional breakouts.
- For sensitive skin: Keep it simple. Stick to distilled water, aloe, and a whisper of unscented baby wash, and skip the essential oils entirely.
- For a calming scent: A drop or two of lavender or chamomile oil turns your nightly routine into a soothing ritual, perfect right before bed.
- For a refreshing feel: A touch of cucumber extract or a single drop of peppermint oil gives a cool, wake-up sensation — lovely for morning use.
Keep a little note of your blends. When you find the combination that leaves your skin happy, you’ll want to recreate it exactly next time.
Storage and Shelf Life
Because your homemade wipes skip the strong preservatives found in commercial packs, they won’t last forever. Storing them well keeps them fresh, effective, and safe to use.
- Keep them cool and sealed. Store your jar in a cool, dry cabinet or the fridge, and always press the lid on tight after each use. A chilled wipe also feels wonderfully refreshing.
- Use clean hands. Pull wipes out with dry fingers, or use tongs if you want to be extra careful. This keeps bacteria from sneaking into the solution.
- Watch the timeline. A batch made with distilled water typically lasts one to two weeks. Adding vitamin E can nudge that slightly longer.
- Know the warning signs. If your wipes smell off, look cloudy or slimy, or show any fuzzy spots, toss the whole batch. When in doubt, throw it out and mix fresh.
Making smaller batches more often is a smart move. Fresh solution works better and keeps mold worries at bay, and a new jar only takes minutes to whip up.
For reusable cotton rounds, wash them after each cycle and let them dry fully before restocking. Damp, dirty rounds are a fast track to mildew.
Frequently Asked Questions
Is it cheaper to make your own makeup remover wipes?
Usually, yes. The core ingredients — distilled water, aloe, and a mild cleanser — are inexpensive and stretch across many batches. Compared to spending $5 to $10 on a disposable pack every few weeks, the savings add up quickly. Pair your solution with reusable cotton rounds and the cost per use drops even lower over time.
Are homemade makeup remover wipes safe for your face?
They can be, as long as you use gentle ingredients and keep everything clean. Sticking to soothing basics like aloe and a fragrance-free cleanser is kinder to your skin than many harsh commercial wipes. Always do a patch test before your first full use, and toss any batch that smells or looks off. This is general beauty advice, so talk to a professional if you have specific skin concerns.
How long do DIY makeup remover wipes last?
A batch made with distilled water typically stays fresh for one to two weeks when stored in a cool, sealed jar. Keeping water out with clean, dry hands and adding a little vitamin E oil can help extend that window. Always trust your senses and toss anything that smells sour, turns cloudy, or shows signs of mold.
Can you use paper towels for reusable makeup wipes?
You can use sturdy paper towels for a disposable version, and they work perfectly well for the solution. But for a truly reusable, eco-friendly option, soft cotton rounds or cloth squares are the way to go. They hold up in the wash and can be used again and again, which cuts down on both waste and cost.
Now that you know how to make makeup remover wipes at home, grab your jar and mix up a gentle, budget-friendly batch that’s tailored to your skin — cleaner, greener, and softer wipes are just fifteen minutes away.
