
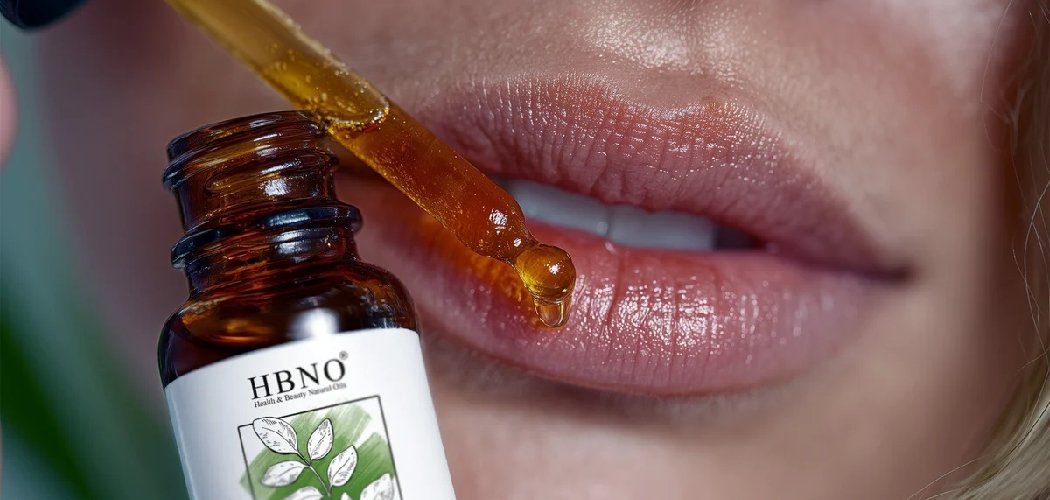
How to make lip oil at home is easier than you might think, and all it takes is a few nourishing oils, a small container, and about ten minutes. A DIY lip oil is a lightweight, glossy treatment that hydrates your lips while giving them a soft, healthy shine, and the best part is you get to control exactly what goes into it. No mystery ingredients, no hefty price tag, just a customizable little tube of comfort.
Below, I’ll show you why homemade lip oil is worth trying, which ingredients to reach for, and the exact steps to whip up your own. Let’s get mixing.
Why Make Your Own Lip Oil?
Store-bought lip oils can be pricey, and the popular ones often cost far more than the ingredients inside them. When you make your own, you’re paying pennies per batch instead of premium retail prices.
Beyond the savings, DIY puts you in charge of every drop. You choose oils that suit your lips, skip anything you’re sensitive to, and avoid the synthetic fillers or fragrances some brands sneak in.
Then there’s the fun part: customization. Want a hint of vanilla scent, a wash of rosy tint, or a formula tailored to super-dry lips? You can tweak your recipe endlessly until it’s exactly right. Once you make one batch, you’ll wonder why you ever paid full price.
Ingredients You’ll Need
Here’s your shopping list. You won’t need every single item, so pick a base oil or two plus any extras that appeal to you. Each ingredient below includes a substitution note in case you’re missing something.
- Jojoba Oil — a lightweight base oil that closely mimics your skin’s natural oils, so it absorbs beautifully without feeling greasy. Substitute: grapeseed oil for a similar lightweight feel.
- Sweet Almond Oil — a soft, nourishing oil rich in vitamin E that leaves lips smooth and conditioned. Substitute: apricot kernel oil works almost identically. (Skip if you have a nut allergy.)
- Castor Oil — the secret to that thick, glossy shine most lip oils are known for. A little goes a long way. Substitute: a touch more jojoba, though you’ll lose some of the high-gloss finish.
- Coconut Oil — deeply moisturizing and naturally a little sweet-smelling. It’s solid at room temperature, so it adds a soft, balmy texture. Substitute: shea butter for a similar softening effect.
- Shea Butter — a rich, creamy butter that makes your oil feel more cushiony and protective on dry lips. Substitute: cocoa butter, which adds a subtle chocolate scent.
- Vitamin E Oil — both a skin conditioner and a natural preservative that helps your oils stay fresh longer. Substitute: the contents of a vitamin E capsule snipped open.
- Flavor Oil or Essential Oil — a drop or two adds a lovely scent or taste. Think peppermint, vanilla, or sweet orange. Substitute: leave it out entirely for a fragrance-free version.
- Mica Powder or Cosmetic Glitter — a tiny pinch adds shimmer or a hint of tint if you want color. Always use cosmetic-grade, lip-safe products only. Substitute: skip for a clear, natural gloss.
A quick but important note: before slathering any new blend on your lips, do a patch test. Dab a small amount on the inside of your wrist or elbow and wait 24 hours to check for redness or irritation. This is just general beauty caution rather than medical advice, and it’s especially smart when using essential oils, which can be strong. If your lips are cracked, chapped, or broken, wait until they’ve healed before applying homemade products.
Tools and Containers You’ll Need
You don’t need fancy equipment, just a few basics you probably already own.
- A small heat-safe bowl — glass or stainless steel for gently melting your oils.
- A double boiler or a small saucepan — to warm the ingredients slowly. If you don’t have a double boiler, a heat-safe bowl set over a pot of simmering water works perfectly.
- A stirring utensil — a small spoon or a clean chopstick.
- A dropper or small funnel — for transferring your finished oil neatly into its container.
- Lip oil tubes with a doe-foot or brush applicator — these give you that easy, swipe-on application. Small rollerball tubes or a tiny pot work too.
- Rubbing alcohol — for sanitizing your containers before you start.
Cleanliness matters here. Any leftover water or grime in your container can shorten your lip oil’s life or invite bacteria, so sanitize everything before you begin.
8 Step-by-Step How to Make Lip Oil
Take your time, especially the first round. Once you know the method, you can whip up a batch in minutes.
1. Sanitize Your Equipment
Wipe down your tubes, bowl, and utensils with rubbing alcohol and let them dry completely.
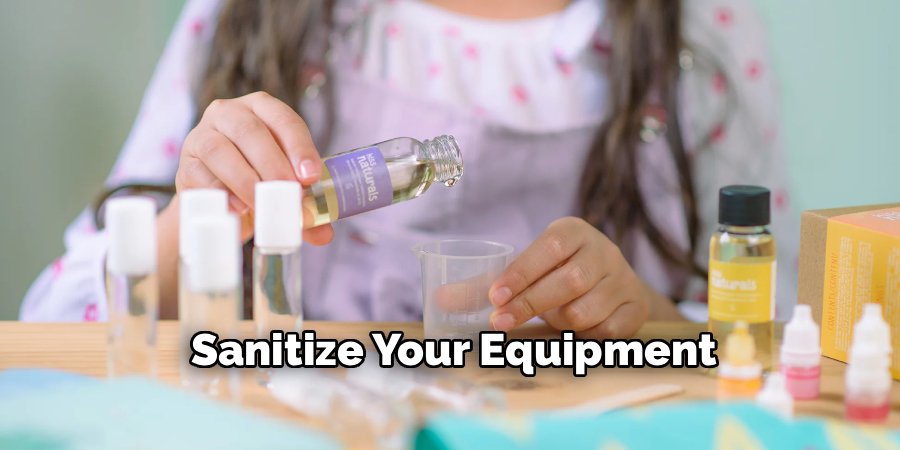
This step feels boring, but it’s the key to a lip oil that stays fresh and safe. Any moisture left behind can encourage mold or bacteria, so make sure everything is bone-dry before you move on.
2. Measure Your Base Oils
For a small batch, start with about two teaspoons of a lightweight base like jojoba or sweet almond oil.
Then add roughly half a teaspoon of castor oil for that glossy shine. There’s no need to be scientific here, since you can adjust the ratios in later batches once you see how the texture turns out.
3. Add Your Richer Ingredients
If you’re using coconut oil or shea butter, add a small amount now, about a quarter teaspoon.
These solid ingredients give your oil a softer, more balm-like feel. Keep them minimal, though, or your finished product will be too thick to swipe on smoothly.
4. Gently Melt Everything Together
Place your bowl over a double boiler or a pot of barely simmering water.
Stir slowly until any solid oils or butters have fully melted and the mixture looks clear and uniform. Use low heat, since overheating can degrade the oils and dull their benefits. This usually takes just a couple of minutes.
5. Cool Slightly, Then Add Delicate Extras
Take the bowl off the heat and let it cool for a minute or two.
Now stir in your Vitamin E oil and a drop or two of flavor or essential oil. Adding these after heating protects their delicate properties. Go easy on essential oils, since one or two drops per batch is plenty, and more can irritate sensitive lips.
6. Stir in Color or Shimmer (Optional)
If you want a tinted or shimmery finish, add a tiny pinch of lip-safe mica powder or cosmetic glitter now.
Stir thoroughly so the color distributes evenly. Add it gradually, because you can always deepen the shade but you can’t easily take it back out.
7. Transfer to Your Container
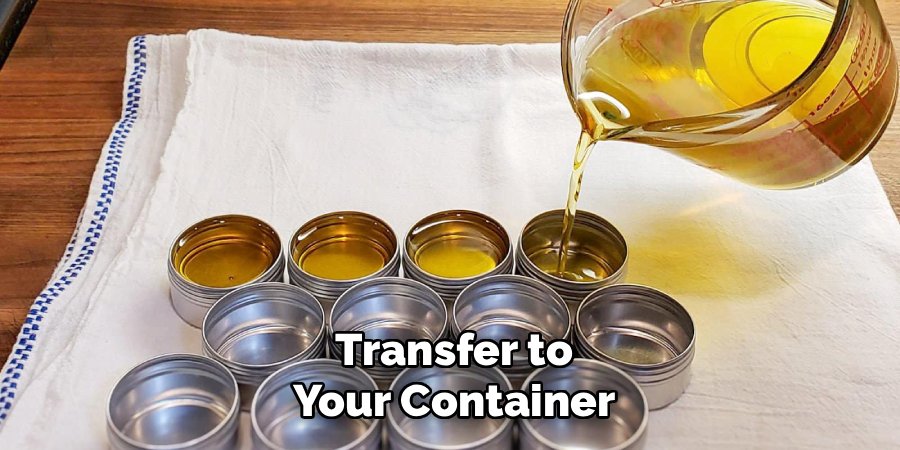
While the mixture is still liquid, use a dropper or small funnel to fill your lip oil tube or pot.
Work fairly quickly if you added coconut oil or shea butter, since the blend will start to thicken as it cools. Wipe any drips from the rim so the cap seals cleanly.
8. Let It Set
Leave your lip oil to cool and settle at room temperature for an hour or so before using or capping tightly.
If you used solid butters, you can pop it in the fridge briefly to speed up setting. Once it’s ready, swipe some on and admire your handiwork.
Customization Ideas
This is where DIY really shines. Here are some easy ways to make your lip oil truly yours.
- For super-dry or chapped lips: Lean into richer ingredients. Add a bit more shea butter or coconut oil for a thicker, more protective feel that locks in moisture overnight.
- For a lightweight everyday gloss: Stick mostly to jojoba and grapeseed oil, and use only a small amount of castor oil. You’ll get shine without any heavy, sticky texture.
- For a scented treat: A drop of vanilla flavor oil is cozy and sweet, peppermint gives a fresh tingle, and sweet orange smells bright and uplifting. Just remember, less is more with strong scents.
- For a tinted look: Add a pinch of red or pink lip-safe mica for a subtle wash of color that flatters most skin tones. Build it up slowly for a “your lips but better” flush.
- For extra glam: A touch of fine cosmetic glitter or shimmery mica gives your lips a glossy, light-catching finish, perfect for a night out.
- For sensitive skin: Keep it simple with just jojoba oil and vitamin E, skipping fragrance and color entirely. Fewer ingredients mean fewer chances of irritation.
Play around with small batches until you land on your perfect blend. Half the fun is in the experimenting.
Storage and Shelf Life
Because homemade lip oil skips the strong commercial preservatives, it won’t last as long as a store-bought version, and that’s okay.
Store your finished oil in a cool, dry spot away from direct sunlight. A bathroom cabinet or bedroom drawer works well, since heat and light speed up spoilage.
Most oil-based blends stay good for about three to six months, especially if you added vitamin E, which helps slow oxidation. Adding coconut oil may shorten this slightly, as it can turn faster than more shelf-stable oils.
Keep an eye out for warning signs that it’s time to toss your batch:
- An off, sour, or rancid smell
- A change in color or cloudiness
- Any sign of mold or unusual texture
If you notice any of these, throw it out and make a fresh batch. When in doubt, err on the side of caution and start over, since a new batch takes only minutes. Always keep water out of your container, as moisture is the fastest route to spoilage.
Frequently Asked Questions
What is the best oil to use for homemade lip oil?
Jojoba oil is one of the best all-around choices because it’s lightweight, absorbs well, and closely mimics your skin’s natural oils. Many people pair it with a small amount of castor oil for that signature glossy shine. Sweet almond oil and grapeseed oil are also excellent, gentle options, so the “best” oil really comes down to your lips and the texture you prefer.
How long does homemade lip oil last?
A homemade lip oil typically lasts three to six months when stored in a cool, dark place and kept free from water. Adding vitamin E oil helps extend its life since it slows down oxidation. Always give it a quick sniff and look before using, and if it smells off or changes color, it’s time to make a fresh batch.
Can I add color to my DIY lip oil?
Yes, you can add a subtle tint using a tiny pinch of lip-safe, cosmetic-grade mica powder. Add it gradually and stir well, since a little goes a long way. Avoid using craft glitter, food coloring, or any product not specifically labeled safe for lips, as these aren’t meant for use on your skin.
Is homemade lip oil safe to use?
For most people, a simple homemade lip oil made from skin-safe carrier oils is gentle and safe. That said, always do a patch test first, use essential oils sparingly, and keep your tools and containers clean to avoid bacteria. If you have known allergies or notice any irritation, stop using it, and check with a professional for anything persistent.
Ready to make a lip oil that’s truly your own? Gather your favorite oils, mix up a batch, and treat your lips to some homemade shine, your softest, glossiest pout is just a few drops away.
