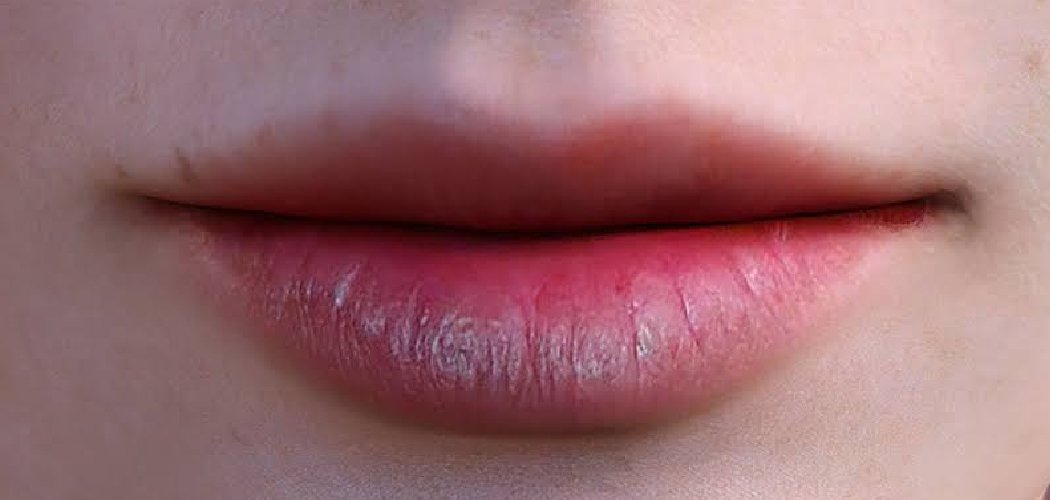
Learning how to make ombre lipstick is easier than it looks, and the payoff is a soft, gradient lip that adds instant dimension to any makeup look. Ombre simply means a color that fades from dark to light, so an ombre lip blends a deeper shade around the edges into a lighter, brighter tone in the center. With two complementary lip shades, a liner, and a small brush, you can create this pouty, dimensional effect in just a few minutes at home.
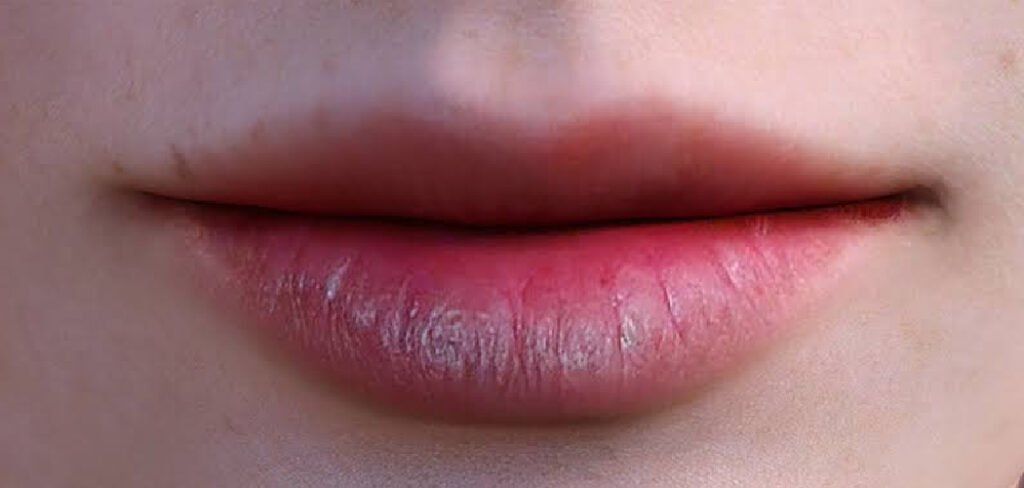
The trick is all in the blending, and once you get the hang of it, you’ll want to try new color combos every week. Let’s walk through exactly how to pull it off.
What You’ll Need
Gather your tools before you start so you’re not scrambling mid-blend. Most of these are probably already in your makeup bag.
- Lip liner — one shade that matches or slightly deepens your darker lipstick, used to outline and define your lips.
- Darker lipstick — this goes on the outer edges to create depth. A creamy or satin formula blends most easily.
- Lighter lipstick — a brighter or paler shade for the center of your lips. Pick one that pops against the darker tone.
- Small lip brush — a firm, flat brush gives you the control needed to blend two colors together.
- Concealer — a touch cleans up edges and can help lighten the center even more.
- Lip balm — a hydrating base keeps color smooth and prevents dry, cracked application.
- Setting powder (optional) — a light dusting locks everything in place for long wear.
- Cotton swabs and tissues — for quick fixes and cleanup.
A quick note on choosing shades: colors in the same family (like a berry and a soft pink) blend more naturally than wildly different tones. But if you’re feeling bold, contrasting shades can create a striking effect too.
8 Step-by-Step: How to Make Ombre Lipstick
Follow these steps in order, and don’t rush the blending part. That’s where the magic happens.
Step 1: Prep and Hydrate Your Lips
Start with a clean, smooth canvas. Gently exfoliate your lips with a soft toothbrush or lip scrub to buff away any dry flakes, then swipe on a thin layer of lip balm.
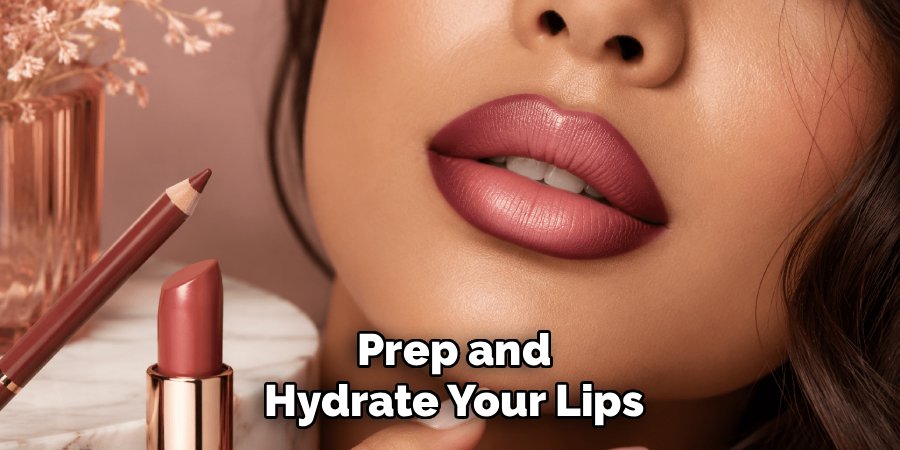
Let the balm sink in for a minute or two, then blot off any excess with a tissue. You want soft lips, not slippery ones, since too much balm can make your lipstick slide around.
Step 2: Even Out Your Natural Lip Color
Dab a tiny bit of concealer or foundation over your lips and pat it in with your fingertip. This creates a neutral base so your chosen shades show up true to color.
This step is optional, but it really helps the gradient look crisp and vibrant. Don’t cake it on, though. A light layer is all you need.
Step 3: Line the Outer Edges
Take your lip liner and outline just the outer corners and edges of your lips. Focus on the sides and the very edges, leaving the center bare for now.
Lip liner is a waxy pencil that defines your lip shape and gives the darker color something to grip. Keep your outline soft rather than harsh, since you’ll be blending it inward next.
Step 4: Fill In the Corners With Your Darker Shade
Apply your darker lipstick over the outer edges and corners you just lined. Work from the outside in, but stop before you reach the middle of your lips.
Think of it like coloring in only the edges of a picture. You’re building the deeper “frame” that the lighter shade will melt into.
Step 5: Add the Lighter Shade to the Center
Now dab your lighter lipstick onto the center of both your top and bottom lips. Press it right into the middle, where your lips are fullest.
This bright center is what gives an ombre lip its signature plump, three-dimensional look. Keep the lighter color concentrated in the middle for the best effect.
Step 6: Blend the Two Shades Together
Grab your small lip brush and gently blend where the two colors meet. Use tiny back-and-forth strokes to soften the line between dark and light.
Take your time here and blend little by little. You’re aiming for a smooth transition with no obvious border between the shades. If you don’t have a brush, a clean fingertip works in a pinch.
Step 7: Clean Up the Edges
Dip a cotton swab in a little concealer and trace around the outside of your lips. This sharpens your lip line and erases any color that strayed outside the lines.
A clean edge makes the whole look more polished and professional. It’s a small step that makes a big difference.
Step 8: Set Your Lipstick
For long-lasting color, lay a single-ply tissue over your lips and lightly dust setting powder on top. The tissue diffuses the powder so it sets the color without drying it out.
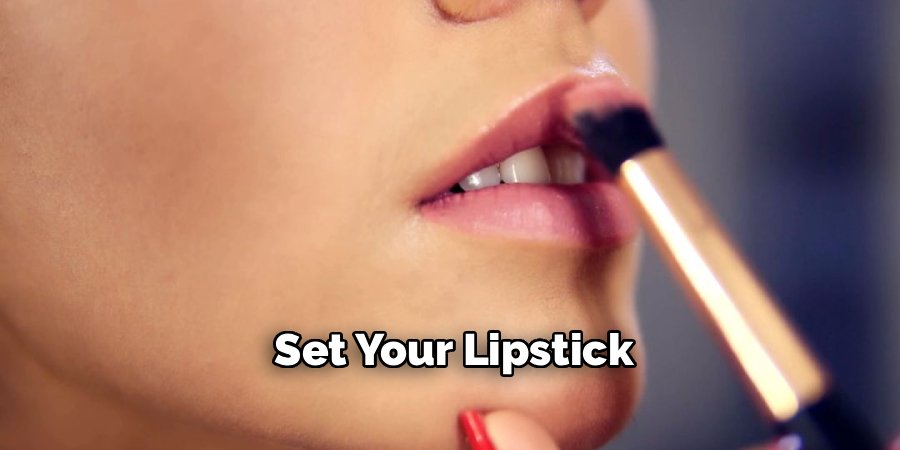
“Setting” just means locking your makeup in place so it doesn’t smudge or fade quickly. This final step keeps your ombre lip looking fresh through meals and coffee runs.
Pro Tips for a Flawless Ombre Lip
A few insider tricks can take your gradient lip from good to gorgeous. Keep these in mind as you practice.
- Blend while the color is fresh. Lipstick is easiest to blend right after you apply it, before it sets. Work quickly so the two shades melt together smoothly.
- Use a light hand with the brush. Press too hard and you’ll smear the whole thing into one muddy color. Gentle strokes keep the gradient distinct.
- Pick a lighter center for a plumping effect. A brighter or paler middle catches the light and makes lips look fuller instantly.
- Try a lip gloss on top. A dab of clear gloss in the center adds extra shine and enhances that pouty, dimensional look.
- Match your liner to your darker shade. This keeps the outer edges looking seamless rather than showing a visible pencil line.
Common Mistakes to Avoid
Even a simple technique has a few easy-to-miss pitfalls. Dodge these and your ombre lip will look effortless every time.
Skipping lip prep. Dry, flaky lips make lipstick cling to rough patches and look patchy. Always exfoliate and moisturize first.
Choosing clashing colors. Two shades that fight each other can look messy instead of blended. Start with tones in the same color family until you’re comfortable.
Over-blending into one color. If you blend too aggressively, you’ll lose the gradient entirely and end up with a single flat shade. Blend just enough to soften the transition.
Applying too much product. Piling on thick layers makes lips look heavy and increases the chance of smudging. Build color gradually in thin coats.
Forgetting to clean up the edges. Stray color around your lip line instantly makes the look sloppy. A quick swipe of concealer fixes it in seconds.
A quick safety note: Before trying a new lip product, do a simple patch test, especially if your lips are prone to sensitivity. Dab a small amount on the inside of your wrist or the corner of your mouth and wait 24 hours to check for any redness, itching, or irritation. If your lips ever feel dry or uncomfortable after wearing lipstick, remove it gently and rehydrate. This is general beauty guidance, not medical advice.
Frequently Asked Questions
What is an ombre lip and how is it different from a regular lip?
An ombre lip is a gradient effect where a darker shade around the outer edges fades into a lighter shade in the center of your lips. A regular lip uses just one solid color from edge to edge. The ombre technique adds depth and dimension, making your lips look fuller and more sculpted. It’s a popular look because it draws attention to the center of the mouth and creates a soft, pouty appearance.
Can I create an ombre lip with just one lipstick?
You can fake a subtle ombre effect with a single lipstick, though a true gradient looks best with two shades. To do it with one color, apply the lipstick as usual, then blot the center with a tissue and dab a little concealer or a lighter balm in the middle to lighten it. Blend the edges inward so the darker outline melts toward the paler center. For a more dramatic, defined ombre, two contrasting or complementary shades will always give you the strongest result.
How do I make my ombre lipstick last all day?
Start with a concealer or foundation base to help the color grip your lips, then build your shades in thin layers rather than one thick coat. After blending, set everything with a light dusting of setting powder applied through a single-ply tissue. Blotting between layers also helps the color stay put. Choosing long-wear or matte formulas for the darker shade can extend wear time even further, since creamier textures tend to fade faster.
What color combinations work best for an ombre lip?
Shades within the same color family blend most naturally, like a deep berry fading into a soft pink, or a brick red melting into a warm nude. For a bolder statement, you can pair contrasting tones, such as a dark plum with a bright coral center. If you’re new to the technique, stick with two shades that are a few tones apart in the same family for the easiest, most forgiving blend. As you get more confident, experiment with brighter or unexpected combos to make the look your own.
Grab your two favorite lip shades and give the ombre technique a try today—your fullest, most dimensional pout is just a few blends away.
