
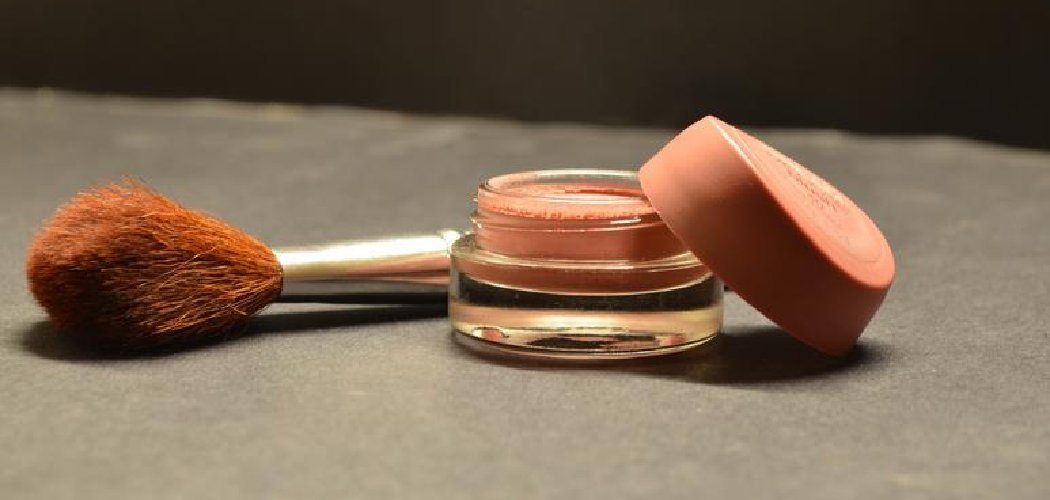
Knowing how to make makeup brush cleaner at home saves you money, lets you control exactly what touches your skin, and makes it easy to customize a formula for your needs. Store-bought cleaners can cost a fortune, and many are packed with ingredients you can’t pronounce. With a few simple things you probably already have in your kitchen or bathroom, you can whip up a gentle, effective cleaner in minutes.
Dirty brushes hold onto old makeup, oil, and bacteria, which can lead to clogged pores and patchy application. A regular wash keeps your tools soft, your skin happier, and your makeup looking smooth. The best part? You get to decide what goes in it.
Let’s break down the ingredients, tools, and steps so you can make a batch that works for you.
Why Make Your Own Brush Cleaner
Making your own cleaner isn’t just a fun project. It comes with real perks that store-bought options can’t always match.
- Save cash. A tiny bottle of commercial brush cleaner can cost more than a full DIY batch that lasts months.
- Know your ingredients. You skip the mystery chemicals and pick gentle, skin-friendly options instead.
- Customize freely. You can tweak the recipe for sensitive skin, heavy-duty cleaning, or travel-friendly sizes.
- Reduce waste. Reuse containers you already own instead of buying more plastic.
Ingredients You’ll Need
Here’s the good news: you don’t need anything fancy. Most of these are pantry or bathroom staples. Mix and match based on what you have on hand.
- Gentle dish soap — the workhorse that cuts through oil and makeup. A clear, mild formula works best. Substitution: castile soap is a great natural swap.
- Baby shampoo — super gentle and perfect for soft, natural bristles. Substitution: a sulfate-free clarifying shampoo works too.
- Olive oil — breaks down stubborn, waxy products like cream foundation and lipstick. Substitution: fractionated coconut oil or sweet almond oil.
- Rubbing alcohol (70%) — disinfects and helps brushes dry faster, great for a quick spritz cleaner. Substitution: witch hazel for a slightly gentler option.
- Distilled water — dilutes your mixture without the minerals found in tap water. Substitution: boiled and cooled tap water in a pinch.
- Optional essential oils — a drop or two of tea tree or lavender adds a light scent and mild antibacterial benefits. Substitution: skip entirely if you have sensitive skin.
A quick safety note: Essential oils and alcohol can irritate sensitive skin. Before using a new cleaner, do a patch test by dabbing a small amount on the inside of your wrist and waiting 24 hours to check for redness or itching. This is general beauty guidance, not medical advice.
Tools and Containers You’ll Need
Gather a few basics before you start mixing. Having everything ready makes the whole thing quick and mess-free.
- A small mixing bowl or measuring cup
- A spoon or small whisk for stirring
- A funnel (handy for pouring into bottles)
- A clean squeeze bottle or jar with a lid for the liquid cleaner
- A small spray bottle for the quick-dry version
- Labels and a marker to note the contents and date
If you don’t have a funnel, a rolled piece of paper works fine. Clean and dry all containers first so you don’t introduce bacteria into your fresh batch.
8 Step-by-Step How to Make Makeup Brush Cleaner
Ready to mix? This deep-cleaning liquid formula is gentle enough for regular use and tough enough to lift away built-up gunk. Follow these steps in order.
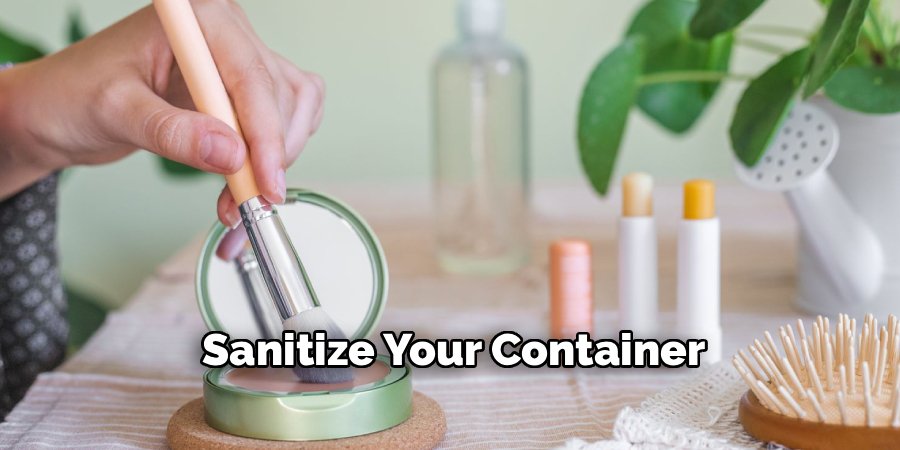
Step 1: Sanitize Your Container
Wash your jar or bottle with hot, soapy water and let it dry completely. A clean container keeps your cleaner fresh and stops bacteria from sneaking in. Any leftover moisture can shorten the shelf life, so make sure it’s fully dry.
Step 2: Measure Your Base
Pour one cup of distilled water into your mixing bowl. This is the base that dilutes everything else so the cleaner is gentle on bristles. Distilled water keeps the mix clean and free of mineral buildup.
Step 3: Add Your Soap
Stir in one tablespoon of gentle dish soap or baby shampoo. This is what lifts away makeup, oil, and grime. Mix slowly to avoid creating a ton of bubbles.
Step 4: Work In the Oil
Add one teaspoon of olive oil to the mix. The oil breaks down waxy, stubborn products that soap alone can’t budge. It also conditions natural bristles so they stay soft.
Step 5: Add a Disinfecting Boost
Pour in one tablespoon of rubbing alcohol for extra cleaning power. This helps sanitize your brushes and speeds up drying time. If you’re using the cleaner on delicate natural hair brushes, you can reduce this slightly.
Step 6: Stir in Essential Oils (Optional)
If you’d like a light scent, add one or two drops of tea tree or lavender oil. A little goes a long way, so resist the urge to overdo it. Skip this step entirely if your skin reacts easily.
Step 7: Mix and Transfer
Stir everything together until it looks smooth and combined. Use your funnel to pour the mixture into your clean bottle or jar. Give it a gentle shake to blend.
Step 8: Label and Test
Write the contents and the date on a label so you know what’s inside and how fresh it is. Before your first full wash, test the cleaner on one brush to make sure you’re happy with the results. Now you’re ready to clean.
How to Use Your Homemade Cleaner
Once your cleaner is mixed, using it is simple. Here’s the quick routine:
- Wet the bristles under lukewarm water, keeping the metal part (called the ferrule) pointed down so water doesn’t loosen the glue.
- Add a small amount of your cleaner to your palm or a textured cleaning mat.
- Swirl the brush gently until you see suds and the water runs clear.
- Rinse thoroughly, reshape the bristles, and lay the brush flat to dry.
Laying brushes flat matters. Drying them upright lets water seep into the ferrule, which weakens the glue over time.
Customization Ideas
One of the best things about a DIY cleaner is how easily you can adjust it. Here are a few variations to try.
For Sensitive Skin
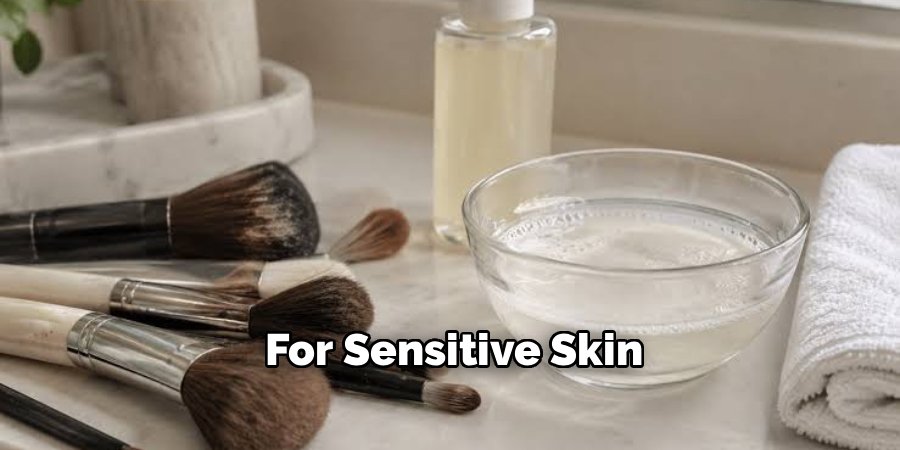
Skip the essential oils and rubbing alcohol completely. Stick to distilled water, baby shampoo, and a touch of olive oil for a super gentle blend. This version is kind to reactive skin and delicate natural bristles.
For a Deep Clean
Dealing with heavy foundation or months of buildup? Bump up the dish soap to two tablespoons and add an extra teaspoon of olive oil. The higher soap-to-water ratio tackles stubborn grime, making it perfect for a monthly deep clean.
For a Travel Size
Mix a spray version using half rubbing alcohol and half distilled water in a small spray bottle. Add a drop of soap for light cleaning. Spritz it onto brushes between uses for a fast refresh that dries in minutes, no rinsing needed.
For Scent
Play around with essential oils to find a scent you love. Lavender is calming, tea tree feels fresh and clean, and a hint of sweet orange smells bright. Always keep it to a drop or two so it stays skin-safe.
Storage and Shelf Life
Homemade beauty products don’t have the preservatives that store-bought ones do, so freshness matters. Treat your cleaner like anything else you’d make from scratch.
- Where to store it: Keep your cleaner in a cool, dark spot like a cabinet, away from direct sunlight and heat.
- How long it lasts: Use water-based versions within one to two weeks, since water can grow bacteria over time. Alcohol-heavy spray versions last longer, around one to two months.
- Watch for spoilage: Toss the batch right away if you notice cloudiness, an off smell, a change in color, or any signs of mold. When in doubt, make a fresh batch.
Making small batches is smarter than mixing a giant jar. You’ll always have a fresh, effective cleaner without wasting ingredients. Labeling the date makes it easy to track freshness at a glance.
Frequently Asked Questions
How often should you clean your makeup brushes?
Clean brushes you use with liquid or cream products, like foundation and concealer, about once a week. Brushes for powder products, such as blush or eyeshadow, can go two weeks between washes. If you have acne-prone or sensitive skin, cleaning more often helps keep bacteria and old product from causing breakouts. A quick spray refresh between deep cleans keeps things extra hygienic.
Can you use dish soap to clean makeup brushes?
Yes, a gentle, mild dish soap works well for cleaning makeup brushes, especially ones used with oily or creamy makeup. It cuts through grease and lifts away buildup effectively. Just pair it with a little oil to keep natural bristles from drying out, and rinse thoroughly so no residue is left behind. Avoid harsh, heavily scented formulas, since those can be too stripping for delicate bristles and irritating if any traces touch your skin.
Is homemade brush cleaner as good as store-bought?
For everyday cleaning, a homemade cleaner works just as well as most store-bought options and costs a fraction of the price. You get the same makeup-lifting and conditioning benefits, plus full control over the ingredients. The main tradeoff is shelf life, since DIY versions lack commercial preservatives and need to be used up faster. If you make small, fresh batches and store them properly, your homemade blend can easily hold its own.
How do you dry makeup brushes fast after cleaning?
To speed up drying, gently squeeze out excess water with a clean towel and reshape the bristles right away. Lay the brushes flat on a towel, ideally with the bristles hanging slightly over the edge of a counter so air circulates around them. A spray cleaner with rubbing alcohol also dries much faster than a water-based wash. Avoid using a hairdryer on high heat, since that can damage bristles and loosen the glue holding them in place.
Grab your ingredients and mix up a fresh batch today, so your brushes stay clean, soft, and ready whenever you are.
