
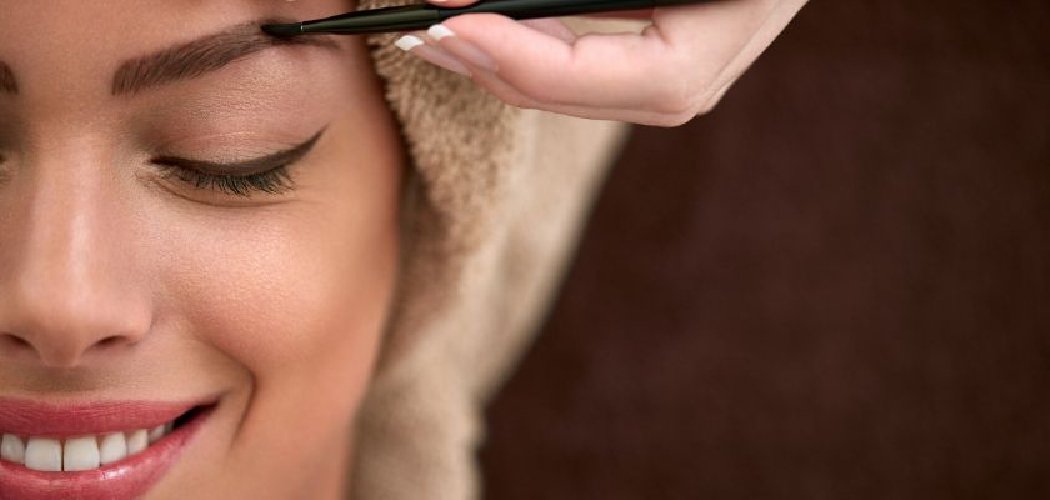
Learning how to use brow gel is simple: brush the wand through your brows in short upward strokes, following your natural hair direction, then smooth the tail outward toward your temple. Clear gel sets your brows in place, while tinted gel adds color and definition at the same time. In under a minute, you can go from sparse and messy to full, fluffy, and locked in all day.
Brow gel is honestly one of the easiest makeup products to master, and it makes a bigger difference than you’d expect. Whether you want a soft, natural finish or a bold laminated look, this little tube does the heavy lifting. Below, you’ll find the full step-by-step, the tools that make it easier, and every fix for the mistakes people usually make.
What You’ll Need
Grab everything before you start so you can work quickly while the gel is still wet and workable. Here’s your quick kit:
- Brow gel — the star of the show. Choose clear brow gel for a natural, no-color finish or a tinted brow gel to add depth and shade in one step.
- Spoolie brush — a clean spoolie (mascara-style wand) helps you fluff and blend, even if your gel comes with its own applicator.
- Brow pencil — a fine-tip brow pencil fills gaps before you set everything with gel.
- Angled brow brush — an angled eyebrow brush paired with pomade or powder gives you sharper definition if you want it.
- Tweezers — quick slant tweezers for tidying any strays before you set your shape.
- Concealer — a lightweight concealer cleans up the edges and makes your brows pop.
- Mirror — a magnifying makeup mirror so you can see exactly where each hair sits.
- Cotton swabs — handy for wiping away any gel that lands where it shouldn’t.
A quick word on tinted gels: since they sit close to your eyes, it’s smart to patch-test a new formula first. Dab a little on the inside of your wrist and wait a few minutes to make sure your skin doesn’t react before swiping it near your eye area.
8 Step-by-Step: How to Use Brow Gel
Follow these steps in order and work while the product is fresh. Brow gel dries fast, so once it sets, it’s hard to reshape.
Step 1: Start With Clean, Dry Brows
Make sure your brows are free of oil, leftover makeup, or moisturizer. Gel grips best on a clean surface, and any residue can stop it from holding.
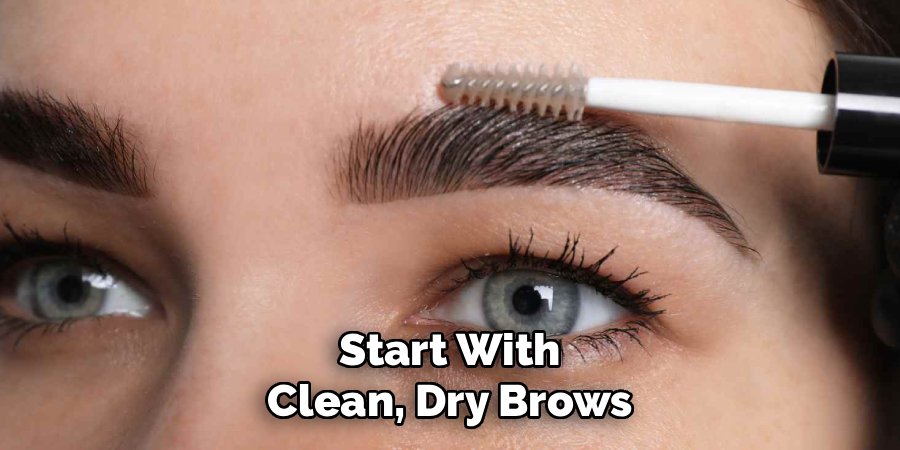
If you’ve just done skincare, give your brow area a minute to fully absorb. A dry base means longer-lasting hold.
Step 2: Brush Your Brows Into Shape
Before you even open the gel, run a dry spoolie through your brows. Brush upward and outward to see your natural shape and spot any gaps.
This quick step shows you where you actually need product. Sometimes your brows are fuller than you think and just need a good brush-through.
Step 3: Fill In Any Gaps (Optional)
If you have sparse spots, use a fine-tip brow pencil to add light, hair-like strokes. Keep the strokes short and feathery so they blend in naturally.
Skip this step entirely if your brows are already full and you only want to set them. Clear gel alone works great for naturally thick brows.
Step 4: Wipe Excess Product Off the Wand
Pull the wand out of the tube and gently scrape it against the rim. You want a thin, even coat, not a gloppy one.
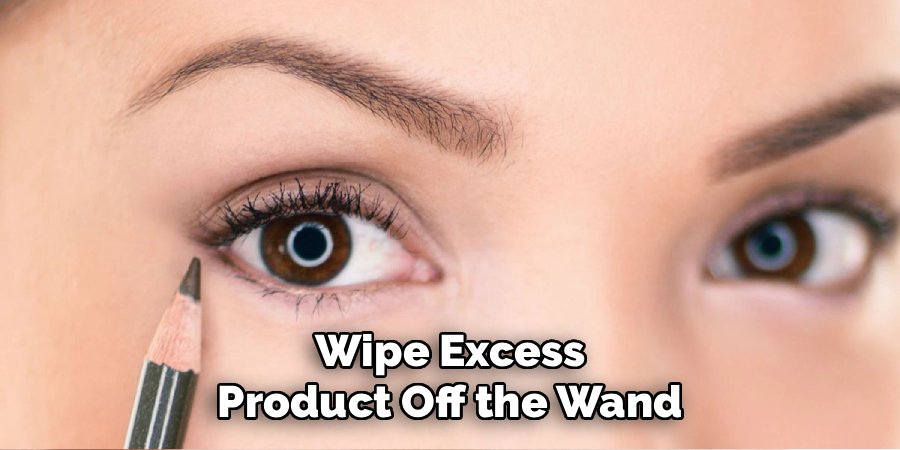
Too much gel is the fastest way to a crunchy, clumpy brow. A little goes a long way here.
Step 5: Brush Through Following Hair Growth
Starting at the inner corner, brush the gel through your brows in short upward strokes. Follow the direction your hair naturally grows.
As you move toward the tail, angle the strokes outward toward your temple. This shapes and sets the brow in one smooth motion.
Step 6: Shape and Fluff the Tails
Once the whole brow is coated, use the tip of the wand to comb the outer hairs into a neat, tapered point. This defines the tail without needing extra product.
For a fuller, brushed-up look, keep sweeping the front hairs upward before the gel sets. For a softer finish, let the hairs fall more naturally.
Step 7: Clean Up the Edges
Dip a cotton swab or a small brush in a little concealer and trace along the top and bottom edges of your brows. This sharpens the shape and instantly makes them look more polished.
Blend the concealer out gently so there’s no harsh line. This step is optional but really elevates the finish.
Step 8: Let It Set and Check
Give the gel 30 to 60 seconds to fully dry down. Resist the urge to touch or rub your brows while they set.
Once dry, check both sides in the mirror. If a stray hair popped up, press it back down with a clean fingertip or a dry spoolie.
Safety note: Your brows sit right above your eyes, so take care to keep gel out of your actual eye. If any product gets in, rinse gently with cool water. Stop using a tinted formula if you notice stinging, redness, or itching, and always patch-test new products first. These are general beauty tips, not medical advice.
Pro Tips
A few small tricks that take your brows from fine to fabulous:
- Use short strokes, not one long swipe. Little upward flicks coat each hair evenly and give that fluffy, defined look, while a single drag just flattens everything.
- Layer tinted gel over pencil for staying power. If you fill first with pencil or pomade, a coat of clear or tinted gel locks it all in and stops smudging through the day.
- Try the “brush back” trick for a laminated look. Sweep all the hairs straight up and hold for a few seconds before the gel dries to fake that trendy, brushed-up brow lamination effect.
- Match your tint to your hair, not darker. Going one shade lighter than you think looks more natural than picking a tint that’s too dark for your brows.
- Keep a backup spoolie in your bag. A clean wand lets you blend and tame brows on the go without carrying the whole tube.
Common Mistakes to Avoid
These slip-ups are easy to make and just as easy to fix once you know them.
Using too much product. Loading the wand with gel leaves your brows stiff, crunchy, and flaky by midday. Always wipe the excess off first.
Brushing against hair growth. Combing the wrong way makes your brows look messy and can leave gaps. Follow the natural direction, brushing up and out.
Skipping the dry-brush step. Jumping straight to gel without seeing your natural shape means you miss where product actually needs to go. Brush first, then set.
Applying over damp skin or lotion. Oil and moisture stop the gel from gripping, so it slides and fades fast. Start with a clean, dry base every time.
Choosing a tint that’s too dark. An overly dark gel reads harsh and unnatural, especially on lighter or thinner brows. When in doubt, go lighter.
Not letting it dry before touching. Rubbing wet gel drags the hairs out of place and ruins your shape. Give it a minute to set fully.
Frequently Asked Questions
How do you use brow gel for beginners?
Start with a clear brow gel since it’s the most forgiving and hard to mess up. Wipe the excess off the wand, then brush your brows upward and outward in short strokes, following the way your hair naturally grows.
Let it dry for about a minute without touching it, then check your shape in the mirror. Once you’re comfortable, you can graduate to a tinted gel for more color and definition. The technique is the same either way, so practice on a low-key day first.
Do you use brow gel before or after brow pencil?
Use your brow pencil first, then set everything with gel on top. Filling in gaps with pencil gives you the shape and color you want, and the gel locks those strokes in place so they last all day.
If you only want to tame and set naturally full brows, you can skip the pencil and use gel on its own. Layering the two is the secret to brows that stay put from morning to night.
Can you use clear mascara as brow gel?
You can in a pinch, since clear mascara has a similar hold and a comparable wand. It’ll tame flyaways and set your brows in place without adding any color.
That said, dedicated brow gels are formulated to grip coarser brow hairs and often come with a smaller, more precise wand. For everyday use, a real brow gel gives you better shape and staying power.
How long does brow gel last on your brows?
A quality brow gel applied to clean, dry brows typically holds for 8 to 12 hours, easily lasting through a full day. Tinted and waterproof formulas tend to stay put even longer.
Humidity, oily skin, and rubbing your brows can shorten the wear time. If a few hairs lift by the afternoon, a quick pass with a dry spoolie usually smooths them right back down.
Ready to give your brows that fluffy, put-together finish? Grab your gel, brush up and out, and enjoy brows that stay perfect all day.
