
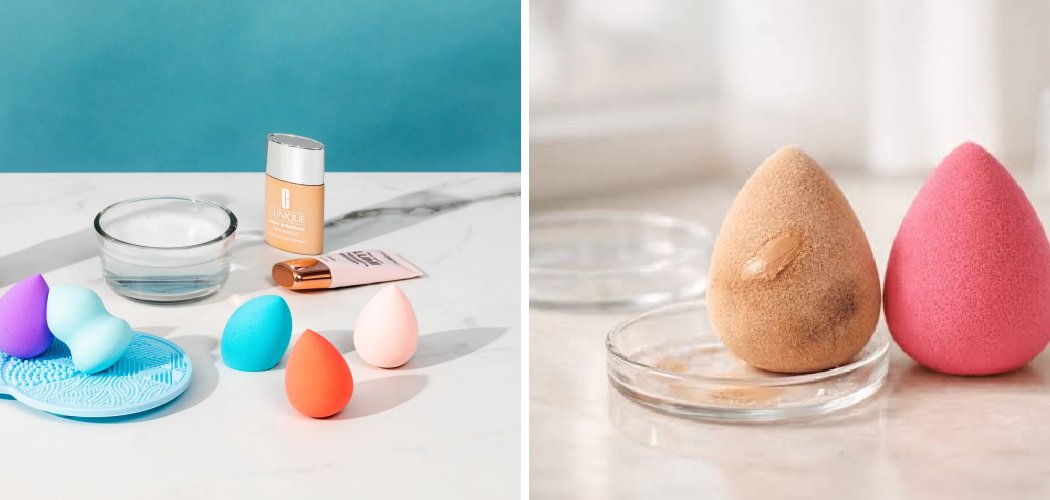
To clean your beauty blender, wet the sponge, work in a gentle soap or dedicated cleanser, squeeze until the water runs clear, then rinse and air-dry. The whole process takes about five minutes. For the best skin health and flawless makeup, wash your makeup sponge after every use, or at the very least once a week.
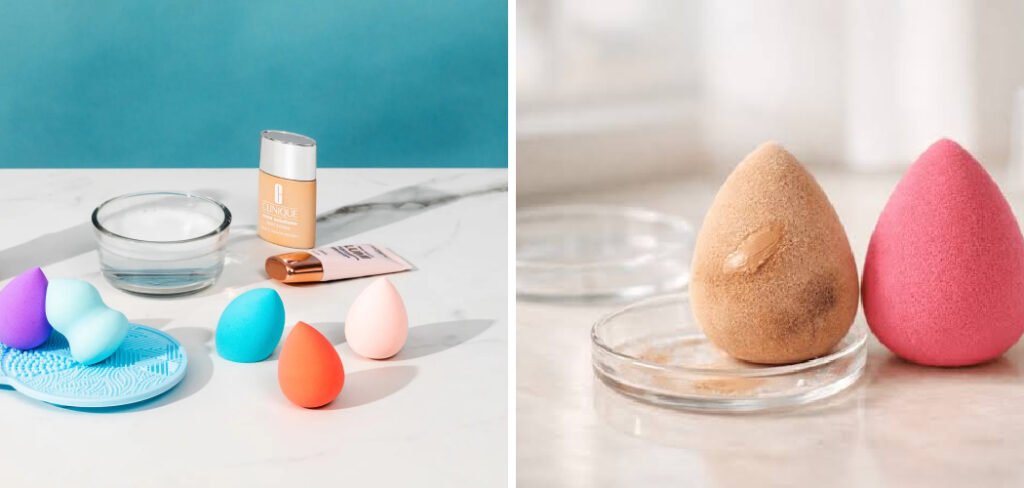
A clean sponge blends foundation more smoothly and keeps bacteria off your face. Below, you’ll find the exact steps, the products worth grabbing, and how to clean your beauty blender.
Why Cleaning Your Beauty Blender Matters
A beauty blender is that soft, egg-shaped makeup sponge you use to press foundation, concealer, and cream products into your skin. Because it’s damp and porous, it’s basically a magnet for bacteria, oil, and old product buildup.
Skipping the wash doesn’t just leave streaky, patchy makeup. It can also transfer grime straight back onto your face, which nobody wants near their pores.
The good news? Keeping your sponge fresh is quick, cheap, and easy once you know the routine.
What You’ll Need
You don’t need much to get your sponge sparkling. Here are the basics, plus a few affiliate-worthy favorites.
- Beauty Blender Solid Cleanser — A dedicated soap bar made for makeup sponges that cuts through stubborn foundation fast.
- Dr. Bronner’s Castile Soap — A gentle, plant-based liquid soap that works beautifully as an affordable all-purpose option.
- Baby shampoo — A mild, tear-free pick that’s perfect for sensitive skin and won’t leave harsh residue.
- A silicone cleaning mat or textured glove — The little bumps help lift trapped product from deep inside the sponge. No mat? The palm of your hand works fine.
- A clean bowl of warm water — For soaking and rinsing.
- A dry towel — To press out excess water and speed up drying.
- Optional: micellar water — Handy for a fast spot-clean between full washes.
Any of these soaps will do the job. If you’re on a budget, the castile soap or baby shampoo stretches a long way.
How to Clean Your Beauty Blender 8 Step-by-Step
Follow these steps and your makeup sponge will look almost new. The whole thing takes about five minutes.
Step 1: Wet the Sponge Thoroughly
Run your beauty blender under warm water until it’s fully soaked. Give it a gentle squeeze so it swells to nearly double its dry size.

A saturated sponge releases trapped makeup far more easily than a dry one.
Step 2: Apply Your Cleanser
Rub the wet sponge directly onto your solid cleanser bar, or squeeze a small amount of liquid soap into your palm. You want enough to build a light lather, not a mountain of suds.
Step 3: Work the Soap In
Press and roll the sponge against your silicone mat, glove, or the palm of your hand. Use small circular motions to push the soap deep into the sponge.
You’ll start to see the water turn cloudy or tinted with foundation. That’s exactly what should happen.
Step 4: Focus on Stained Spots
If certain areas look extra grimy, give them a little more attention. Gently pinch and squeeze those spots to loosen the buildup without tearing the material.
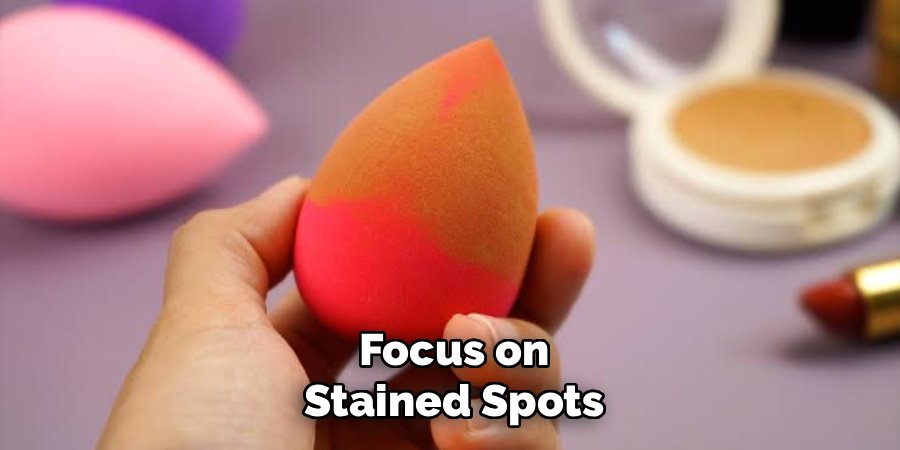
Avoid twisting hard, since aggressive wringing can damage the sponge over time.
Step 5: Rinse Under Running Water
Hold the sponge under warm water and keep squeezing. Watch the runoff — it’ll shift from murky to clear as the makeup washes away.
Step 6: Repeat Until the Water Runs Clear
Chances are one pass won’t fully do it. Add a touch more soap and repeat the lather-and-rinse cycle until the water squeezes out completely clean.
This is the single most important step for a truly sanitary sponge.
Step 7: Squeeze Out Excess Water
Once it’s clean, press the sponge between your palms or wrap it in a dry towel and gently squeeze. The goal is to remove as much water as possible without twisting.
Step 8: Air-Dry Completely
Set your beauty blender in a spot with good airflow, like near a window or on a clean towel. A little sponge holder or drying stand keeps air circulating on all sides.
Make sure it’s bone-dry before your next use. A damp sponge left in a closed drawer or bag is a breeding ground for mold and bacteria.
How Often Should You Do This?
Ideally, you’d rinse your makeup sponge after every single use. That may sound like a lot, but a quick daily wash keeps buildup from ever getting stubborn.
If daily feels unrealistic, aim for these guidelines:
- After each use — The gold standard for skin health, especially if you’re acne-prone.
- Every 2–3 uses — A reasonable middle ground for most people.
- Once a week minimum — The absolute least you should be washing your makeup sponge.
Think of it like a toothbrush. The more often it touches your face, the more often it needs a proper clean.
A quick hygiene note: A dirty, damp sponge can hold bacteria that may lead to breakouts or skin irritation. Keeping it clean and fully dried between uses is simple, sensible self-care. If you notice ongoing skin issues, check in with a professional — this is general beauty advice, not medical guidance.
Quick Method for When You’re Short on Time
Some mornings you just don’t have five minutes to spare. When that happens, a fast spot-clean will tide you over until your next deep wash.
- Spray or dab micellar water onto a clean paper towel or folded tissue.
- Press and roll the dirtiest part of your sponge against the damp towel.
- Keep blotting until the fresh makeup lifts off onto the towel.
- Let the sponge air out for a few minutes before using again.
This trick removes surface product quickly, but it’s not a substitute for a real wash. Think of it as a bridge, not a replacement.
Another speedy option is a microwave method: soak your sponge in a cup of soapy water and microwave for about one minute. Let it cool fully before touching it, since the water gets seriously hot. Once cooled, rinse and squeeze as usual.
Signs It’s Time to Replace vs. Keep Cleaning
Even the best-cared-for sponge won’t last forever. Knowing when to let go protects both your skin and your makeup application.
Keep cleaning and using your beauty blender when:
- It still springs back to shape after squeezing.
- The surface is smooth and free of tears.
- It rinses clean and holds no lingering smell.
- It applies product evenly without dragging.
It’s time to replace your makeup sponge when:
- It’s torn or crumbling. Chunks breaking off means the material has broken down.
- Stains won’t budge. Deep, permanent discoloration can harbor bacteria no matter how hard you scrub.
- It smells funky. A musty or sour odor signals mold or bacteria you can’t wash out.
- It’s lost its bounce. A stiff, hardened sponge won’t blend smoothly anymore.
- You spot dark specks. Any sign of mold means toss it immediately, no exceptions.
As a general rule, most beauty blenders last about three to four months with regular use. If yours hits that mark and shows any of the signs above, swap it for a fresh one.
Frequently Asked Questions
How often should you clean your beauty blender?
For the healthiest skin, wash your makeup sponge after every use. If that’s not realistic, clean it every two to three uses and never let it go longer than a week. A daily rinse takes just a couple of minutes and stops product buildup and bacteria in their tracks.
Can you use regular soap to clean a beauty blender?
Yes, a gentle soap works well. Mild options like castile soap, baby shampoo, or a dedicated sponge cleanser are all great choices. Steer clear of harsh dish soaps or anything heavily fragranced, since these can dry out the sponge material and leave residue that irritates your skin.
Why does my beauty blender still have stains after washing?
Some staining is completely normal and doesn’t mean your sponge is dirty. Pigments from foundation and concealer can permanently tint the material even after it’s fully clean. As long as the water runs clear and there’s no smell, a little discoloration is nothing to worry about. If stains come with a musty odor or a stiff texture, though, it’s time for a replacement.
Is it bad to use a dirty beauty blender?
It can be. A dirty sponge collects oil, dead skin, and bacteria that get pressed right back onto your face, which may trigger breakouts or irritation. It also makes your makeup look patchy and uneven. Regular washing keeps both your skin and your blend looking their best.
Ready for smoother makeup and happier skin? Grab your favorite cleanser and give your beauty blender the quick wash it deserves tonight.
